 Save to Pinterest
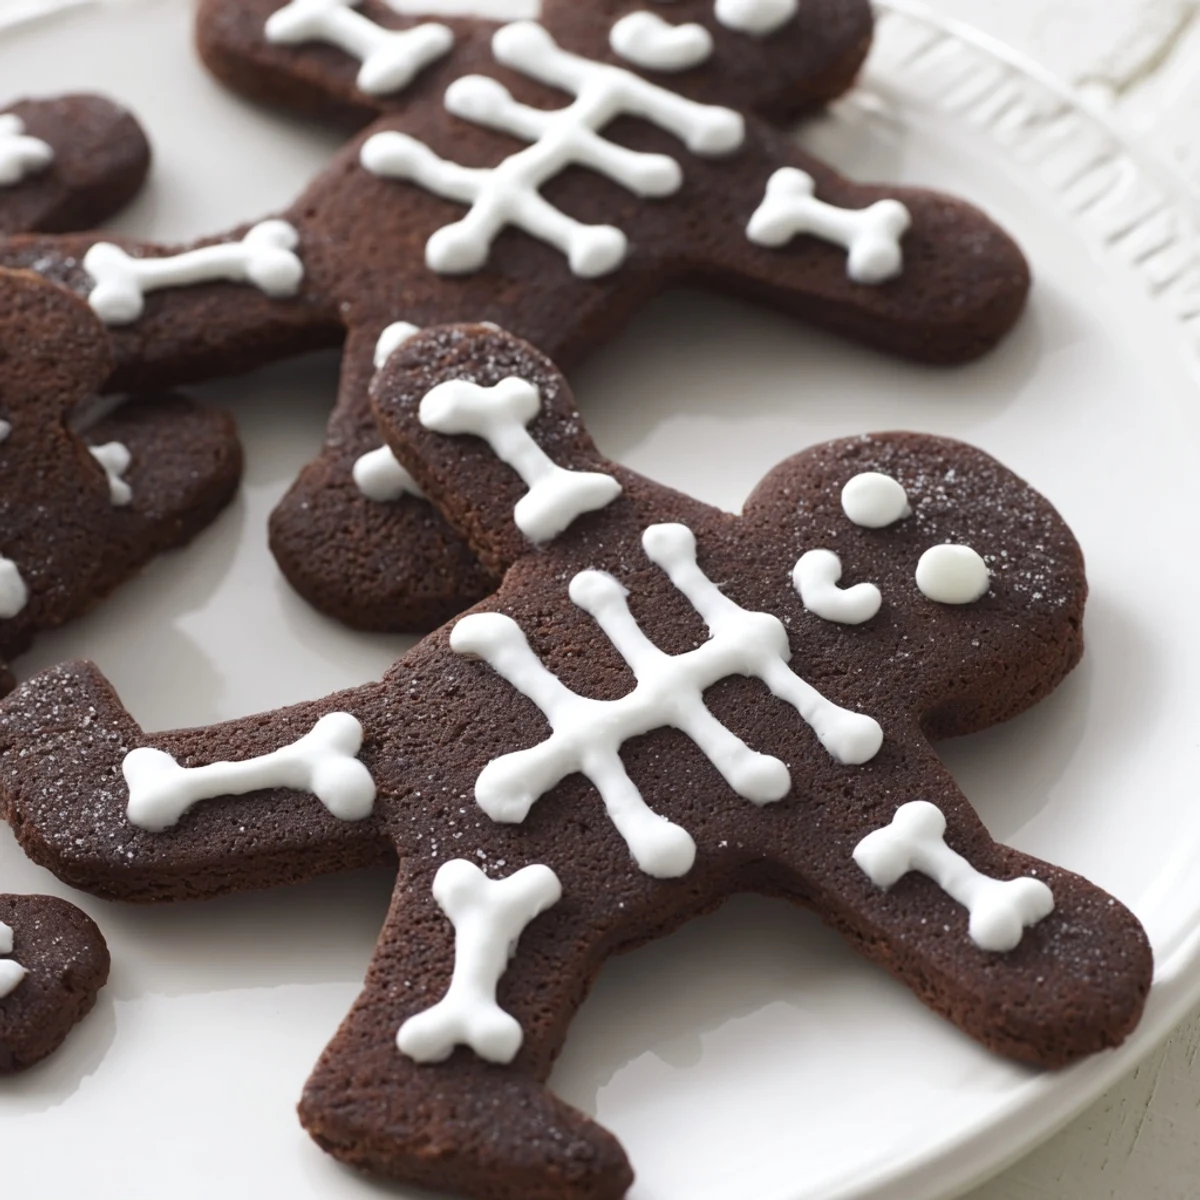
 Create these delightful chocolate cinnamon cookies shaped like skeletons for your Halloween celebration. The dough combines rich cocoa with warm cinnamon for a spiced, chocolatey base that's perfect for the autumn season. After chilling and rolling, cut out skeletal shapes and bake until firm.
Decorate with smooth royal icing to create bone designs, faces, or ribcage details. The contrast between dark, spiced cookies and white icing makes these visually striking. Make them extra spooky by adding a pinch of cayenne for subtle heat or use white chocolate chips for eyes.
The smell of cinnamon and chocolate hit me before I even opened the oven door. My apartment complex was hosting a last minute Halloween potluck and I had completely forgotten to sign up for anything. These skeleton cookies were my desperate solution, but the way my neighbors' faces lit up when they saw those little chocolatey grins staring back from the serving platter made me realize I had accidentally stumbled onto something special.
Last October my niece insisted we make a whole graveyard worth of these for her class party. We ended up with flour in our hair, icing on our noses, and about fifteen skeletons with mysteriously missing limbs. Her teacher still talks about how the kids fought over the broken ones first.
Ingredients
- All-purpose flour: The structure that keeps your skeletons from falling apart before you even decorate them
- Unsweetened cocoa powder: Dutch processed gives the deepest chocolate flavor but regular works perfectly fine
- Ground cinnamon: 2 teaspoons might seem like a lot but trust me, it creates this beautiful warmth that balances the rich chocolate
- Baking powder: Just enough lift to give the cookies a slight puff without losing their crisp edges
- Salt: Essential for making all those chocolate and cinnamon flavors pop
- Unsalted butter: Room temperature is non negotiable here or your dough will never come together properly
- Granulated sugar: Creates the perfect crisp cookie texture that holds up to icing
- Large egg: Binds everything together and adds just enough structure
- Vanilla extract: Pure vanilla makes a difference you can actually taste
- Powdered sugar: Sifting it first prevents those annoying lumps in your icing that clog your piping bag
- Egg white: Creates the traditional royal icing that hardens into a perfect shell
- Water: Start with 2 tablespoons and add more only if needed
Instructions
- Whisk the dry ingredients together:
- Combine the flour, cocoa powder, cinnamon, baking powder, and salt in a medium bowl until everything is evenly distributed and you cannot see any clumps of cocoa
- Cream the butter and sugar:
- Beat them together for about 2 minutes until the mixture looks pale and fluffy, which creates those desirable crispy edges
- Add the egg and vanilla:
- Mix until just combined, being careful not to overbeat or your cookies might spread too much in the oven
- Combine the mixtures:
- Gradually add the dry ingredients to the butter mixture on low speed, mixing only until a dough forms
- Chill the dough:
- Divide it in half, flatten into disks, wrap tightly, and refrigerate for at least 30 minutes or this sticky chocolate dough will be impossible to roll out
- Prep your workspace:
- Preheat your oven to 350°F and line your baking sheets with parchment paper before you start rolling
- Roll and cut:
- Roll the dough to exactly 1/4 inch thickness on a lightly floured surface and cut out your skeleton shapes
- Bake to perfection:
- Place them on the prepared sheets and bake for 10 to 12 minutes until the edges are set
- Make the royal icing:
- Beat the egg white with sifted powdered sugar and water until smooth and thick enough to hold its shape
- Decorate your skeletons:
- Transfer the icing to a piping bag with a fine tip and create simple skeleton faces and ribs, then let them dry completely before stacking
 Save to Pinterest
 My friend Sarah brought these to a Halloween movie marathon and we spent the whole night making up backstories for each skeleton cookie. By the time the credits rolled on the second movie, half the cookies were gone and the other half had tiny personalities assigned to them.
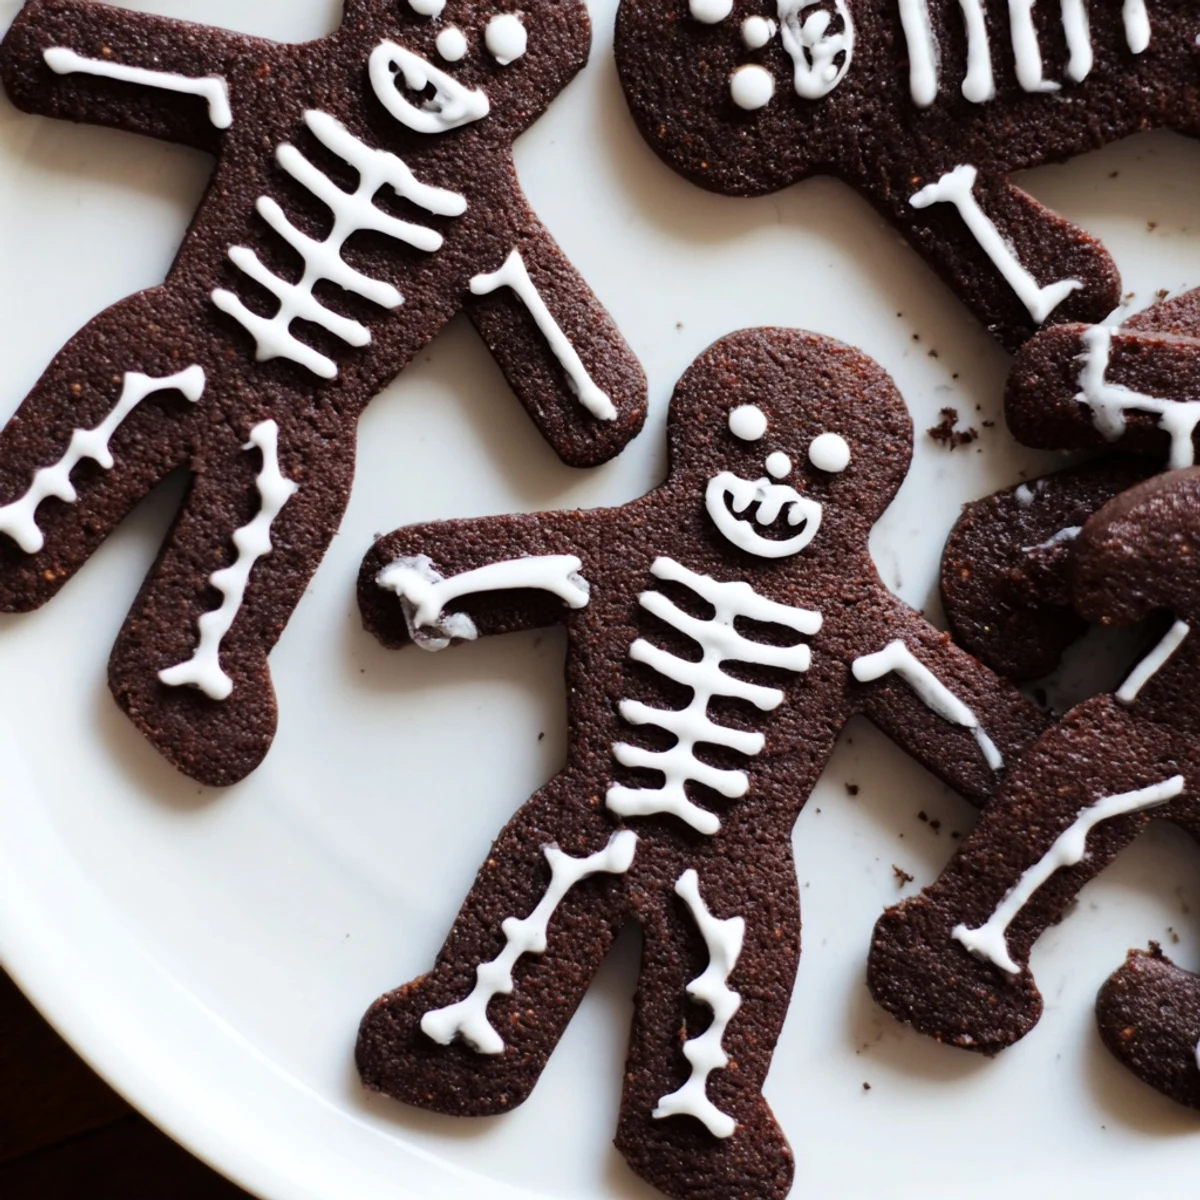
Getting That Perfect Skeleton Shape
The trick to recognizable skeletons is keeping your icing lines thin and consistent. I like to practice a few strokes on parchment paper before I commit to the actual cookies. If you make a mistake, just wipe it off immediately with a slightly damp paper towel and start again.
Customizing Your Spooky Crew
While classic white skeleton faces are traditional, I have found that adding a drop of food coloring to small portions of icing creates surprisingly fun variations. Pastel skeletons feel more whimsical while adding black details like bow ties or hats gives each cookie its own personality.
Storage And Timing Tips
These cookies actually improve after a day as the flavors meld together. The royal icing creates a perfect seal that keeps them fresh for up to a week in an airtight container. I always make the dough a day ahead and let it chill overnight since it rolls out so much easier.
- Freeze the undecorated baked cookies for up to a month and decorate them fresh when needed
- If your icing gets too thick while decorating, add water one drop at a time
- Let the iced cookies dry at least 4 hours or overnight before storing them stacked
 Save to Pinterest
 There is something deeply satisfying about turning simple ingredients into tiny edible characters that make people smile. These cookies have become my Halloween tradition not because they are perfect, but because they are fun.
Recipe FAQs
- → How long should I chill the cookie dough?
-
Refrigerate the dough for at least 30 minutes before rolling. This step prevents the cookies from spreading too much while baking and makes the dough easier to handle when cutting out shapes.
- → Can I make the dough ahead of time?
-
Yes, you can prepare the dough up to 2 days in advance. Wrap it tightly in plastic and store in the refrigerator. Let it soften slightly at room temperature before rolling.
- → What's the best way to store these cookies?
-
Keep finished cookies in an airtight container at room temperature for up to a week. Separate layers with parchment paper to prevent the icing from sticking or smudging.
- → Can I use meringue powder instead of egg white?
-
Absolutely. Replace one large egg white with 2 tablespoons of meringue powder mixed with water according to package instructions. This creates a stable, food-safe icing.
- → How do I get the skeleton designs right?
-
Use a piping bag with a fine tip for detailed lines. Start with basic bone shapes—long bones for limbs, oval for the skull, and rib lines for the torso. Let the first layer dry before adding details.
