 Save to Pinterest
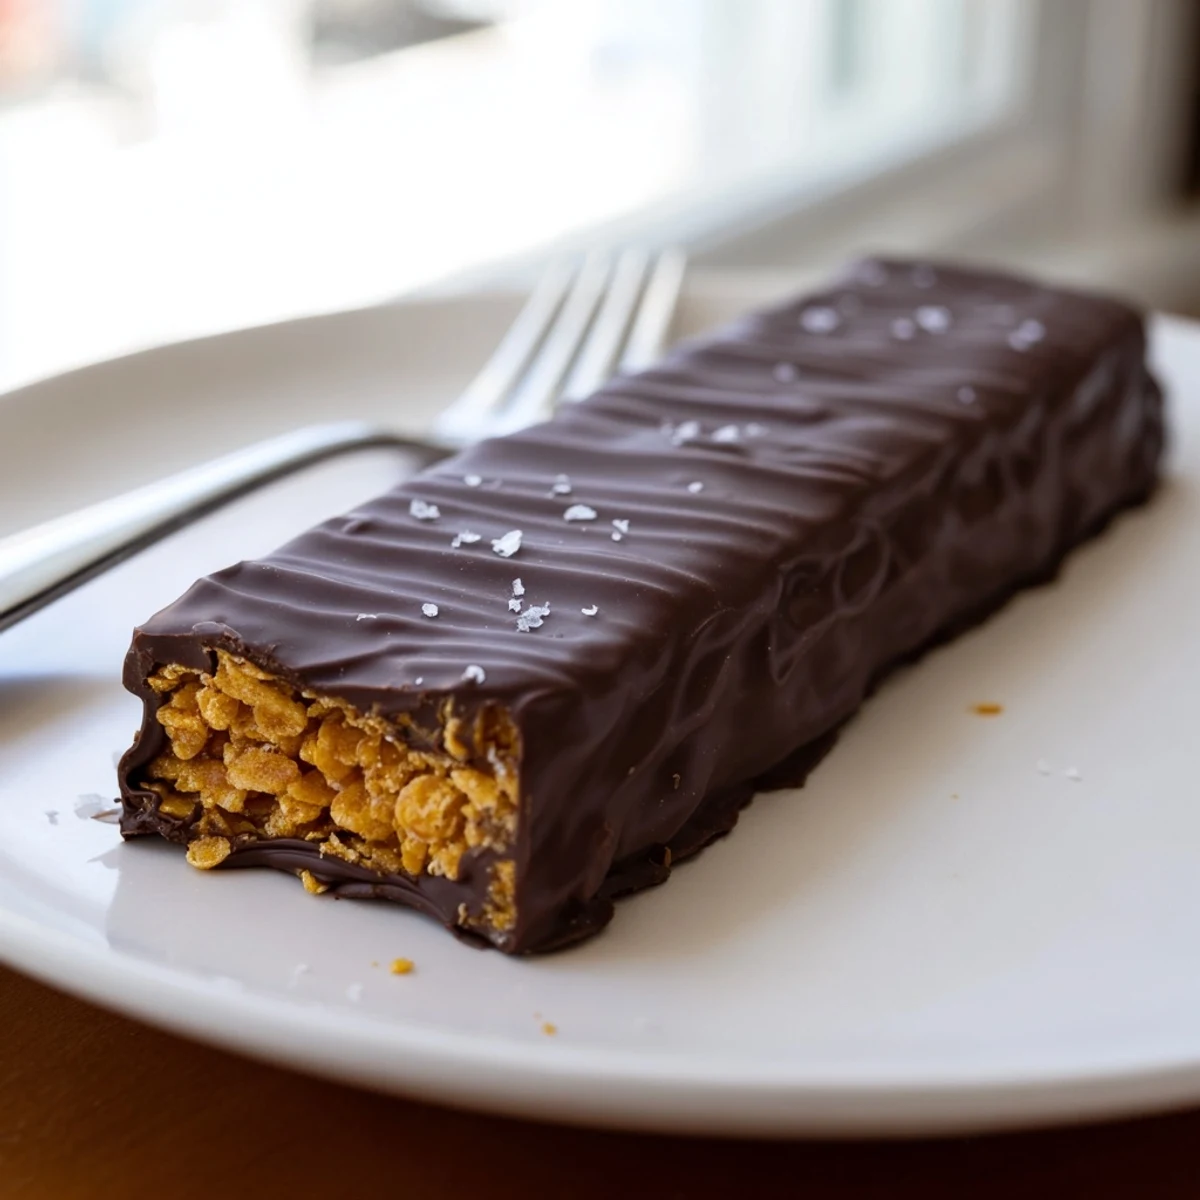
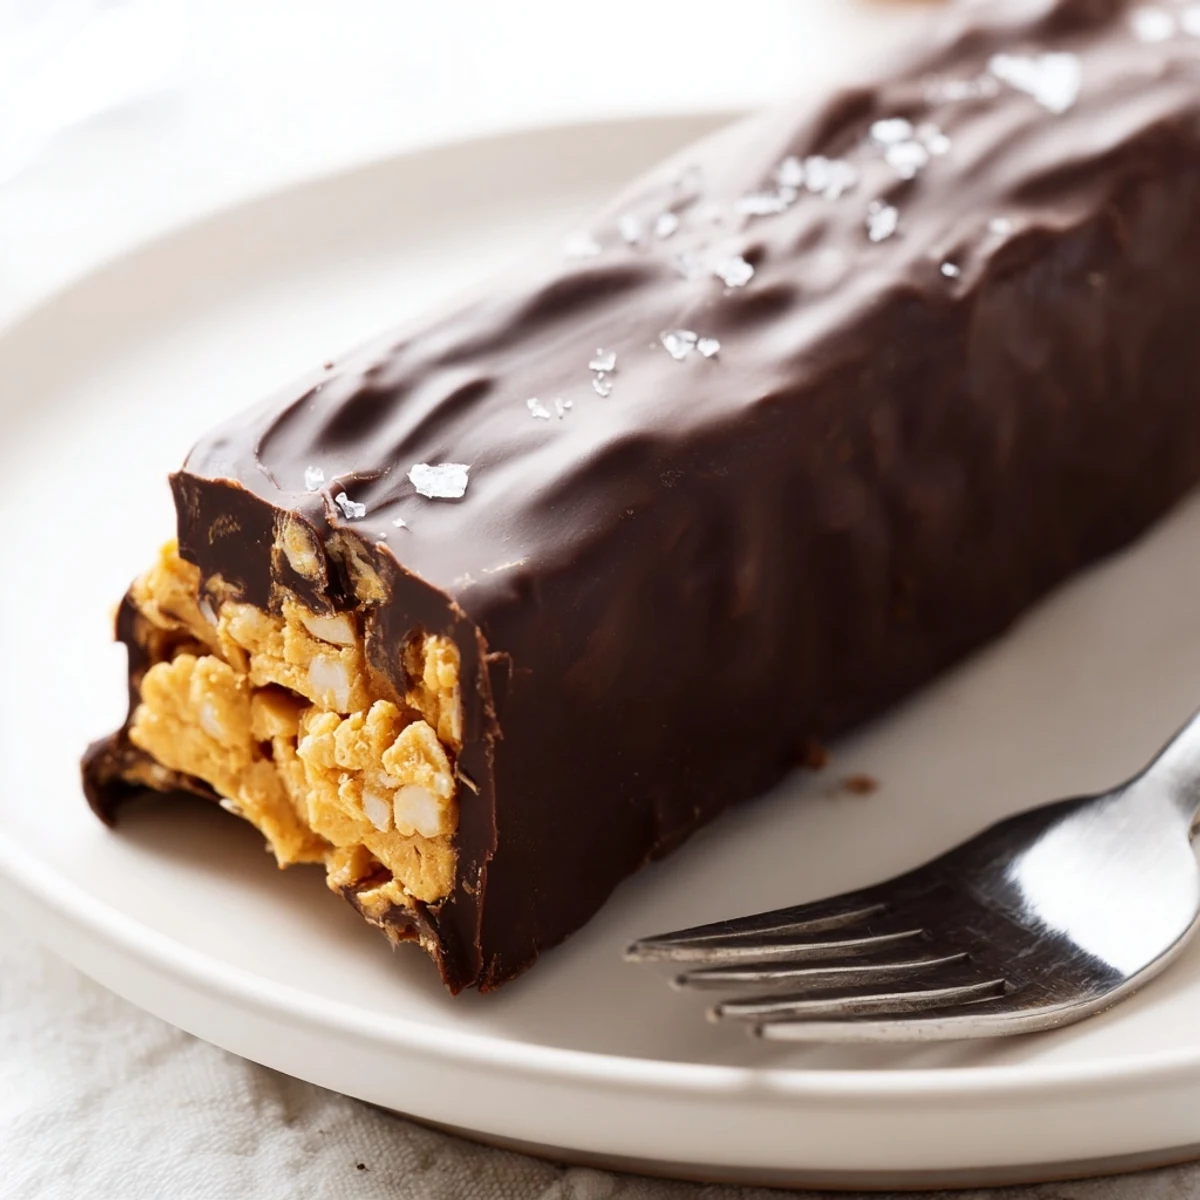
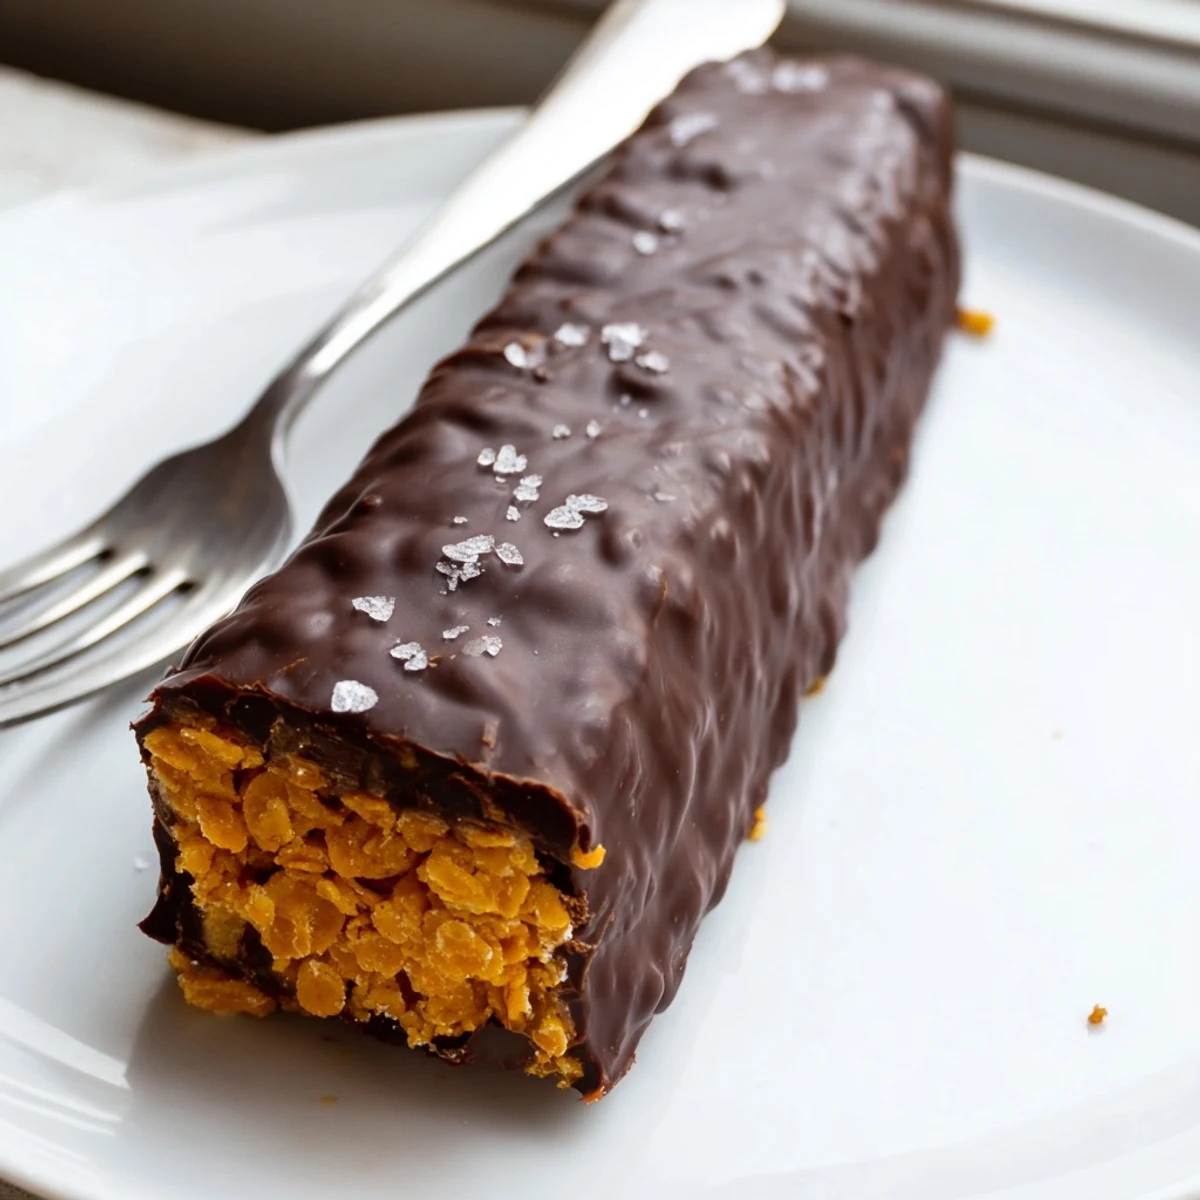
 These healthy homemade Butterfingers deliver everything you love about the classic candy bar with a wholesome twist. A crunchy peanut butter and corn flake center is pressed into bars, then enrobed in velvety dark chocolate.
Ready in under an hour with no baking required, they're vegetarian, naturally gluten-free, and sweetened with pure maple syrup. Keep them chilled for the perfect snap and store in the fridge for up to a week.
There is something almost rebellious about recreating a candy bar in your own kitchen, especially one as iconic as a Butterfinger. The smell of peanut butter warming on the stove alone is enough to make you question why you ever bought the wrapped version. These bars capture that same flaky, crunchy center but skip the artificial ingredients entirely. They come together in under an hour and disappear even faster.
I brought a batch of these to a movie night expecting them to last through two films. They were gone before the opening credits finished rolling, and my friend Sarah sent me three texts that week asking for the recipe.
Ingredients
- Natural creamy peanut butter (1 cup): Use the kind with just peanuts and salt on the label because the stabilized kind will not melt and bind as smoothly.
- Pure maple syrup or honey (1/2 cup): Maple syrup keeps the recipe vegan and adds a subtle caramel note that pairs beautifully with the peanut butter.
- Corn flakes, lightly crushed (2 cups): Do not crush them into dust because you want irregular shards that mimic that classic flaky Butterfinger texture.
- Dark chocolate chips, at least 70 percent cacao (1 1/2 cups): The higher cacao percentage balances the sweetness of the peanut butter layer and gives a snappy coating.
- Coconut oil (1 tablespoon): This thins the chocolate just enough for dipping and gives the shell a satisfying snap when you bite into it.
Instructions
- Prepare the pan:
- Line an 8 by 8 inch baking dish with parchment paper, leaving some overhang on the sides so you can lift the whole block out later without fighting it.
- Melt the peanut butter base:
- Combine the peanut butter and maple syrup in a saucepan over low heat, stirring constantly until the mixture is uniformly smooth and glossy, about 2 to 3 minutes. You will know it is ready when it flows like warm caramel.
- Fold in the crunch:
- Take the pan off the heat and gently fold in the crushed corn flakes with a spatula, trying to coat every flake without crushing them further into nothing.
- Press and freeze:
- Transfer the mixture to your prepared dish and press it down firmly with the back of a spoon or your hands. Pop it into the freezer for 20 to 30 minutes until it holds its shape when you press it with a finger.
- Melt the chocolate:
- Set up a double boiler by placing a heatproof bowl over a pan of barely simmering water, then stir the chocolate chips and coconut oil together until the mixture is completely smooth and shiny.
- Cut and dip:
- Lift the frozen peanut butter slab out of the dish using the parchment overhang and cut it into 12 even bars. Dip each bar into the chocolate with a fork, tap off the excess, and set them on a clean sheet of parchment.
- Chill until set:
- Refrigerate the coated bars for at least 20 minutes until the chocolate shell is firm to the touch and no longer glossy or tacky.
 Save to Pinterest
 The moment someone bites into one of these and asks where you bought them is the moment you realize homemade candy is worth every minute of effort.
Storing Your Butterfinger Bars
These bars need to live in the refrigerator because the chocolate coating softens at room temperature and the peanut butter center can become crumbly. An airtight container keeps them fresh for up to a week, and they actually taste better straight from the cold because the chocolate shell gets perfectly snappy.
Swaps and Substitutions
Almond butter or sunflower seed butter work beautifully in place of peanut butter if you are cooking for someone with a peanut allergy. For a fully vegan version, stick with maple syrup rather than honey and double check that your chocolate chips contain no dairy. A sprinkle of flaky sea salt on top of each bar right before the chocolate sets transforms them from great to completely irresistible.
Getting the Dipping Right
The trickiest part of this whole recipe is the dipping, but a few small habits make it nearly foolproof. Keep your chocolate warm and fluid over the double boiler while you work, and always tap the fork against the edge of the bowl to shake off excess chocolate in a thin, even layer.
- If the chocolate starts to thicken too much during dipping, simply set the bowl back over the simmering water for 30 seconds and stir.
- Use a toothpick to patch any bare spots on the corners of each bar before the chocolate sets.
- Do not skip the coconut oil because it is the difference between a coating that cracks and one that bends gracefully when you bite into it.
 Save to Pinterest
 Once you master these, you will never look at a store bought candy bar the same way again. Share them generously and keep a few hidden in the back of the fridge for yourself.
Recipe FAQs
- → Can I make these Butterfingers vegan?
-
Yes, simply use maple syrup instead of honey and choose dairy-free dark chocolate. Most dark chocolate chips with 70% cacao or higher are naturally vegan, but always check the label for milk derivatives.
- → What can I substitute for peanut butter?
-
Almond butter, sunflower seed butter, or cashew butter all work well as alternatives. Keep in mind that sunflower seed butter can sometimes turn slightly green when baked or chilled due to a natural reaction with chlorophyll—this is harmless.
- → How should I store these bars?
-
Store the bars in an airtight container in the refrigerator for up to one week. For longer storage, freeze them for up to three months. Let frozen bars sit at room temperature for about 10 minutes before enjoying for the best texture.
- → Why are my corn flakes too crushed or not crushed enough?
-
Lightly crushing the corn flakes is key—you want small pieces with some texture remaining, not fine crumbs. Gently press them in a sealed bag with your hands or a rolling pin. Larger pieces give more crunch, while smaller pieces create a denser bar.
- → Can I use milk chocolate instead of dark chocolate?
-
Absolutely. Milk chocolate will give a sweeter, more traditional candy bar flavor. Semi-sweet chocolate is another great middle-ground option. Just note that milk chocolate has a lower melting point, so the bars may soften more quickly at room temperature.
- → Why did my chocolate coating seize or become grainy?
-
Chocolate seizes when even a small amount of water comes into contact with it during melting. Make sure your bowl and utensils are completely dry, and avoid letting steam from the double boiler escape into the chocolate. Stir gently and consistently for a smooth finish.
