 Save to Pinterest
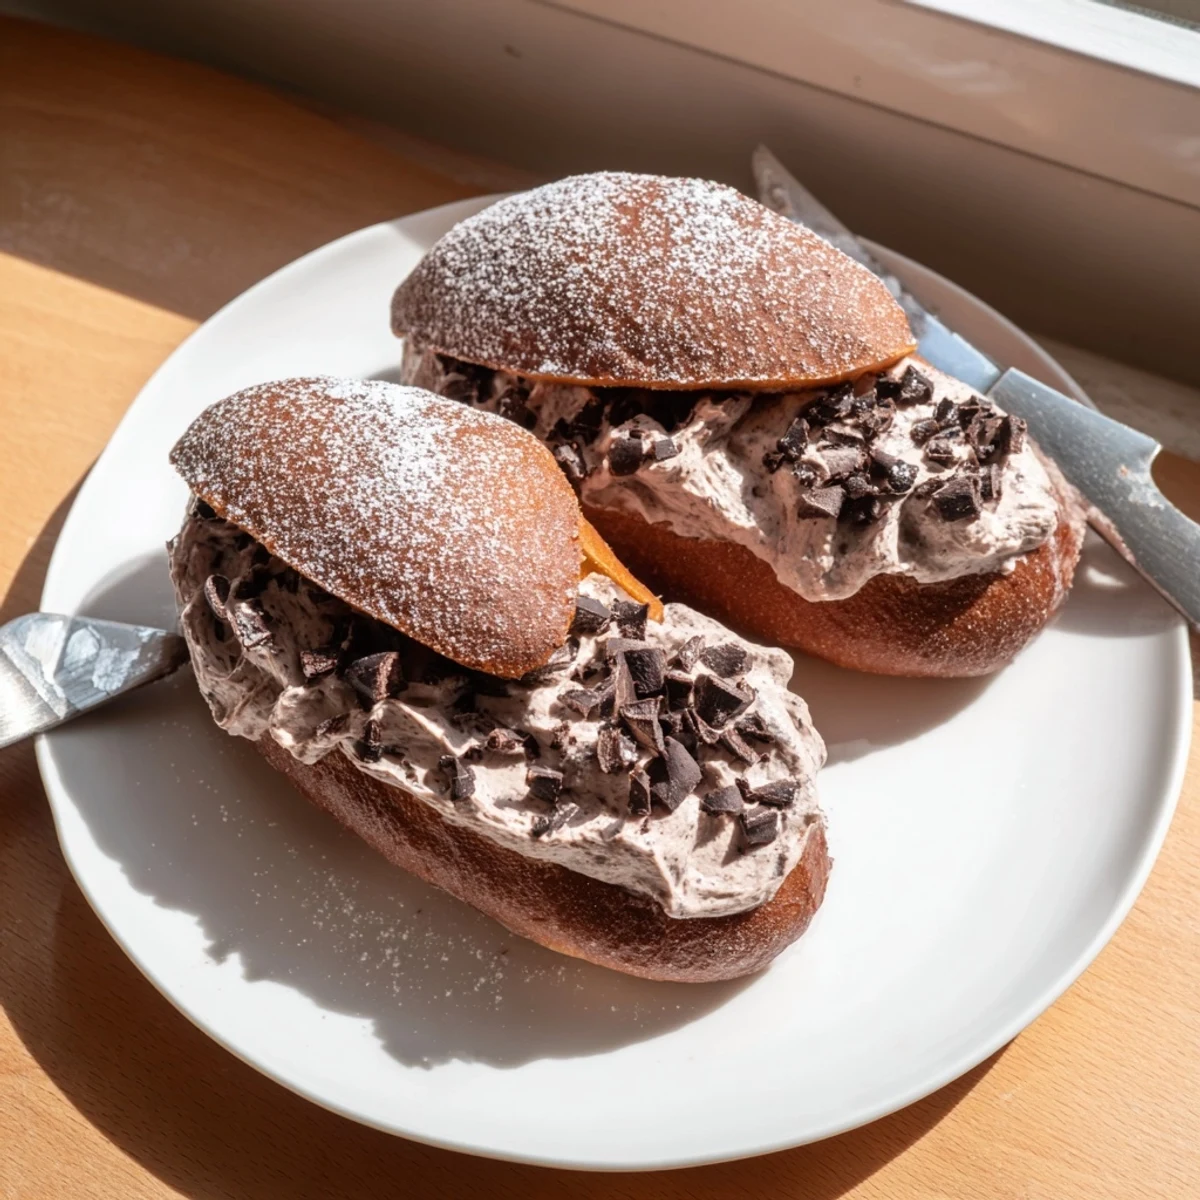
 Italian chocolate maritozzi are soft, pillowy sweet buns enriched with cocoa powder and studded with dark chocolate chunks. Originating from Rome, these beloved pastries are traditionally enjoyed at breakfast alongside a cappuccino.
Each bun is sliced open and generously filled with a luscious chocolate whipped cream made from heavy cream folded with melted dark chocolate. The dough requires two rises, resulting in an incredibly tender, airy crumb with deep chocolate flavor throughout.
While they take some patience with the proofing time, the actual hands-on work is straightforward. The result is a bakery-worthy pastry that's far more impressive than the effort required.
The smell of cocoa and yeast curling through my kitchen on a grey Sunday morning convinced me that some recipes are worth every minute of waiting. I had spotted maritozzi in a Roman bakery window years ago and never forgot those pillowy buns with cream spilling out. My first attempt was a shambles, but the chocolate version I eventually settled on is the one that disappears fastest whenever friends come over.
I brought a tray of these to my neighbor Lucias birthday brunch and she stood in the kitchen eating two before the guests arrived. She refused to share the leftovers with anyone and I took that as the highest compliment possible.
Ingredients
- All-purpose flour (350 g): Provides the sturdy but soft structure these enriched buns need.
- Unsweetened cocoa powder (40 g): Gives the dough its deep brown color and a subtle chocolate flavor that pairs beautifully with the filling.
- Whole milk, lukewarm (120 ml): The fat in whole milk keeps the crumb tender and activates the yeast properly.
- Granulated sugar (60 g): Just enough sweetness for the dough without overpowering the chocolate.
- Active dry yeast (7 g): Make sure your yeast is fresh for a reliable rise.
- Large egg (1): Enriches the dough and contributes to that golden, slightly shiny crust after baking.
- Unsalted butter, softened (40 g): Adds richness and a melt-in-the-mouth quality you simply cannot skip.
- Vanilla extract (1/2 tsp for dough, 1 tsp for filling): Rounds out the chocolate flavor in both components.
- Salt (1/2 tsp): Essential for balancing sweetness and strengthening the gluten network.
- Dark chocolate, chopped (60 g): Folded in at the end of kneading, these chunks melt into gorgeous pockets throughout each bun.
- Heavy whipping cream (300 ml): The base of the filling, whipped to firm peaks for a light, luxurious texture.
- Dark chocolate, melted and cooled (70 g): Folded into the whipped cream for a silky, deeply chocolaty filling.
- Powdered sugar (30 g for filling, extra for dusting): Sweetens the cream without weighing it down.
- Egg yolk plus 2 tbsp milk (for brushing): Creates that beautiful burnished top on each bun.
Instructions
- Wake up the yeast:
- Stir the yeast and a tablespoon of sugar into the lukewarm milk and set it aside for about ten minutes. You want to see a frothy, bubbly layer on top that tells you the yeast is alive and ready.
- Build the dry base:
- In a large bowl whisk together the flour, cocoa powder, remaining sugar, and salt until evenly combined. Take a moment to enjoy how velvety the cocoa looks mixed into the flour.
- Bring everything together:
- Make a well in the center and drop in the egg, vanilla, softened butter, and the foamy yeast mixture. Stir with a wooden spoon until you have a shaggy, sticky dough that just holds together.
- Knead until silky:
- Turn the dough out and knead by hand or with a mixer for eight to ten minutes until it becomes smooth, elastic, and slightly tacky. Scatter in the chopped chocolate during the last minute of kneading so it distributes without melting completely.
- First rise:
- Place the dough in a clean, lightly oiled bowl, cover it with a damp towel, and leave it somewhere warm for one to two hours. It should double in size and feel puffy and airy when you gently poke it.
- Shape the buns:
- Divide the risen dough into eight equal pieces and roll each into a plump oval. Set them on a parchment-lined baking tray with a few centimeters of space between them.
- Second rise:
- Cover the shaped buns loosely and let them puff up for about forty minutes. They should look noticeably swollen and soft to the touch.
- Brush and bake:
- Preheat your oven to 180 degrees C (355 degrees F). Whisk the egg yolk with two tablespoons of milk and brush it gently over each bun. Bake for fifteen to eighteen minutes until the tops are set and the buns feel just firm when tapped.
- Make the chocolate cream:
- Whip the heavy cream with powdered sugar and vanilla to firm peaks that hold their shape. Gently fold in the melted and cooled dark chocolate with a spatula until the cream is uniformly rich and brown.
- Fill and serve:
- Once the buns are completely cool, slice each one lengthwise leaving a hinge at the back. Pipe or spoon a generous amount of chocolate cream into each bun, dust with powdered sugar, and serve immediately.
 Save to Pinterest
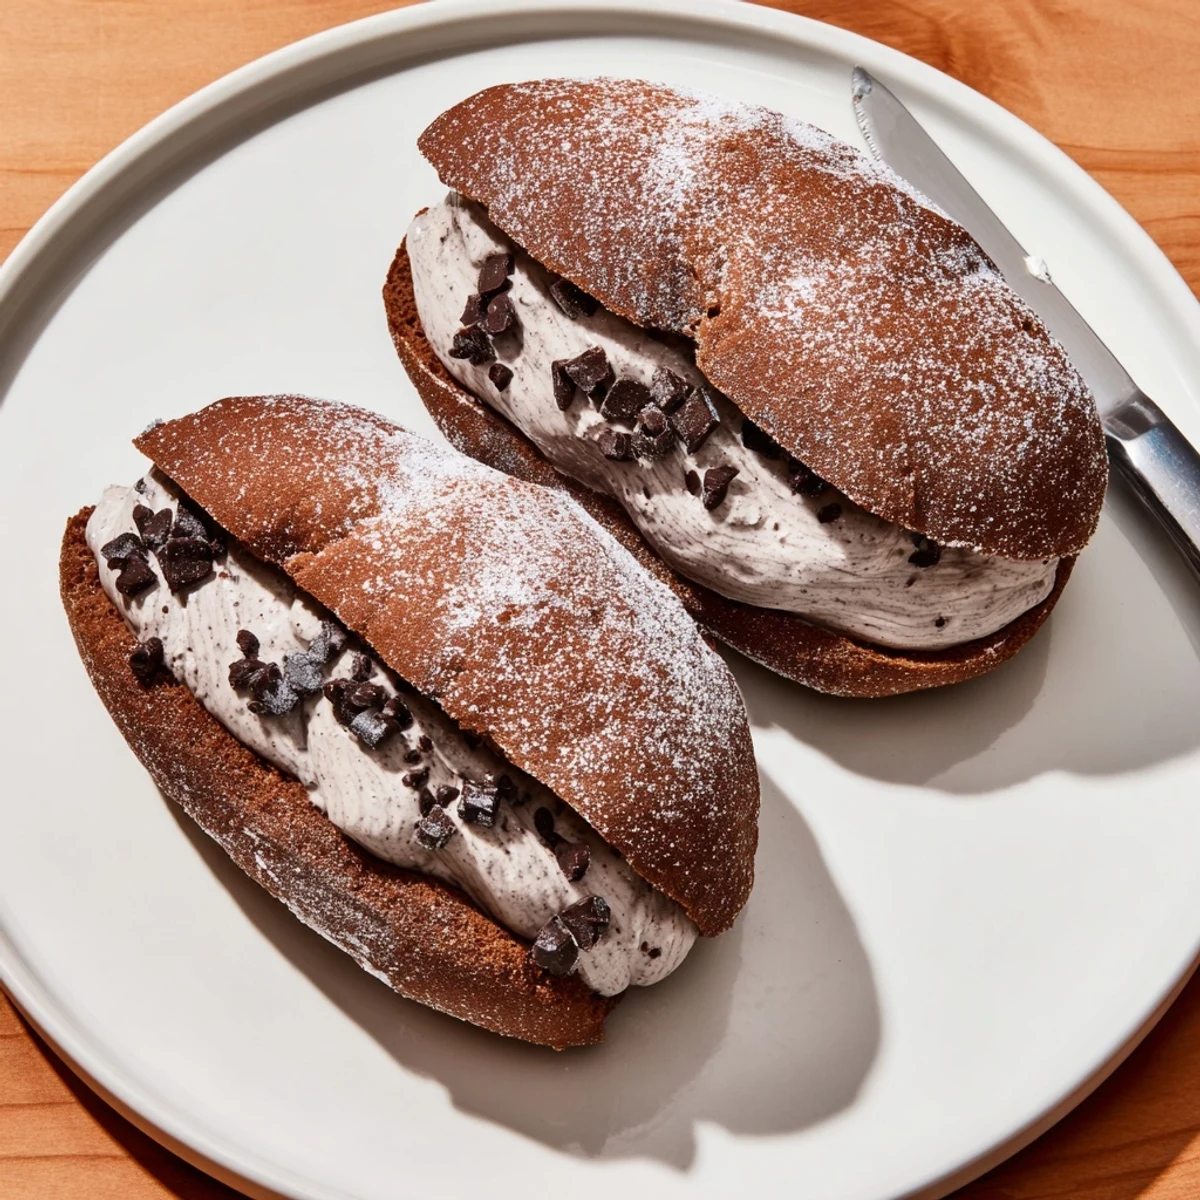
 The moment I sliced open that first bun and the chocolate cream oozed out I knew this recipe was going into permanent rotation.
Working with Yeasted Chocolate Dough
Chocolate dough behaves differently than plain dough because cocoa powder absorbs moisture and can make the mixture feel stiff. Trust the kneading process and resist the urge to add extra liquid too early, because the butter and egg will gradually soften everything as you work it.
Getting the Filling Right
The filling is where you can really play around with intensity. Use a dark chocolate with at least 60 percent cocoa for a grown-up bitterness that balances the sweet bun, or swap in milk chocolate if you want something gentler and more nostalgic.
Serving and Storing
These buns are at their absolute best within a couple of hours of filling, when the cream is still cold and the bun is soft. If you need to prepare ahead, bake the buns a day in advance and fill them just before serving.
- Store unfilled buns in an airtight container at room temperature for up to two days.
- Refrigerate any filled leftovers and eat them within 24 hours for the best texture.
- Serve alongside a strong espresso or cappuccino for the full Roman experience.
 Save to Pinterest
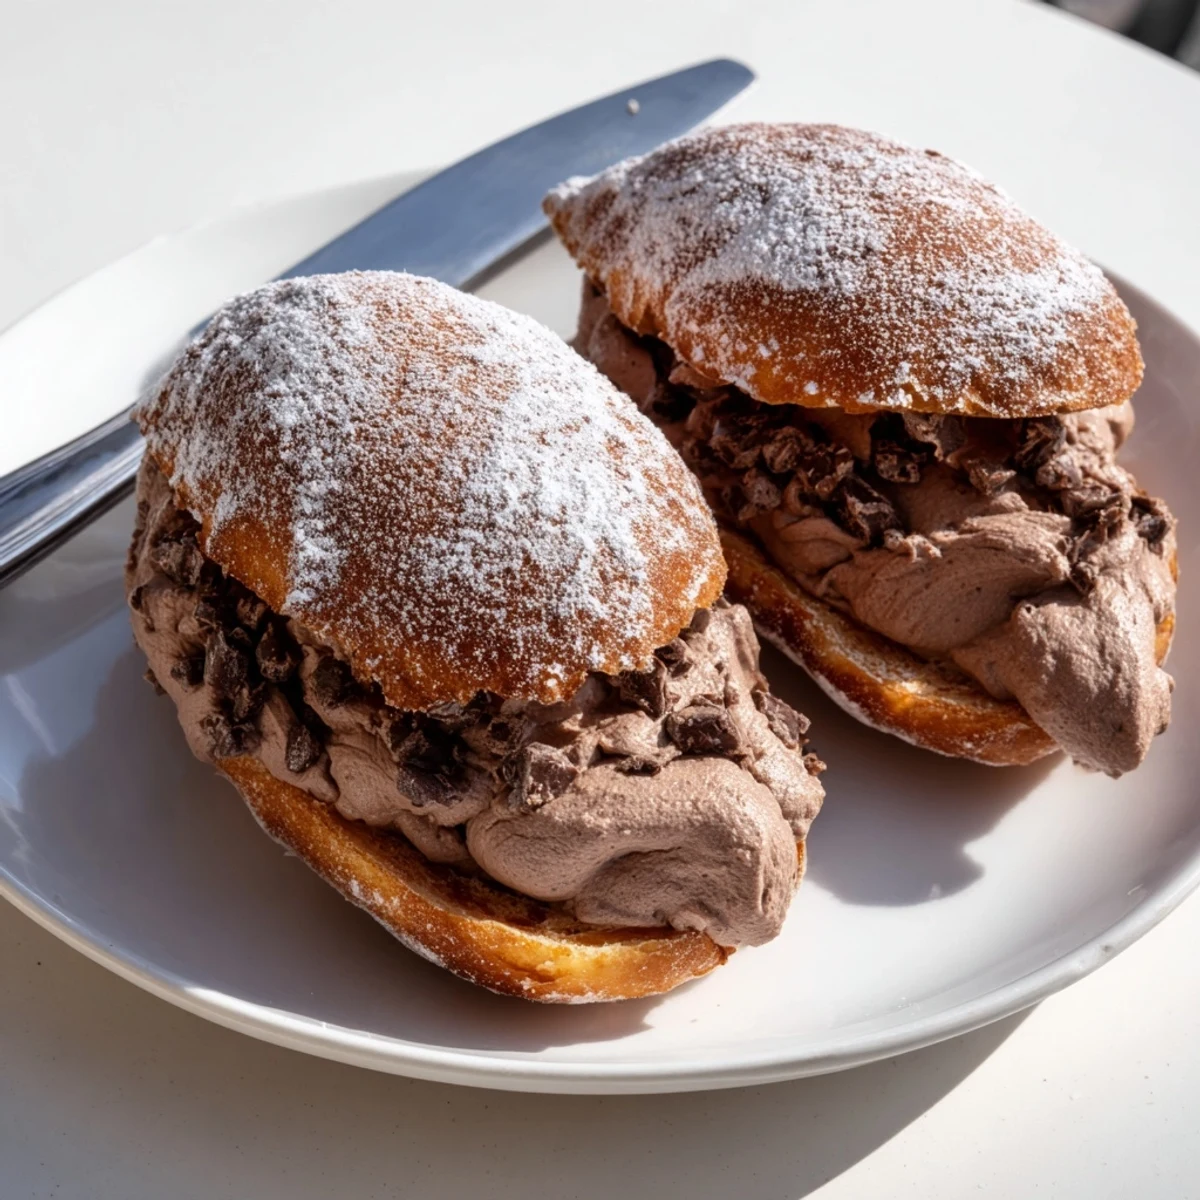
 There is something deeply satisfying about pulling a tray of chocolate buns from the oven and knowing that in just a little while they will become something extraordinary. Share them with someone you love, or quietly enjoy one by yourself with a hot cup of coffee.
Recipe FAQs
- → Can I make the dough ahead of time?
-
Yes, you can prepare the dough through step 4, then refrigerate it for up to 12 hours for a slow cold rise. This actually develops deeper flavor. Let it come to room temperature for about 30 minutes before shaping the buns.
- → Why did my maritozzi turn out dense?
-
Dense buns usually mean the yeast wasn't properly activated or the dough didn't rise long enough. Ensure your milk is lukewarm — not hot — and the yeast mixture becomes foamy before using. Also, give the dough full rising time until visibly doubled.
- → Can I use milk chocolate instead of dark chocolate?
-
Absolutely. Milk chocolate will give a sweeter, creamier filling that's closer to a traditional maritozzi con la panna. Just note the buns themselves will be less intensely chocolatey if you also swap the cocoa-based dough.
- → How should I store leftover maritozzi?
-
Store filled maritozzi in the refrigerator for up to 2 days, though they're best enjoyed the same day. The whipped cream filling softens the buns over time. Unfilled buns can be kept at room temperature for 1 day or frozen for up to 1 month.
- → Can I freeze the baked buns before filling?
-
Yes, baked unfilled buns freeze beautifully for up to 3 months. Thaw them at room temperature, then warm briefly in a low oven before slicing and filling with freshly made chocolate whipped cream.
- → What type of cocoa powder works best for the dough?
-
Unsweetened natural cocoa powder gives the best results for both flavor and color. Dutch-processed cocoa will also work but produces a milder, less complex chocolate taste and a darker, redder crumb.
