 Save to Pinterest
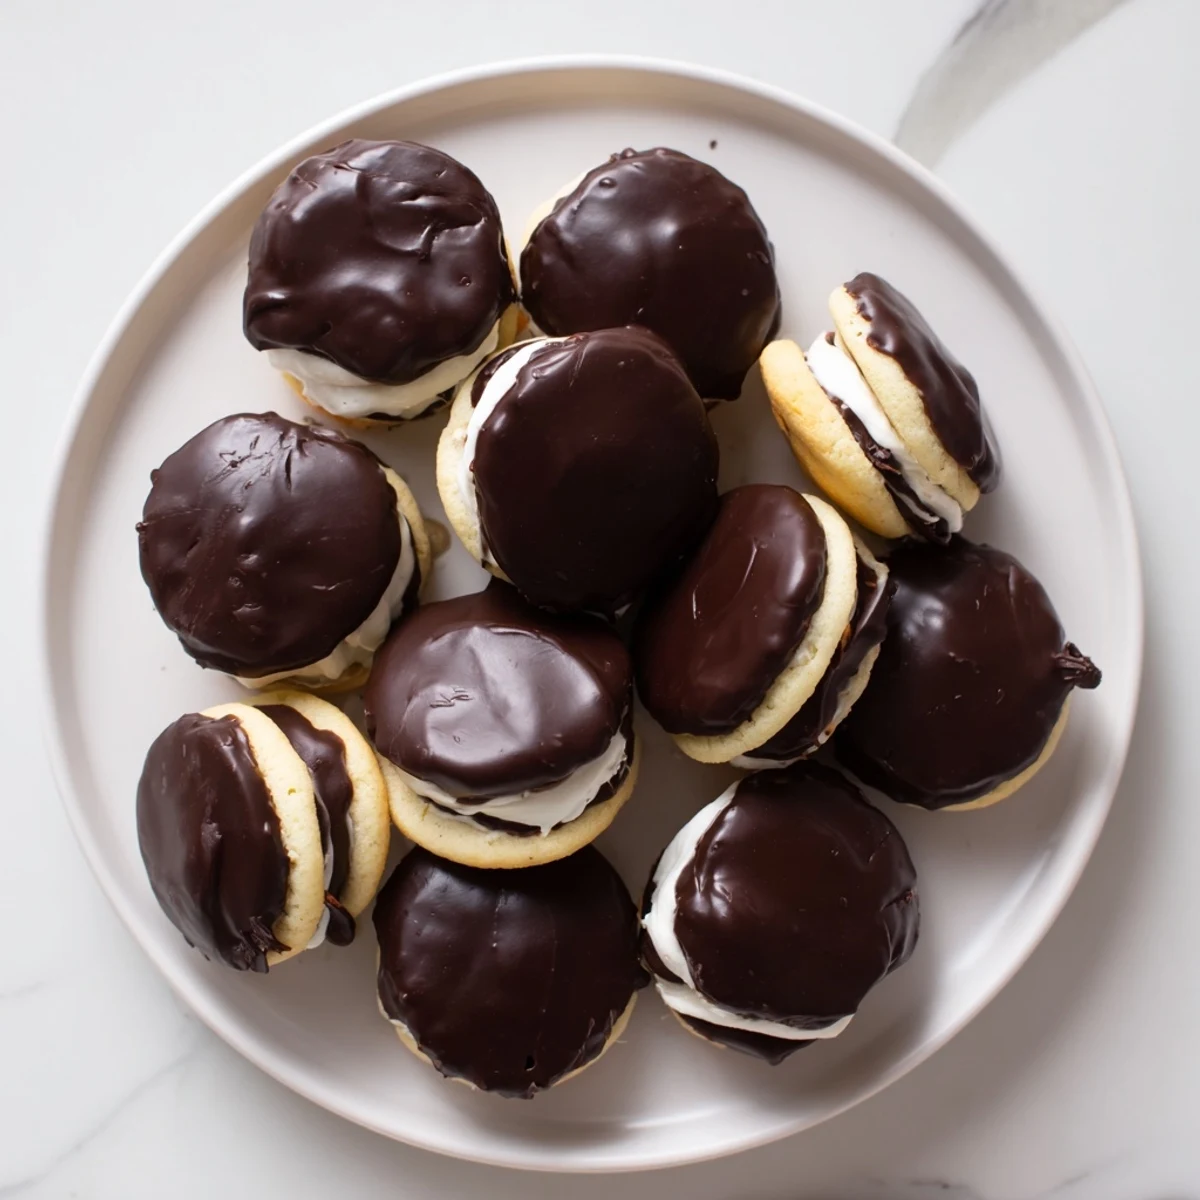
 These delightful two-bite treats combine tender vanilla cookies with silky homemade custard filling and a glossy chocolate topping. Inspired by the iconic Boston cream pie, each handheld morsel delivers the perfect trifecta of textures—soft cake-like cookie, smooth vanilla cream, and firm chocolate coating.
The process involves making a simple vanilla cookie dough, preparing a quick stovetop custard, and whipping up a three-ingredient chocolate glaze. After baking the cookies until lightly golden, you'll sandwich them with the chilled custard and crown each with a decadent chocolate cap.
Store these treats in the refrigerator to keep the custard fresh. For convenience, swap the homemade filling with store-bought vanilla pudding. Consider adding rum or espresso to the custard for an elevated adult version.
My apartment smelled like a bakery that day, the kind where you stand on the sidewalk and just inhale deeply before deciding to go inside. I had set out to make cookies, but somewhere between mixing the dough and making custard, this happened instead.
My roommate walked in, saw the cooling rack, and immediately asked what corporate event I was catering for. When I told her they were just for us, we proceeded to eat three each while standing in the kitchen, chocolate on our fingers, not saying much because pudding cookies demand respectful silence.
Ingredients
- All purpose flour: The foundation of everything good, spooned and leveled not scooped or your dough gets heavy
- Unsalted butter: Softened properly, not melted in the microwave because that changes how it incorporates with sugar
- Granulated sugar: Creamed thoroughly until the mixture looks pale and fluffy, this is what creates tender cookies
- Egg and vanilla: Room temperature ingredients blend better and prevent the dough from separating
- Whole milk: Full fat makes the silkiest custard, anything less feels thin and disappointing
- Cornstarch: The magic thickener that transforms milk and egg yolk into proper pudding texture
- Semi sweet chocolate: Chopped from a bar melts more evenly than chips which have stabilizers that make glaze less smooth
- Heavy cream: Just enough to make the chocolate glossy and pourable, not ganache thick
Instructions
- Get everything ready:
- Preheat your oven to 350°F and line a baking sheet with parchment paper, trust me, you will thank yourself later when cleanup happens
- Whisk the dry team:
- In a bowl, combine flour with baking powder, baking soda, and salt, set this aside and focus on the butter now
- Cream butter and sugar:
- Beat softened butter with sugar until the mixture turns pale and fluffy, this takes longer than you think but makes all the difference
- Add the wet ingredients:
- Beat in your egg and vanilla, then slowly add those dry ingredients while alternating with milk until a soft dough forms
- Shape and bake:
- Roll tablespoon portions into balls, flatten slightly, and bake for 10 to 12 minutes until edges turn golden
- Make the custard:
- Whisk milk, sugar, egg yolk, cornstarch, vanilla, and salt in a saucepan over medium heat until thickened, about 3 to 4 minutes of constant whisking
- Chill properly:
- Press plastic wrap directly onto the surface to prevent skin from forming, then refrigerate until completely set and cool
- Prepare the chocolate:
- Melt chocolate with cream and butter in 20 second microwave bursts, stirring until smooth and let it cool slightly so it is not too runny
- Assemble everything:
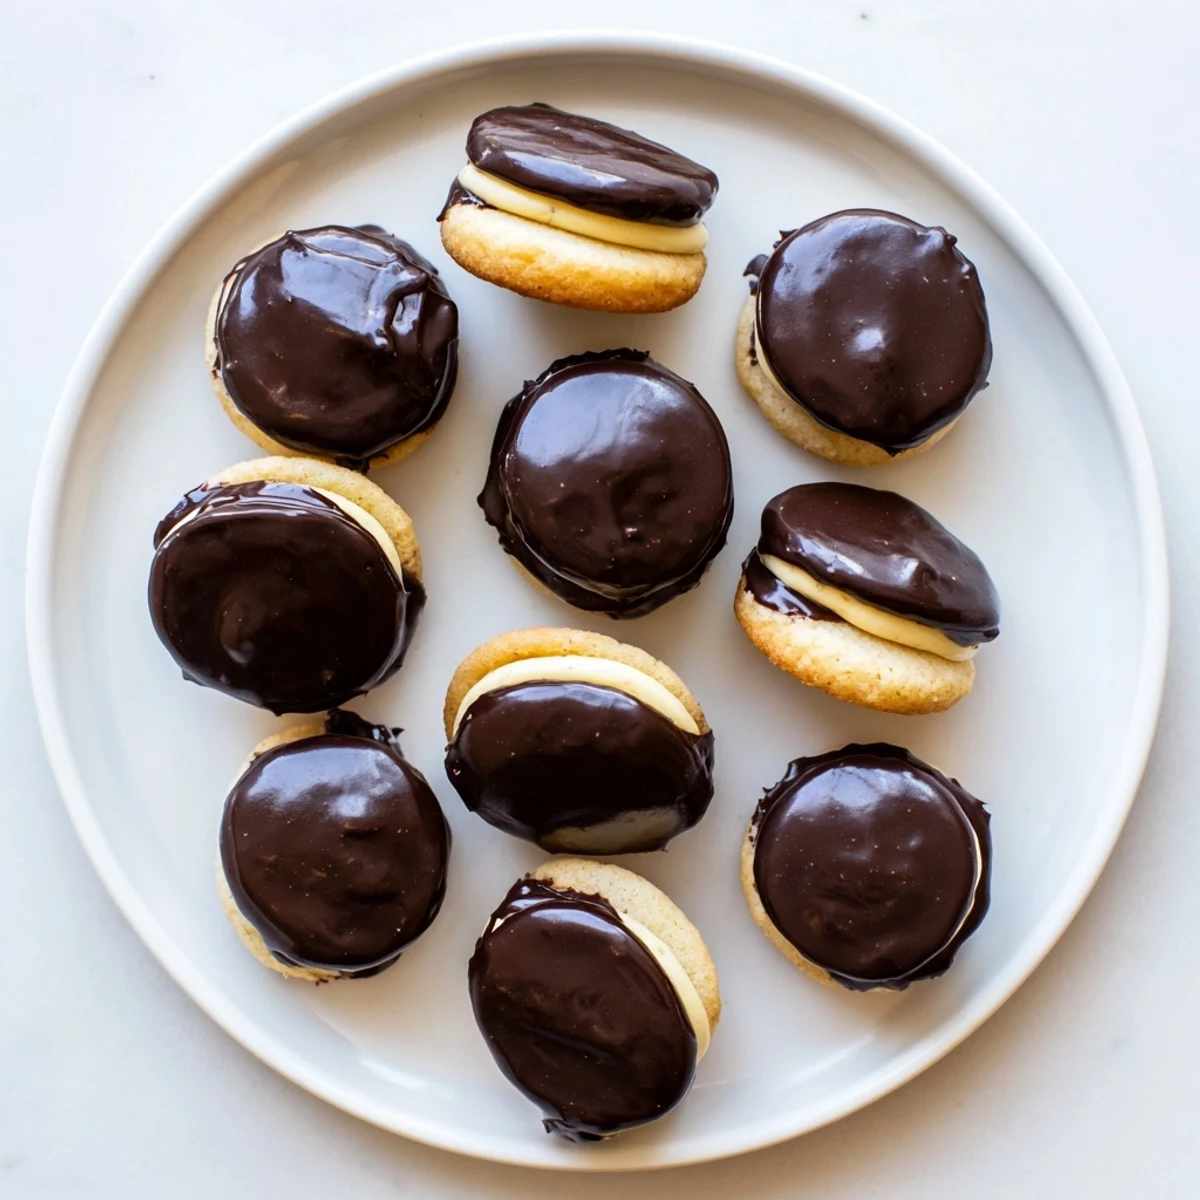
- Spoon custard onto half the cookies, top with remaining cookies, then drizzle or pipe chocolate over each one
 Save to Pinterest
 The first time I made these for a potluck, the host texted me two days later asking for the recipe because her husband had apparently dreamt about them. That is when you know a recipe is a keeper.
Getting the Cookie Texture Right
Underbake these by just a minute or they become too crisp to sandwich properly. You want them soft and pillowy, still slightly bendable when fresh from the oven. They will firm up as they cool but should never snap like a regular cookie.
Custard Shortcuts That Actually Work
Homemade custard is wonderful but sometimes life is too short for whisking over a stove. Store bought vanilla pudding works, just add an extra splash of vanilla extract to make it taste less like the cafeteria and more like you tried.
Assembly Line Strategy
Set up your workspace with cookies on one side, custard in the middle, and a cooling rack at the end. Pipe the custard onto half the cookies first, then top them all before starting the chocolate glaze.
- Melt extra chocolate for dipping because you will inevitably sample the glaze quality repeatedly
- Have sprinkles ready if you are feeling fancy, they need to be added while chocolate is still wet
- These disappear faster than you expect, consider doubling the recipe if feeding a crowd
 Save to Pinterest
 Keep a batch in the refrigerator for when that 3pm sugar hit hits and you need something that feels like a hug in dessert form.
Recipe FAQs
- → Can I make the cookie dough ahead of time?
-
Yes, the cookie dough can be prepared and refrigerated for up to 24 hours before baking. Let it soften slightly at room temperature for easier scooping, or freeze portions of dough for up to 3 months and bake from frozen, adding 1-2 minutes to the baking time.
- → How do I prevent the custard from being too runny?
-
Cook the custard mixture over medium heat while whisking constantly until it noticeably thickens and coats the back of a spoon. This typically takes 3-4 minutes. Pressing plastic wrap directly onto the surface while chilling prevents a skin from forming and ensures proper setting.
- → Can I use different chocolate for the glaze?
-
Absolutely. Semi-sweet chocolate provides balanced sweetness, but you can substitute milk chocolate for a sweeter coating or dark chocolate (60-70% cocoa) for a more intense, less sweet finish. Adjust the cream slightly—more for dark chocolate, less for milk chocolate—to achieve proper consistency.
- → What's the best way to fill the cookies?
-
A piping bag fitted with a round tip gives the neatest results, allowing you to pipe a neat ring of custard and fill the center. Alternatively, use a small spoon or zip-top bag with a corner snipped off. Aim for about 1 teaspoon of filling per cookie to avoid overflow when sandwiching.
- → How should I store these finished treats?
-
Store in an airtight container in the refrigerator for up to 3 days. The custard requires refrigeration for food safety. Place parchment paper between layers to prevent sticking. Let them sit at room temperature for 10-15 minutes before serving for the best texture and flavor.
- → Can I freeze the assembled cookie bites?
-
Freezing isn't recommended because the custard texture changes and becomes grainy upon thawing. However, you can freeze the baked cookies unfilled for up to 2 months. Thaw at room temperature, then prepare fresh custard and glaze when ready to assemble and serve.
