 Save to Pinterest
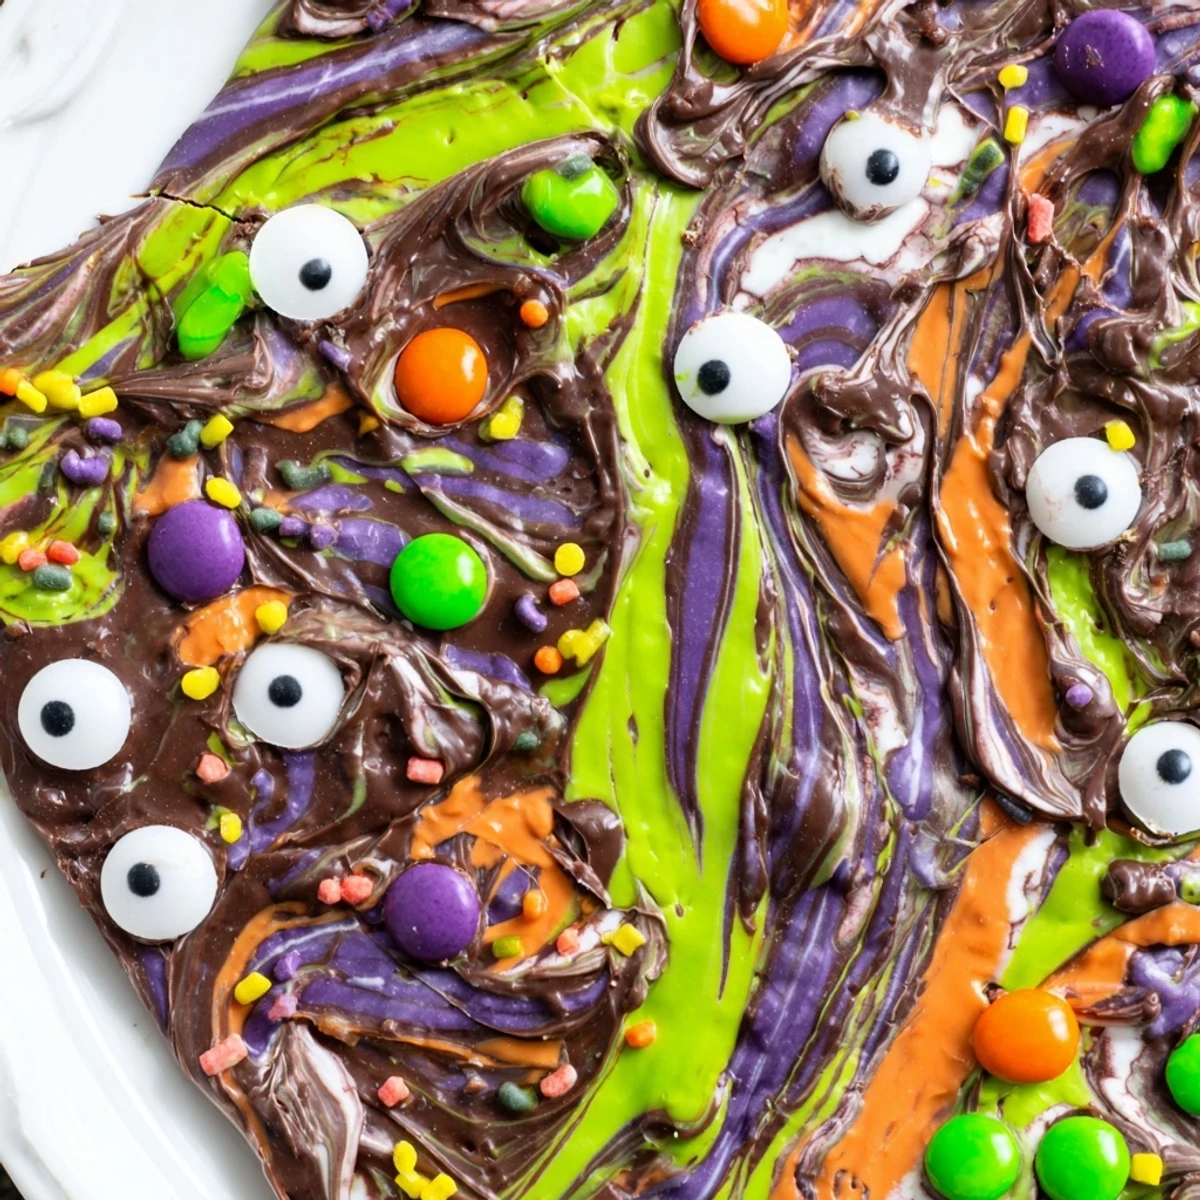
 This festive Halloween treat layers melted semisweet chocolate with swirled white chocolate and colorful candy melts, creating a marbled effect that looks magical when topped with candy eyes and sprinkles. The entire process takes just 20 minutes from start to finish, making it an ideal last-minute addition to your Halloween spread. Simply melt the chocolates, spread them on a lined baking sheet, swirl the colors together with a toothpick, and scatter your toppings while everything is still warm. Once set, break into jagged pieces that resemble enchanted chocolate shards.
Last October my kitchen turned into a complete chocolate laboratory after my daughter declared we needed something spookier than regular cookies for her class party. We ended up making three batches because I kept eating the candy eyes while trying to arrange them.
The first time I made this bark I forgot the parchment paper and spent twenty minutes chipping chocolate off a baking sheet with a butter knife. Now I keep a whole roll of parchment specifically for Halloween treats.
Ingredients
- Semisweet chocolate chips: This creates your dark canvas and balances out the sweeter white chocolate perfectly
- White chocolate chips: The contrast against dark chocolate looks like spider webs when swirled
- Colorful candy melts: Pick neon greens and purples for that witches brew aesthetic
- Mini candy-coated chocolates: These add pops of color and satisfying crunch throughout
- Candy eyes: Absolutely essential for the spooky factor and surprisingly fun to position
- Halloween sprinkles: Any combination works but orange and black tie everything together
Instructions
- Prep your workspace:
- Line a baking sheet with parchment paper because trying to move set bark without it is a nightmare I have lived through and do not recommend.
- Melt the dark chocolate:
- Microwave the semisweet chips in 30 second intervals stirring between each until completely smooth and glossy like liquid silk.
- Spread your base:
- Pour the dark chocolate onto your prepared sheet and tilt it around until you have an even layer about a quarter inch thick.
- Prepare the colors:
- Melt the white chocolate and colored candy melts in separate bowls each getting their own microwave treatment.
- Create the swirl:
- Drop spoonfuls of the lighter chocolates randomly across the dark base then drag a toothpick through them in figure eight patterns for that mysterious marble effect.
- Add the spooky details:
- Scatter candy eyes chocolates and sprinkles immediately while everything is still warm so they stick in place.
- Let it set:
- Leave it at room temperature for about 20 minutes or pop it in the fridge for 10 to 15 if you are impatient like me.
- Break into pieces:
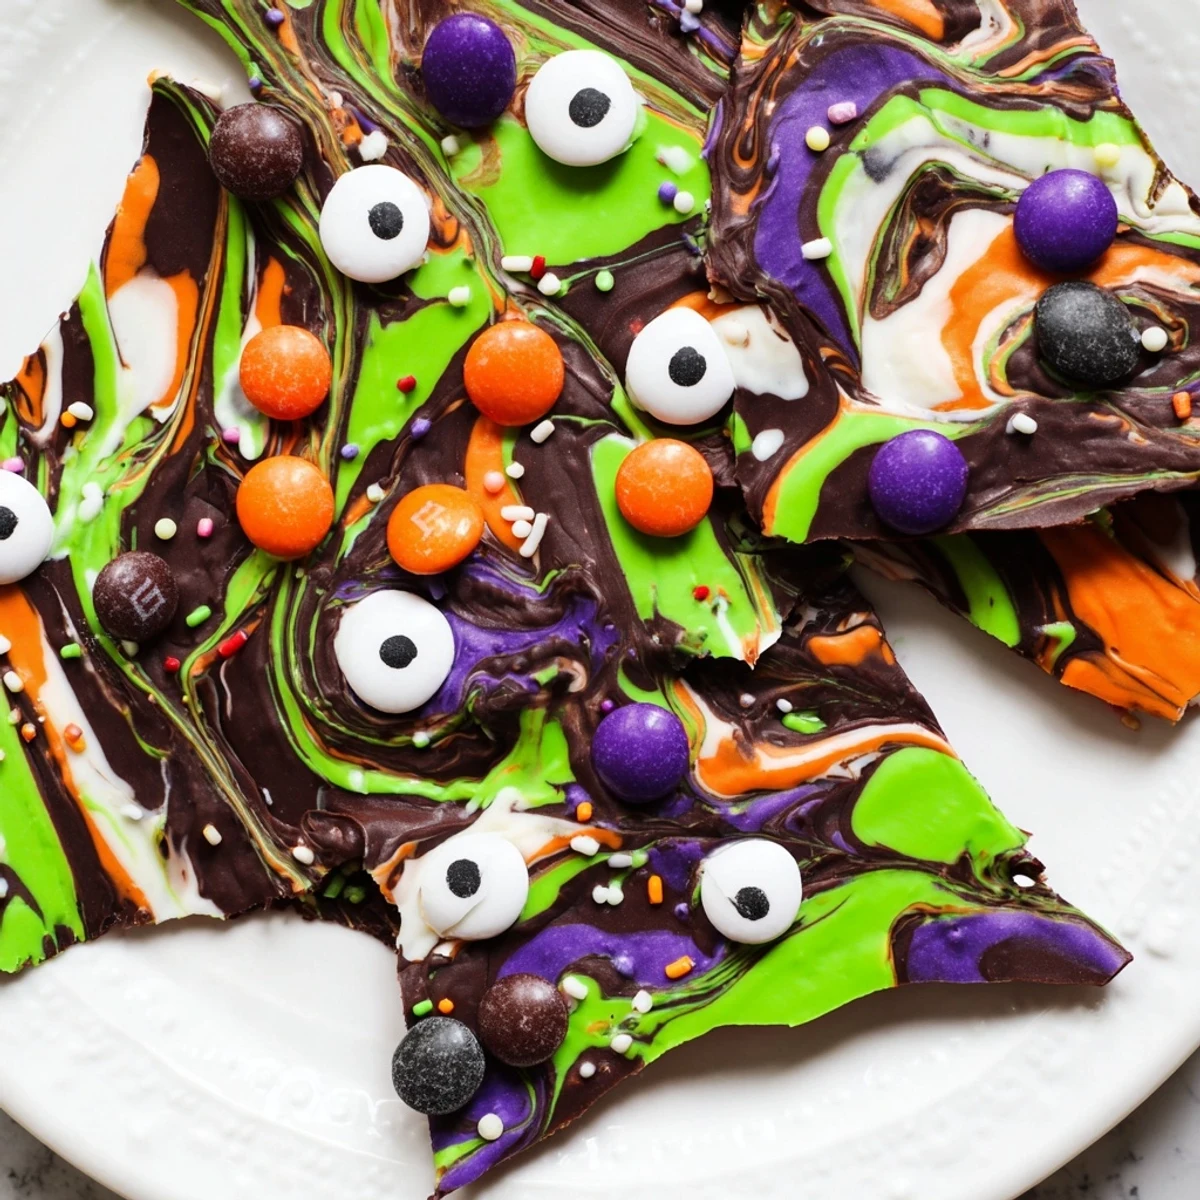
- Use your hands to snap the bark into jagged irregular shards which looks way more dramatic than cutting it.
 Save to Pinterest
 My neighbor text me at midnight last Halloween asking for the recipe after seeing a photo I posted. Her kids now request it every October and she sends me pictures of their different versions.
Making It Your Own
Try swapping the semisweet for milk chocolate if you prefer sweeter treats or go with dark chocolate for a more sophisticated edge. The swirling technique works with any combination.
Storage Secrets
Keep this bark in an airtight container somewhere cool and dark. I learned the hard way that leaving it near a sunny window turns those beautiful swirls into a sad puddle.
Serving Suggestions
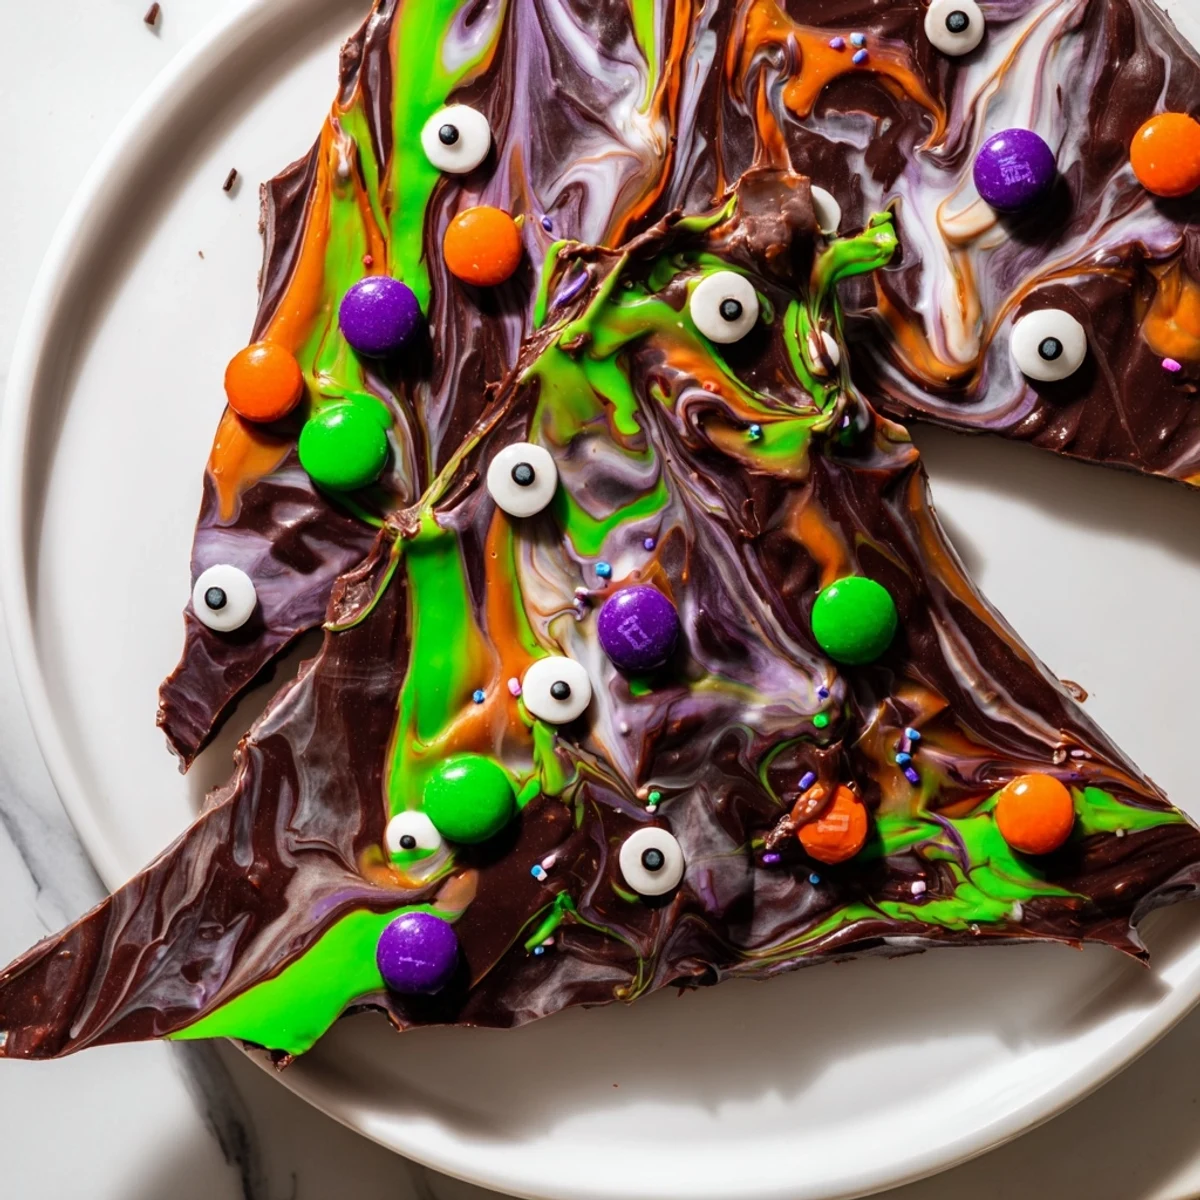
Pile chunks into clear treat bags tied with orange ribbon for party favors or arrange on a rustic wooden board for a Halloween gathering. The jagged pieces look striking against black plates.
- Set out small tongs so guests do not have to touch everything
- Label with a clever sign like Witches Temptations or Potion Pieces
- Make extra because this disappears faster than you expect
 Save to Pinterest
 Nothing beats breaking off a piece of this bark and seeing those little candy eyes staring back at you. Happy haunting.
Recipe FAQs
- → How far in advance can I make this bark?
-
You can prepare this chocolate bark up to one week in advance. Store it in an airtight container at cool room temperature, or refrigerate for longer freshness. The bark holds its texture and appearance beautifully when stored properly.
- → Can I use different types of chocolate?
-
Absolutely! While semisweet chocolate provides a classic flavor, you can substitute with milk chocolate for a sweeter profile or dark chocolate for a more intense taste. The melting technique remains the same regardless of your chocolate preference.
- → What if I don't have candy melts?
-
You can use additional white chocolate tinted with gel food coloring, or simply create swirls with just the semisweet and white chocolate. The marbled effect works beautifully with two colors, and you can always add extra sprinkles for pops of color.
- → How do I get the best marbled swirl effect?
-
Work quickly while the chocolates are still fluid. Drop spoonfuls of contrasting colors randomly over the base, then use a toothpick or skewer to gently drag through the puddles in curved motions. Avoid over-swirling, which can muddy the colors together.
- → Is this suitable for nut-free Halloween parties?
-
Yes, with careful ingredient selection. Choose chocolate chips and candies that are certified nut-free, and always check individual labels. The basic recipe contains no nuts, making it adaptable for allergy-friendly gatherings.
