 Save to Pinterest
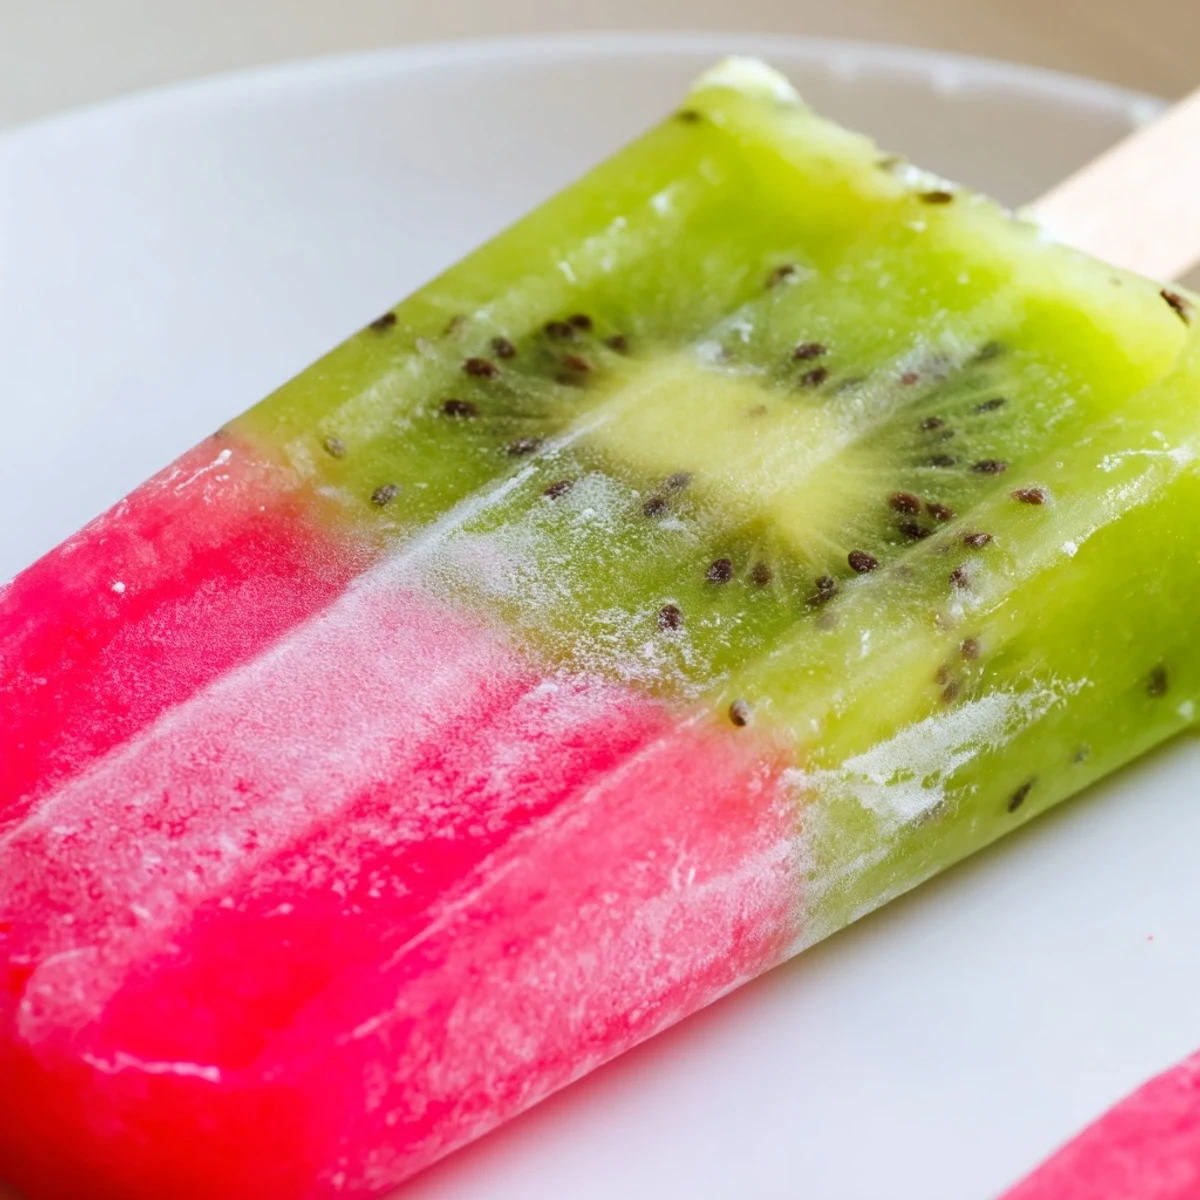
 Cool down with these stunning dual-layer frozen treats featuring fresh watermelon and ripe kiwi. Each pop delivers a burst of natural sweetness and vibrant color that's as beautiful as it is refreshing. The preparation involves blending each fruit separately with lime juice and optional sweetener, then freezing in layers for that gorgeous striped effect. Ready in just 20 minutes of active prep time, these frozen delights need several hours to set completely before serving.
Perfect for hot summer days, these treats are naturally vegan, gluten-free, and dairy-free. Kids and adults alike love the combination of juicy watermelon's mellow sweetness balanced with kiwi's tropical tang. Customize by adding fresh mint leaves or adjusting sweetness to your preference. The result is a healthy, colorful dessert that looks impressive but requires minimal effort.
The thermometer on my porch read 103 degrees and the kids had stopped complaining about the heat, which is when you know things are truly dire. I rifled through the freezer hoping for forgotten ice cream and found nothing but a sad bag of frozen peas. That afternoon I drove to the farmers market in a tank top and flip flops, bought the heaviest watermelon I could carry, and grabbed a handful of kiwis on a whim. Four hours later we were sitting on the back steps with these impossibly bright popsicles dripping down our fingers, and nobody mentioned the heat again.
My neighbor Patty wandered over while I was blending the second batch and ended up staying for three popsicles and a full conversation about her cats urinary issues. She asked for the recipe before she left, which is the highest compliment Patty ever gives anyone.
Ingredients
- Seedless watermelon (3 cups cubed): The redder the flesh the more vibrant your pops will turn out, so pick a melon that feels heavy for its size and has a creamy yellow spot where it rested on the ground.
- Fresh lime juice (3 tablespoons total): Bottled works in a pinch but fresh lime juice adds a brightness that makes both fruit layers taste more alive.
- Agave syrup or honey (2 to 4 tablespoons total): This is entirely optional depending on how sweet your fruit is, so taste your purées before adding any.
- Ripe kiwis (3): Kiwis that yield slightly when pressed will blend smoother and taste sweeter than rock hard ones.
Instructions
- Blend the watermelon:
- Toss the watermelon cubes with 2 tablespoons lime juice and a drizzle of sweetener into the blender and purée until completely smooth, about 30 seconds. Hold a little back on the sweetener until you taste it because some watermelons are already candy sweet.
- Fill the molds:
- Pour the watermelon purée into your popsicle molds, stopping at roughly two thirds full so you have room for the kiwi layer later. Give each mold a gentle tap on the counter to coax out any stubborn air bubbles hiding in the corners.
- Partially freeze:
- Slide the molds into the freezer for about an hour until the surface feels firm but not rock solid. This step matters because if you pour the kiwi layer on too soon it will sink and mix into the watermelon instead of forming a clean stripe.
- Blend the kiwi:
- While you wait, blend the peeled kiwis with 1 tablespoon lime juice and a touch of sweetener until silky smooth. The kiwi purée should be thick enough to coat a spoon but pourable.
- Add the second layer:
- Pull the molds from the freezer and carefully pour the kiwi purée on top of the firm watermelon layer, filling each mold almost to the brim. Insert the popsicle sticks straight into the center and give them a gentle wiggle to seat them properly.
- Freeze solid:
- Return the molds to the freezer for at least 3 hours or overnight if you have the patience for it. They need to be completely frozen through before you try removing them or the layers will separate.
- Release and enjoy:
- Run warm water over the outside of each mold for a few seconds, then grip the stick and pull with a steady even pressure. They should slide out cleanly with both layers intact and gleaming.
 Save to Pinterest
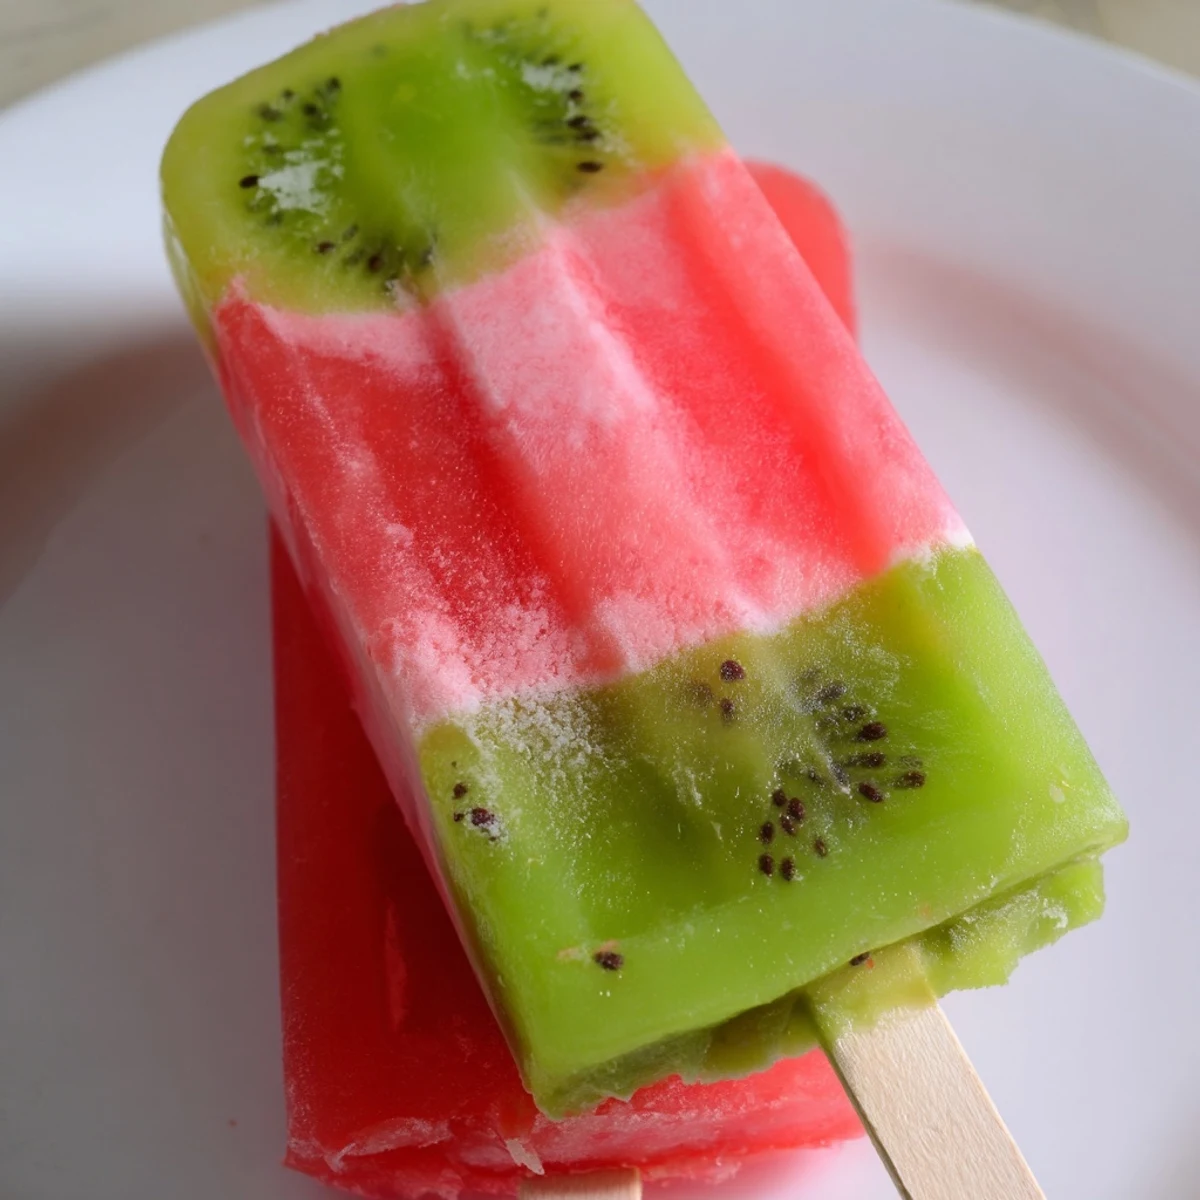
 Somewhere between the third and fourth batch that summer, my daughter started calling them magic pops because of how the green and red layers looked when you held them up to the sun.
Flavor Twists Worth Trying
Toss a few torn mint leaves into the watermelon purée before blending for a freshness that makes these taste almost adult. A small handful of basil works too if you are feeling adventurous and have a plant taking over your windowsill.
Getting Kids Involved
Let younger helpers press the blender button and pour the purées because those are the fun parts that make them feel in charge. They can also arrange thin kiwi slices against the inside walls of the molds before filling them for a polka dot effect that looks incredible once frozen.
Storing Leftovers
Any pops you are not eating right away can be wrapped individually in parchment paper and stored in a freezer bag for up to two weeks. After that the texture starts to suffer and they pick up flavors from whatever else is living in your freezer.
- Leave a half inch of space at the top of each mold because liquids expand when they freeze.
- A pinch of salt in the watermelon purée deepens the flavor without making it taste salty.
- Always label your freezer bag with the date because you will absolutely forget.
 Save to Pinterest
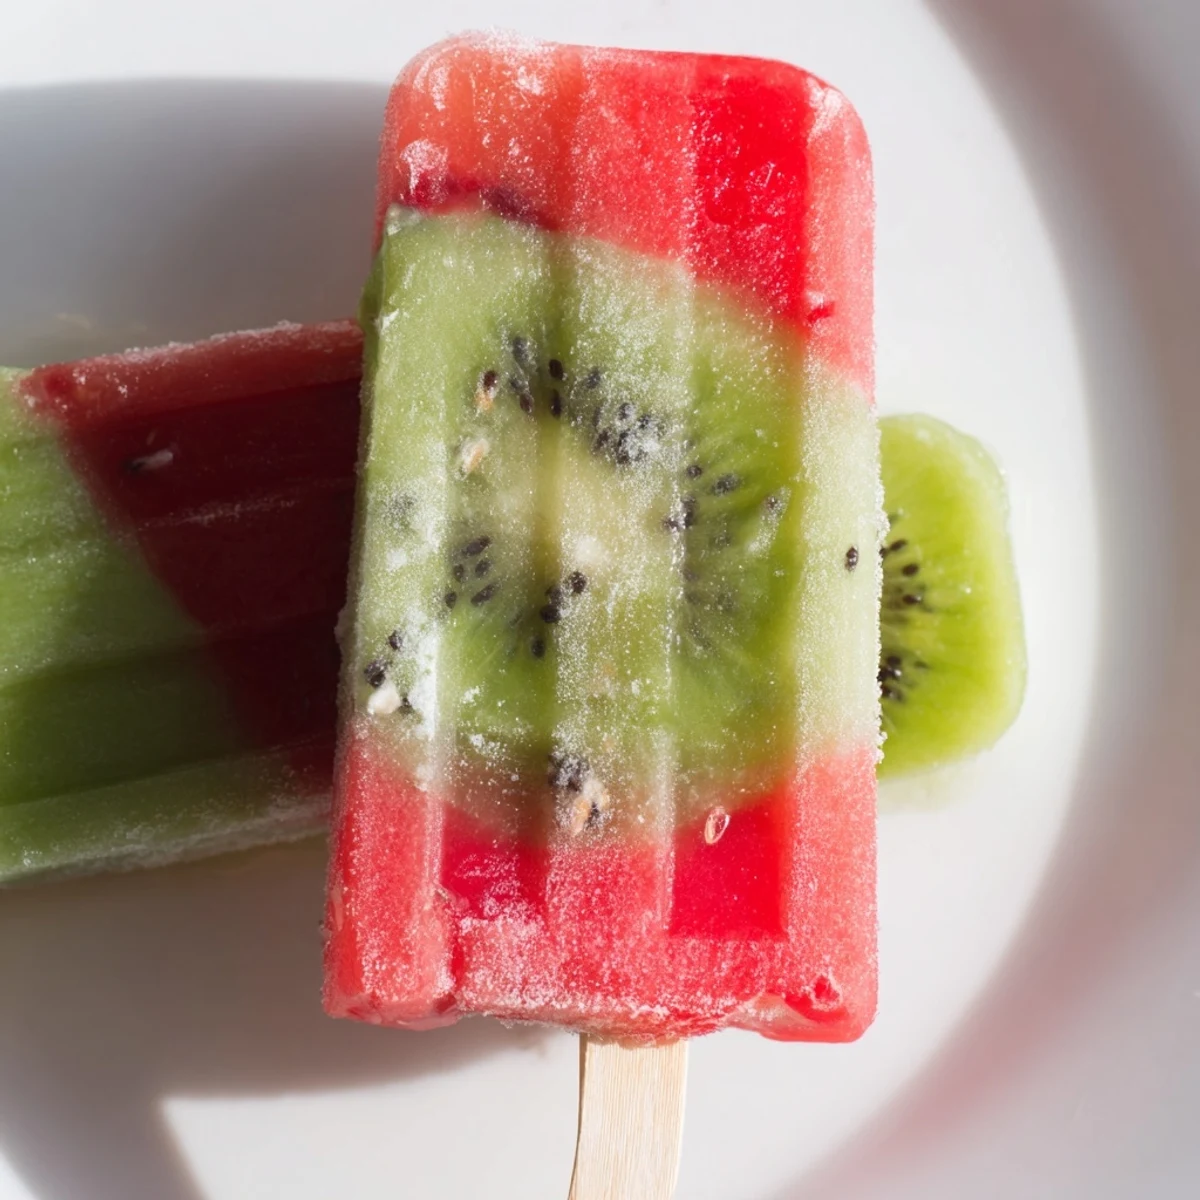
 Keep a batch of these stashed in your freezer all summer long and you will never dread a hot afternoon again. They are proof that sometimes the simplest recipes are the ones people ask for most.
Recipe FAQs
- → How long do these treats need to freeze?
-
The watermelon layer needs about 1 hour to become slightly firm before adding the kiwi layer. After adding the second layer and sticks, freeze for at least 3 more hours until completely solid. For best results, leave them overnight before serving.
- → Can I use other fruits instead?
-
Absolutely. This layering technique works beautifully with strawberries, mangoes, peaches, or berries. Just choose fruits with similar consistencies and complementary flavors. The key is freezing each layer partially before adding the next.
- → Do I need to add sweetener?
-
Not necessarily. Ripe watermelon and kiwi provide plenty of natural sweetness. The agave, honey, or maple syrup is optional and depends on your preference and the sweetness of your fruit. Taste each purée before freezing to decide.
- → How should I store leftovers?
-
Remove frozen treats from molds and wrap individually in plastic wrap or parchment paper. Store in an airtight container in the freezer for up to 2 weeks. For best texture and flavor, enjoy within the first week.
- → What if I don't have popsicle molds?
-
Small paper cups, ice cube trays, or even muffin tins work as alternatives. For cups, add the stick after about 1 hour of freezing when it's firm enough to stand upright. Ice cube trays make perfect bite-sized treats without sticks.
- → Why add lime juice?
-
Fresh lime juice enhances the natural fruit flavors and adds a bright note that balances the sweetness. It also helps maintain the vibrant color of the fruit and adds depth to the overall taste profile.
