 Save to Pinterest
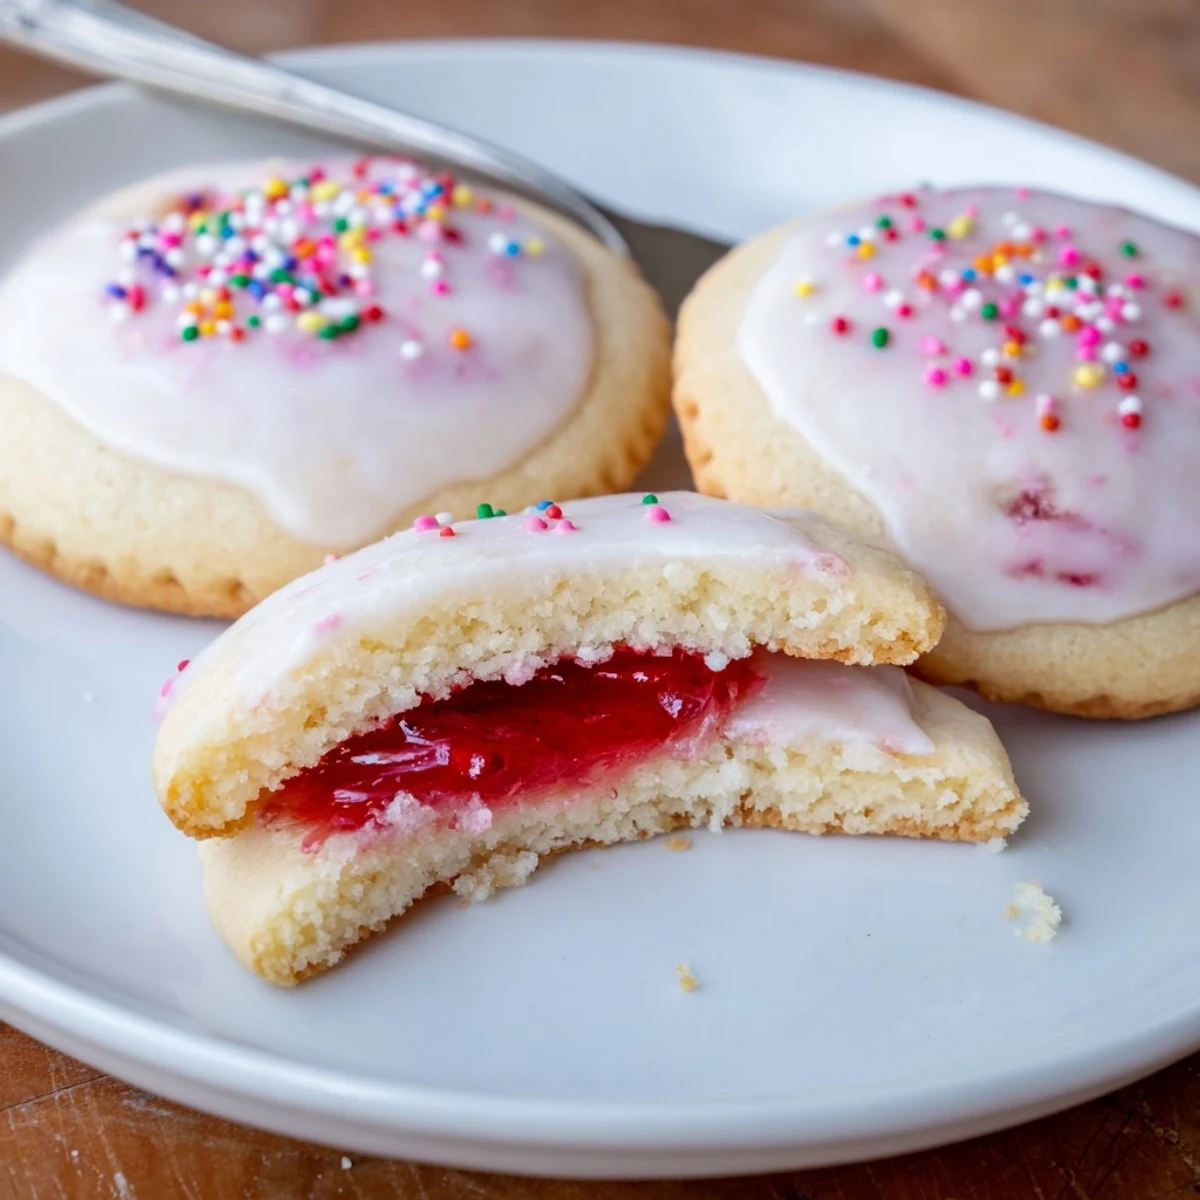
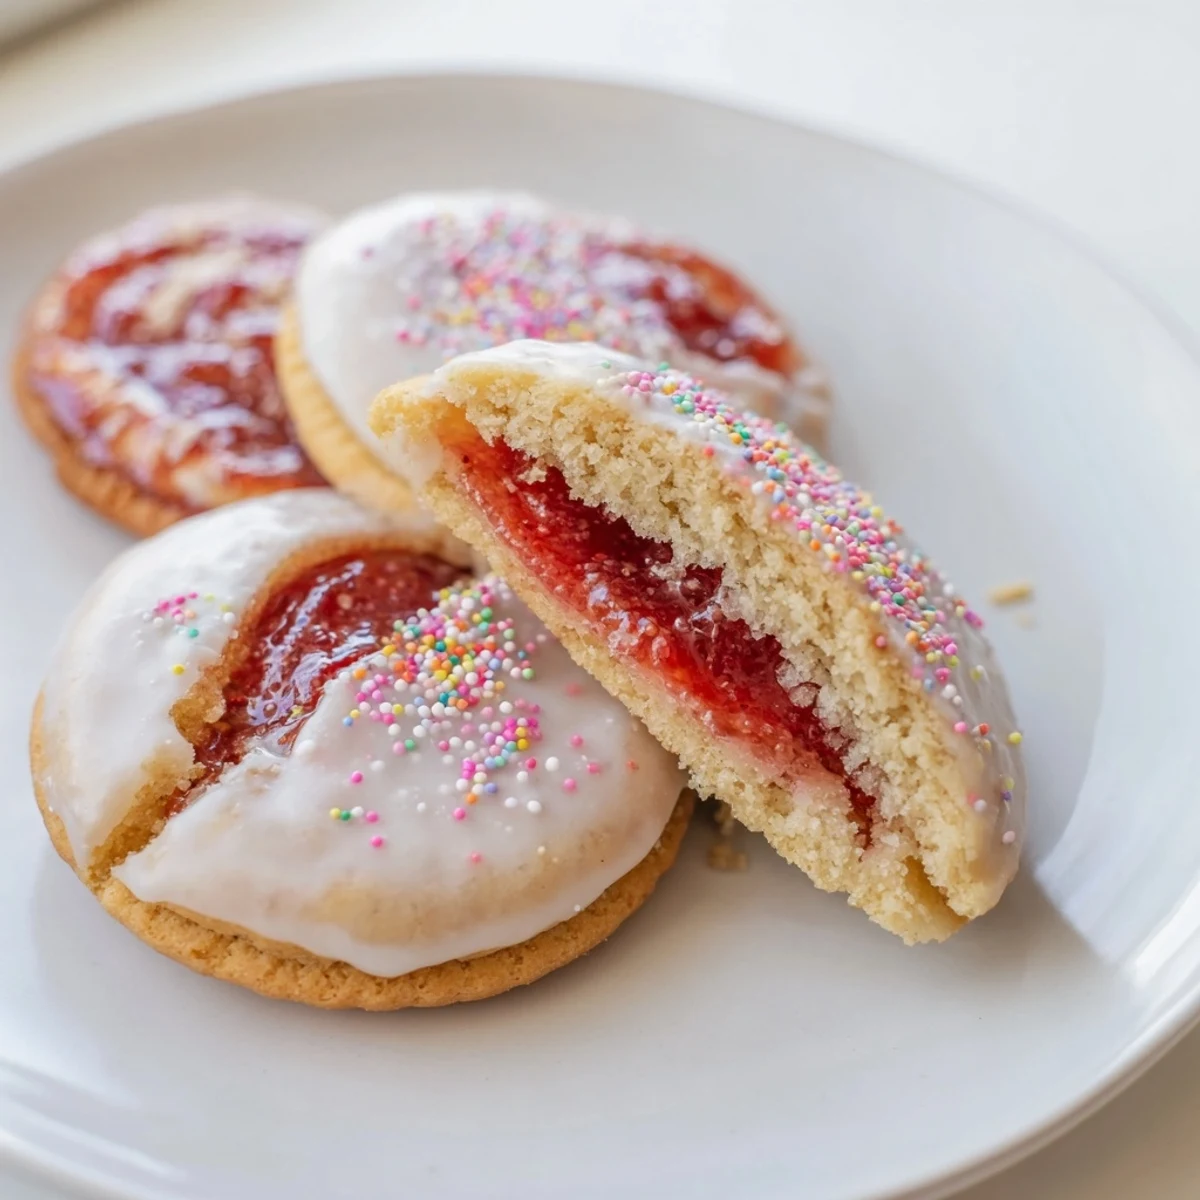
 These buttery sugar cookie pockets are filled with bright strawberry jam, baked until edges are lightly golden, then finished with a simple vanilla-vanilla glaze and rainbow sprinkles. Cream butter and sugars, fold in the dry ingredients, sandwich jam between flattened dough portions and seal edges to prevent leaks. Bake about 12 minutes, cool, then glaze and decorate. Swap jams or add a pinch of cinnamon for variation.
The smell of toaster pastries wafting through a Saturday morning kitchen is practically a childhood universal, and these cookies capture that exact feeling in a way that surprised even me when I first tested them on a rainy Tuesday afternoon.
My neighbor stopped by unannounced the week I was perfecting these, and she ended up sitting on my kitchen floor eating three of them straight off the cooling rack while we talked about her daughters school play.
Ingredients
- All purpose flour (2 1/2 cups, 315 g): This forms the sturdy sugar cookie base that holds up to the jam without crumbling apart.
- Baking powder (1/2 teaspoon): A measured lift so the cookies stay tender but do not spread into flat disks.
- Salt (1/2 teaspoon): Balances the sweetness and sharpens the butter flavor noticeably.
- Unsalted butter (1 cup, 225 g), softened: The backbone of the cookie, so use a good quality butter you would eat on bread.
- Granulated sugar (3/4 cup, 150 g): Delivers that classic sugar cookie sweetness without going overboard.
- Packed light brown sugar (1/4 cup, 50 g): A touch of molasses depth that makes the dough taste more grown up than a standard Pop Tart.
- Large egg (1): Binds the dough together and adds richness.
- Vanilla extract (2 teaspoons): Do not skimp here, it is the quiet flavor that ties everything together.
- Strawberry jam (1/2 cup, 160 g): Use a thick jam, not a runny preserves, so the filling stays put inside each cookie.
- Powdered sugar (1 cup, 120 g): Creates that iconic Pop Tart glaze we all recognize.
- Milk (2 tablespoons): Thins the glaze to the perfect spreadable consistency.
- Vanilla extract (1/2 teaspoon, for glaze): Rounds out the sweetness of the glaze beautifully.
- Red or pink food coloring (optional): A single drop gives the glaze that nostalgic frosted look.
- Rainbow sprinkles: Nonnegotiable if you want the full Pop Tart effect.
Instructions
- Preheat and prepare:
- Set your oven to 350 degrees F (175 degrees C) and line two baking sheets with parchment paper so nothing sticks.
- Whisk the dry:
- In a medium bowl, whisk together the flour, baking powder, and salt until evenly combined.
- Cream the butter and sugars:
- Beat the softened butter, granulated sugar, and brown sugar in a large bowl until the mixture looks pale, fluffy, and light, then beat in the egg and vanilla until everything is smooth.
- Bring the dough together:
- Gradually add the dry ingredients to the wet, mixing gently just until you see no more dry flour streaks and the dough holds together when pressed.
- Stuff and seal:
- Scoop one tablespoon of dough, flatten it in your palm, spoon a half teaspoon of jam into the center, then top with another tablespoon of dough and pinch the edges shut before gently rolling it into a ball.
- Arrange on sheets:
- Place each stuffed ball on the prepared baking sheets about two inches apart so they have room to spread.
- Bake until golden:
- Bake for 12 minutes or until you see the faintest golden edges, let them rest on the sheet for 5 minutes, then move them to a wire rack to cool completely.
- Glaze and sprinkle:
- Whisk the powdered sugar, milk, vanilla, and food coloring if using until smooth and slightly thick, then spread it over the cooled cookies and shower them with sprinkles before the glaze sets.
 Save to Pinterest
 I packed a tin of these for a road trip last summer and my husband ate half of them before we even reached the highway on ramp.
Picking the Right Jam Makes All the Difference
Not all jams behave the same inside a cookie. A loose, syrupy preserves will bubble out during baking no matter how well you seal the edges, while a thick, spreadable jam stays neatly tucked inside.
When You Need a Batch That Travels Well
These cookies are surprisingly sturdy once the glaze sets, making them ideal for bake sales, lunchbox treats, or shipping to someone who could use a surprise package of nostalgia.
Small Tweaks That Keep Things Interesting
Once you have the basic method down the variations are endless and honestly hard to stop experimenting with.
- Swap the strawberry jam for raspberry or blueberry for a completely different flavor profile.
- Add a pinch of ground cinnamon to the dough for a subtle warmth that echoes the original Pop Tart.
- Always check your sprinkles and jam labels for allergens if you are baking for a crowd.
 Save to Pinterest
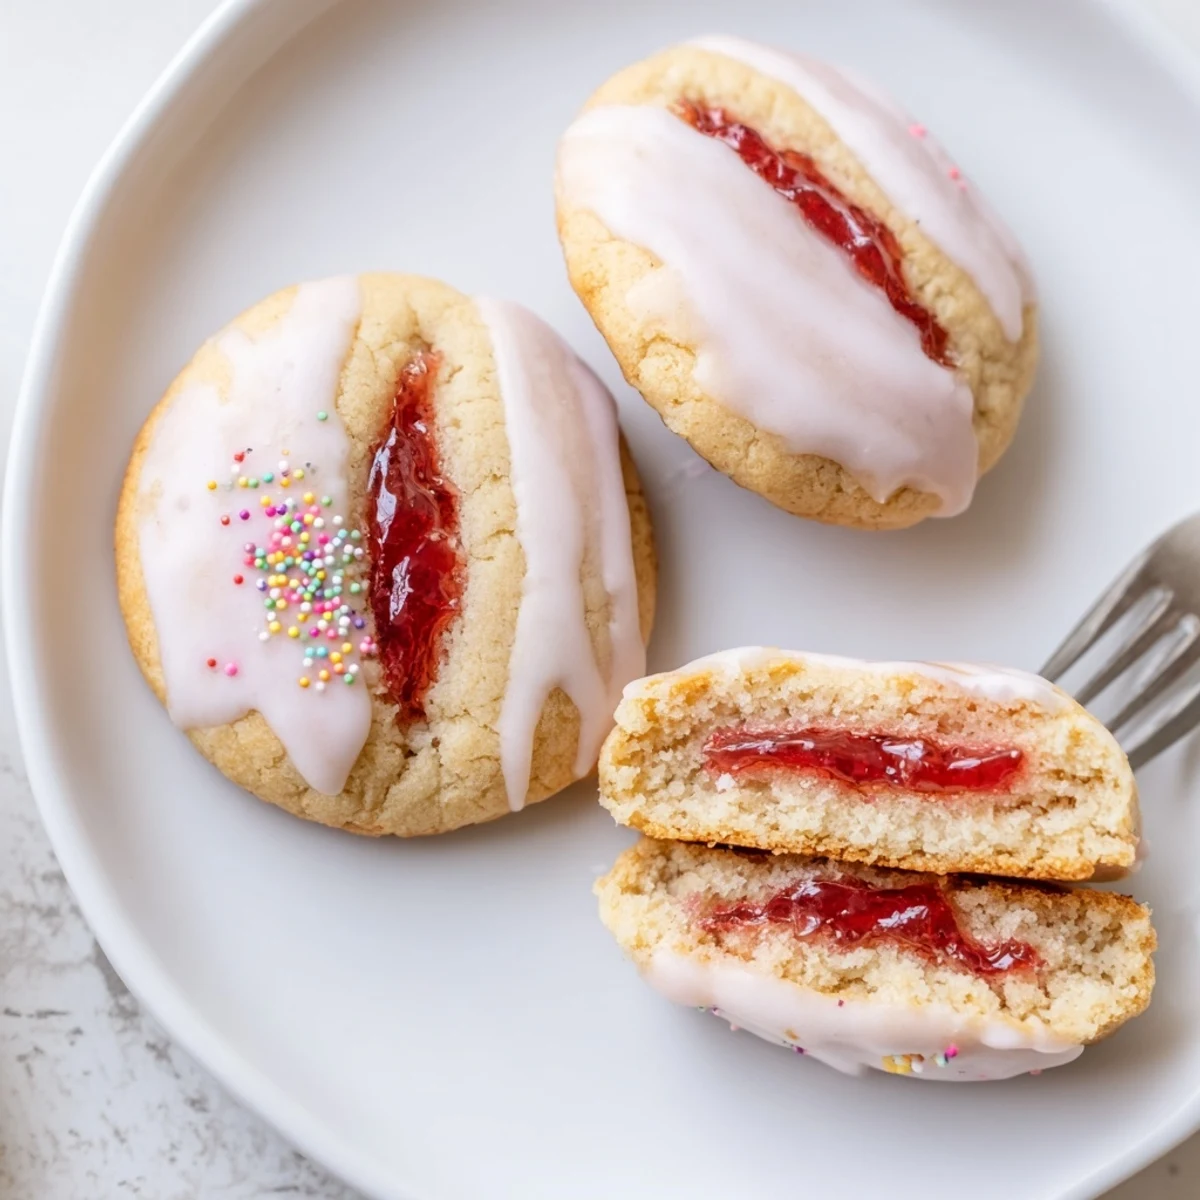
 These cookies taste like a Saturday morning cartoon in the best possible way. Share them with someone who remembers the original and watch their face light up.
Recipe FAQs
- → How do I prevent jam from leaking during baking?
-
Seal the edges tightly by pressing dough together and smoothing seams with your fingers; chill shaped cookies briefly before baking to help them hold their form and reduce leakage.
- → Can I use other fruit spreads instead of strawberry?
-
Yes—raspberry, blueberry, or apricot preserves work well. Choose thicker preserves to minimize spreading; reduce filling slightly if very runny.
- → What is the best way to glaze without making a mess?
-
Ensure cookies are completely cool, then use a spoon or small offset spatula to spread a slightly thick glaze. Let excess drip off and set on a wire rack placed over parchment for easy cleanup.
- → Can dough be made ahead or frozen?
-
Yes—chill shaped, unbaked cookies on a tray then freeze. Transfer to a sealed container and bake from frozen, adding a minute or two to the bake time; dough can also be refrigerated overnight.
- → How do I keep the centers from becoming soggy?
-
Use a modest amount of jam, seal edges well, and bake until edges are just golden. Cool on the sheet for a few minutes, then transfer to a rack to allow steam to escape before glazing.
- → Any tips for a flakier or crisper cookie?
-
Use cool butter and avoid overworking the dough for a tender crumb; for crisper edges, bake a minute or two longer until edges deepen in color, watching closely to avoid burning.
