 Save to Pinterest
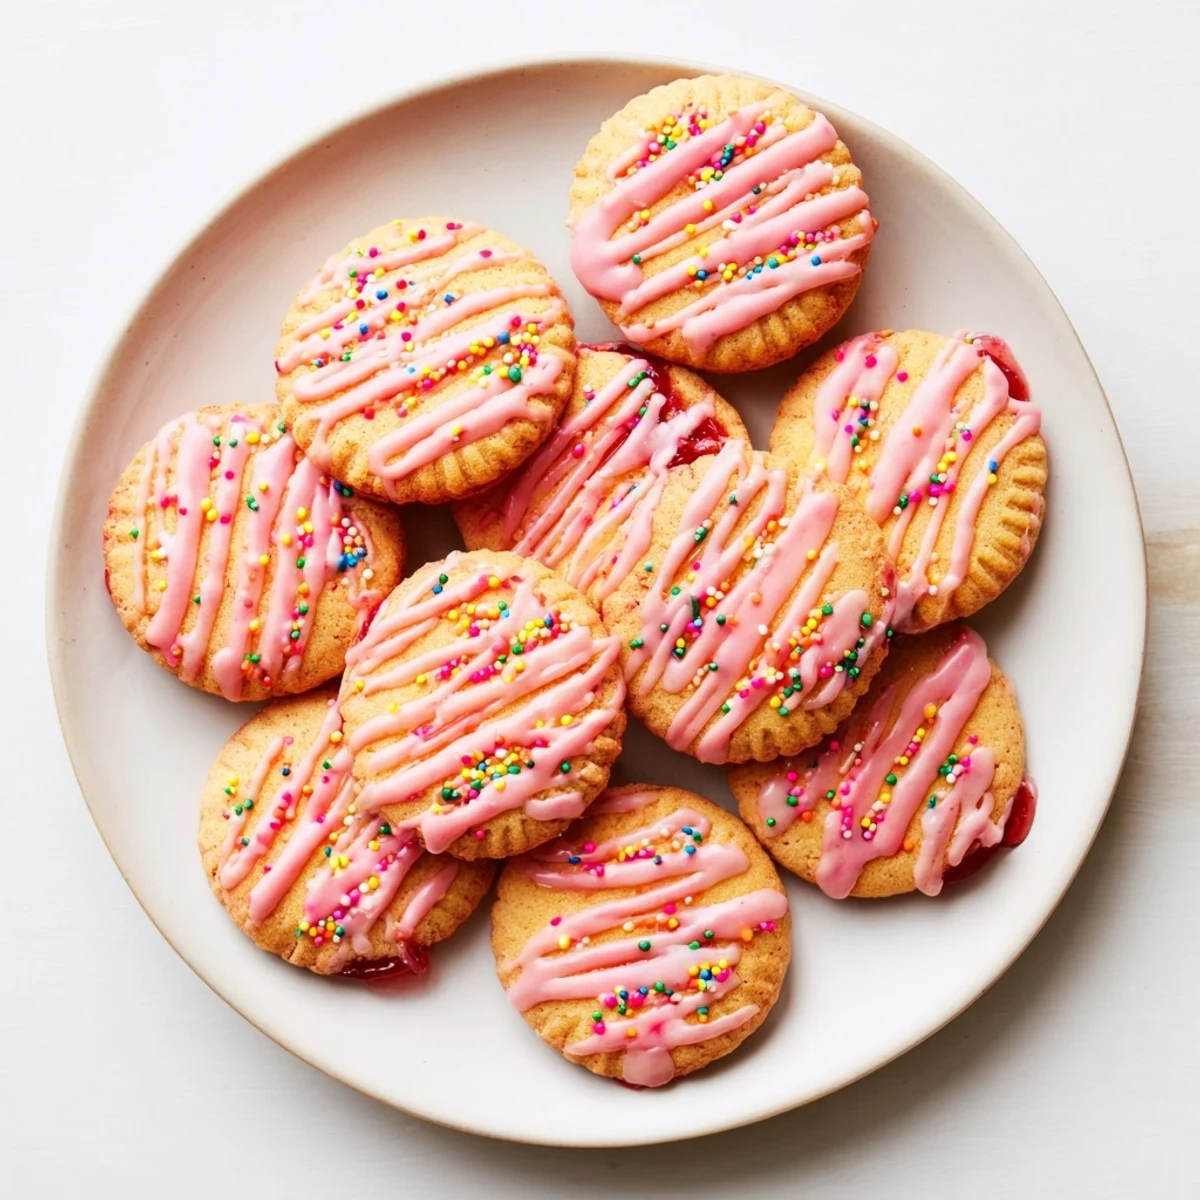
 These soft, buttery cookies bring back childhood memories with their sweet strawberry jam centers and playful pink glaze. The dough comes together quickly and bakes in just 12 minutes, yielding treats with slightly crisp edges and tender centers. Each cookie is hand-filled with preserves, then topped with a simple vanilla frosting and festive sprinkles for that authentic Pop-Tart experience.
My niece walked into the kitchen last Saturday morning still in her pajamas, took one look at the tray of pink glazed cookies cooling on the rack, and whispered with absolute seriousness that I had invented the best thing in the world. She was wrong about the invention part, since strawberry Pop-Tart cookies have been floating around the internet for a while, but the awe in her voice made me feel like a genius anyway. The smell alone, buttery vanilla mingling with warm strawberry jam, is enough to make anyone believe something magical just happened in your oven.
I brought a batch of these to a potluck last fall and watched three adults skip the entire dessert table just to hover near the cookie plate. One friend actually hid two in her purse before leaving, which I considered the highest compliment a home baker can receive.
Ingredients
- 2 1/4 cups (280 g) all-purpose flour: This gives the cookies enough structure to hold the jam without turning tough.
- 1/2 teaspoon baking powder: Just enough lift to keep them soft without puffing up and cracking open.
- 1/2 teaspoon salt: Balances the sweetness from the jam and the glaze beautifully.
- 3/4 cup (170 g) unsalted butter, softened: Room temperature butter is essential here, cold butter will leave you with flat greasy cookies.
- 3/4 cup (150 g) granulated sugar: Works with the brown sugar for a cookie that has crisp edges and a chewy middle.
- 1/4 cup (50 g) light brown sugar: That hint of molasses depth keeps the dough from tasting one dimensional.
- 2 large eggs: Bind everything together and add richness to the crumb.
- 2 teaspoons vanilla extract: Do not skimp on this, it is the backbone of the cookie flavor.
- 3/4 cup (210 g) strawberry jam or preserves: Use a good quality jam with real fruit pieces, it makes a noticeable difference.
- 1 cup (120 g) powdered sugar: Creates that classic Pop-Tart style glaze on top.
- 2 tablespoons milk: Thins the glaze to the perfect drizzling consistency.
- 1/2 teaspoon vanilla extract (for glaze): Rounds out the sweetness in the icing.
- Pink or red food coloring (optional): A tiny drop goes a long way toward that nostalgic look.
- Sprinkles: Nonpareils or rainbow jimmies both work, just add them before the glaze sets.
Instructions
- Get your oven ready:
- Preheat to 350 degrees F and line two baking sheets with parchment paper so nothing sticks.
- Whisk the dry stuff:
- In a medium bowl, whisk together the flour, baking powder, and salt until evenly blended and set aside.
- Cream butter and sugars:
- Beat the softened butter, granulated sugar, and brown sugar in a large bowl for two to three minutes until the mixture looks pale, light, and fluffy.
- Add eggs and vanilla:
- Drop in one egg at a time, beating after each, then pour in the vanilla and mix until everything is smooth and cohesive.
- Bring the dough together:
- Gradually add the dry ingredients to the wet on low speed, mixing just until the last streak of flour disappears into the dough.
- Stuff them with jam:
- Scoop two tablespoon portions and flatten each into a disc, place a teaspoon of strawberry jam in the center, fold the dough over and pinch the edges shut, then gently roll into a ball.
- Arrange and bake:
- Set the filled dough balls on your prepared sheets two inches apart and bake for eleven to thirteen minutes until the edges are set but the centers still look slightly soft.
- Cool completely:
- Let the cookies rest on the baking sheet for five minutes so they firm up, then transfer to a wire rack to cool all the way through.
- Glaze and celebrate:
- Whisk the powdered sugar, milk, vanilla, and a drop of food coloring until smooth, drizzle generously over each cooled cookie, and shower with sprinkles before the glaze sets.
 Save to Pinterest
 The moment my niece bit into one and got a streak of pink glaze across her nose, I realized these cookies were never going to be just a weekend experiment. They had already become a memory worth repeating.
Mixing and Matching Flavors
Raspberry jam swaps in beautifully if you want something slightly more tart, and apricot preserves give the cookies a grown up brightness that surprises people. I once used blueberry jam and added a squeeze of lemon zest to the dough, which tasted like a summer morning.
Storing So They Last
Keep these in a single layer in an airtight container and they stay soft and delicious for up to four days, though they rarely survive that long in my house. If you stack them, place a sheet of parchment between layers so the glaze does not smear.
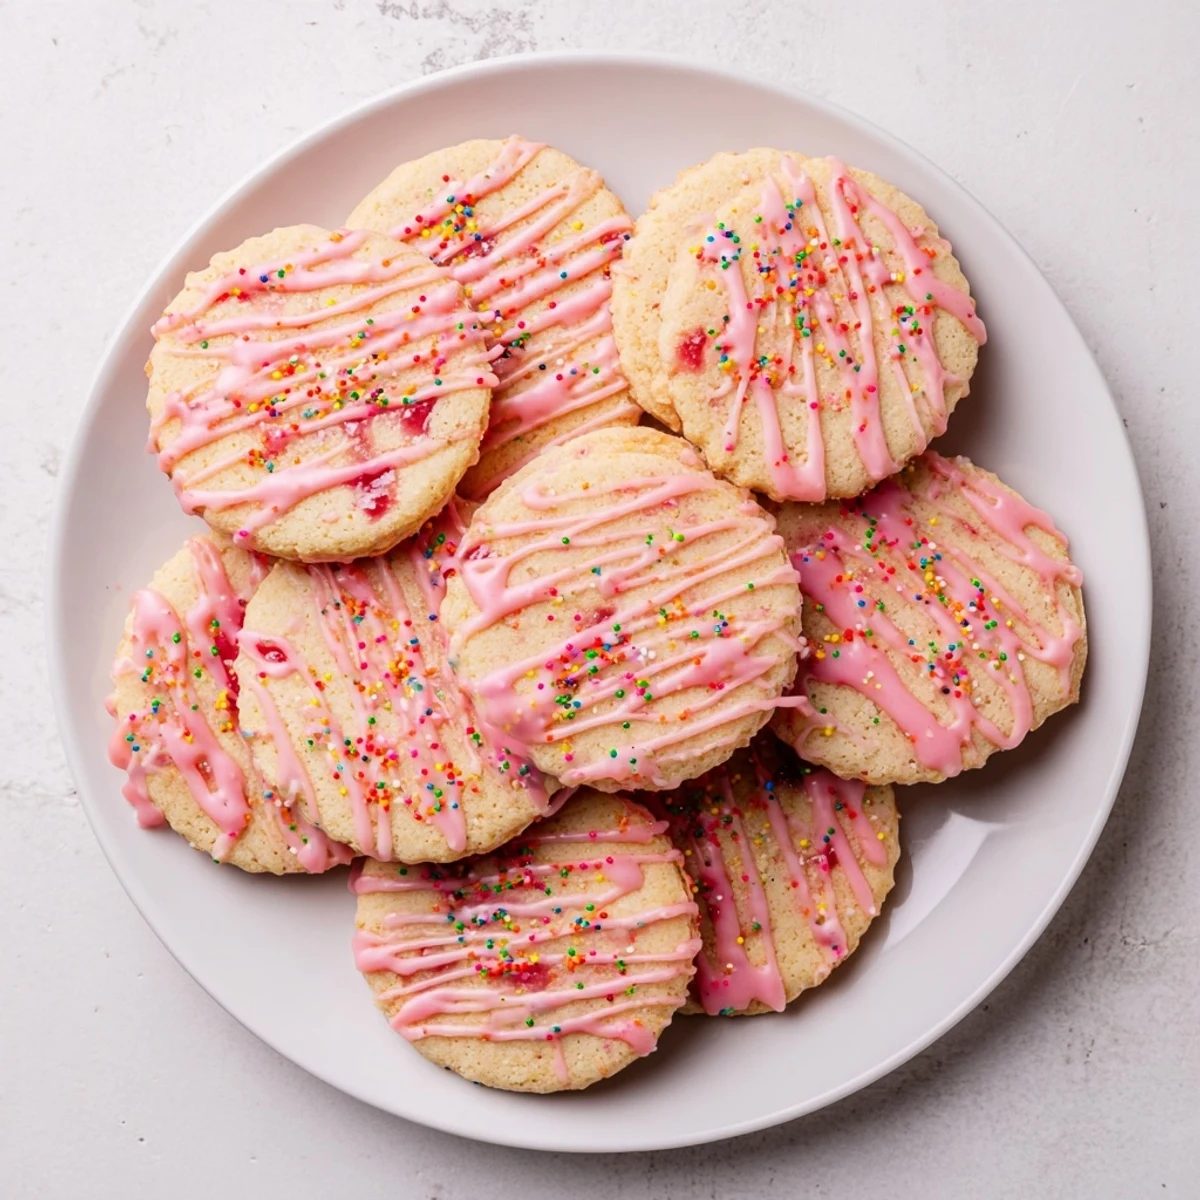
Getting the Glaze Just Right
The glaze should be thick enough to coat the back of a spoon but thin enough to drip slowly off the edges, and you can adjust with tiny splashes of milk or pinches of sugar until it feels right.
- Stir the glaze gently rather than whisking aggressively to avoid air bubbles.
- A small spoon or squeeze bottle gives you more control than drizzling with a fork.
- Always have your sprinkles open and ready before you start glazing because it sets faster than you think.
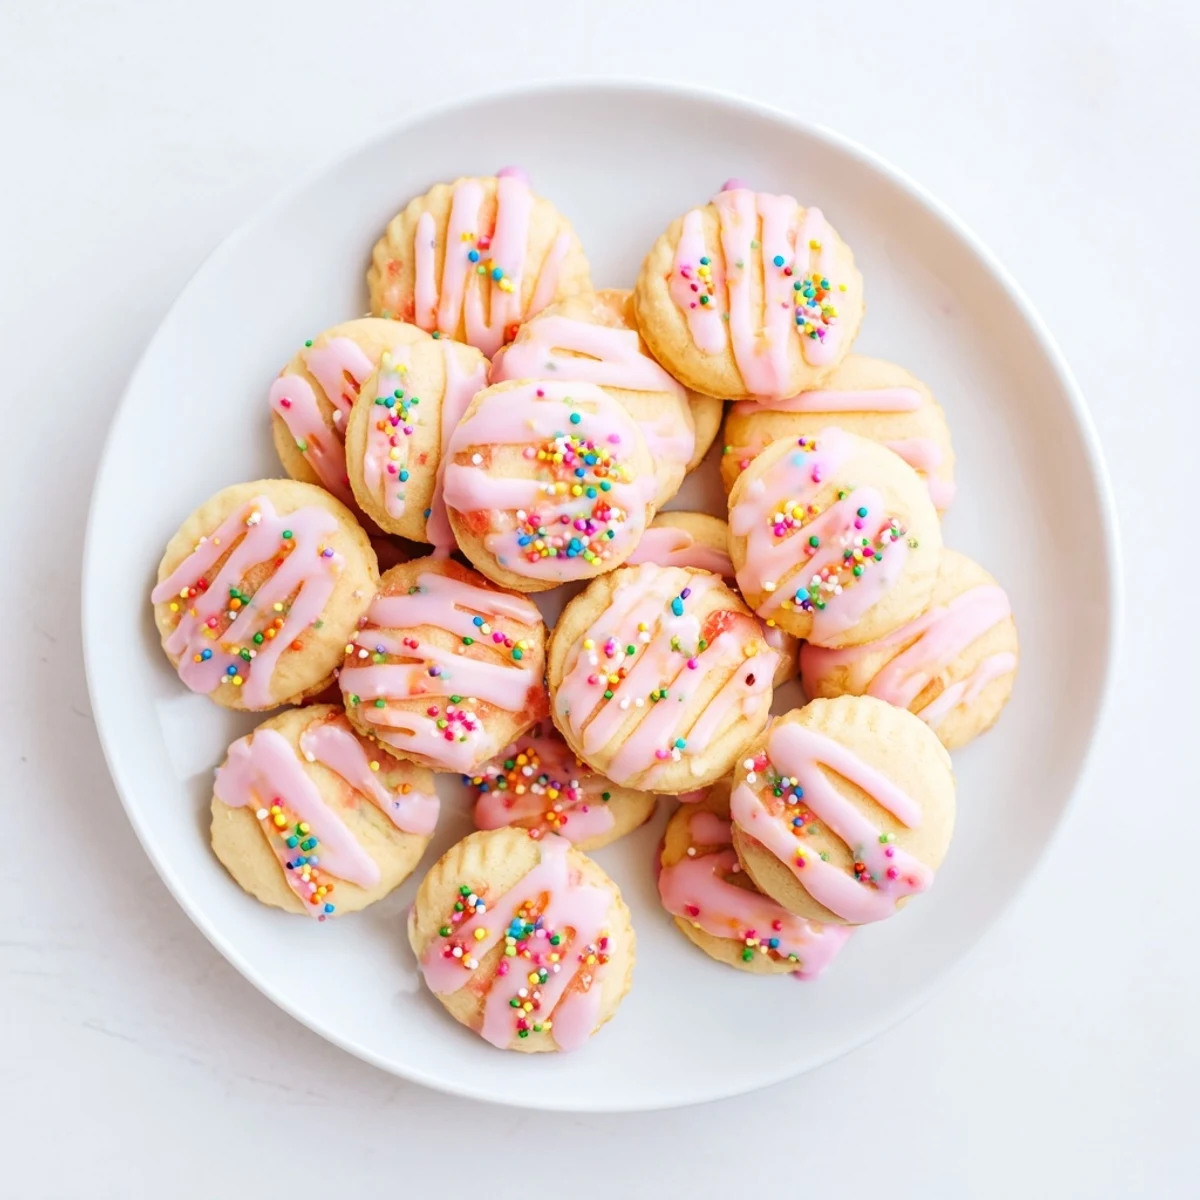 Save to Pinterest
 Make a double batch because these disappear faster than you expect, and honestly there is nothing better than sneaking one with your morning coffee when nobody is watching.
Recipe FAQs
- → Can I use different jam flavors?
-
Absolutely! Raspberry, blueberry, apricot, or mixed berry preserves all work beautifully. Choose your favorite fruit preserve or switch up flavors for variety.
- → How do I prevent the jam from leaking during baking?
-
Make sure to seal the dough edges tightly around the jam filling. Pinch the dough firmly to close, and gently roll into a smooth ball. Chilling the dough for 10 minutes before baking can also help.
- → Can I freeze the cookie dough?
-
Yes! Shape the filled dough balls and freeze them on a baking sheet. Once solid, transfer to a freezer bag. Bake from frozen, adding 1-2 minutes to the baking time. You can also freeze baked cookies for up to 3 months.
- → Why do my cookies look underbaked in the center?
-
This is intentional! The centers should appear slightly underbaked when you remove them from the oven. They continue cooking on the hot baking sheet during the 5-minute cooling period, resulting in perfectly soft, tender cookies.
- → Can I make these without food coloring?
-
Certainly! The glaze is delicious plain or you can use natural alternatives like beet juice or raspberry purée for a subtle pink hue. The sprinkles still add plenty of color without the dye.
- → How should I store these cookies?
-
Keep them in an airtight container at room temperature for up to 4 days. If stacking, place parchment paper between layers to protect the glaze. For longer storage, freeze unglazed cookies and add glaze after thawing.
