 Save to Pinterest
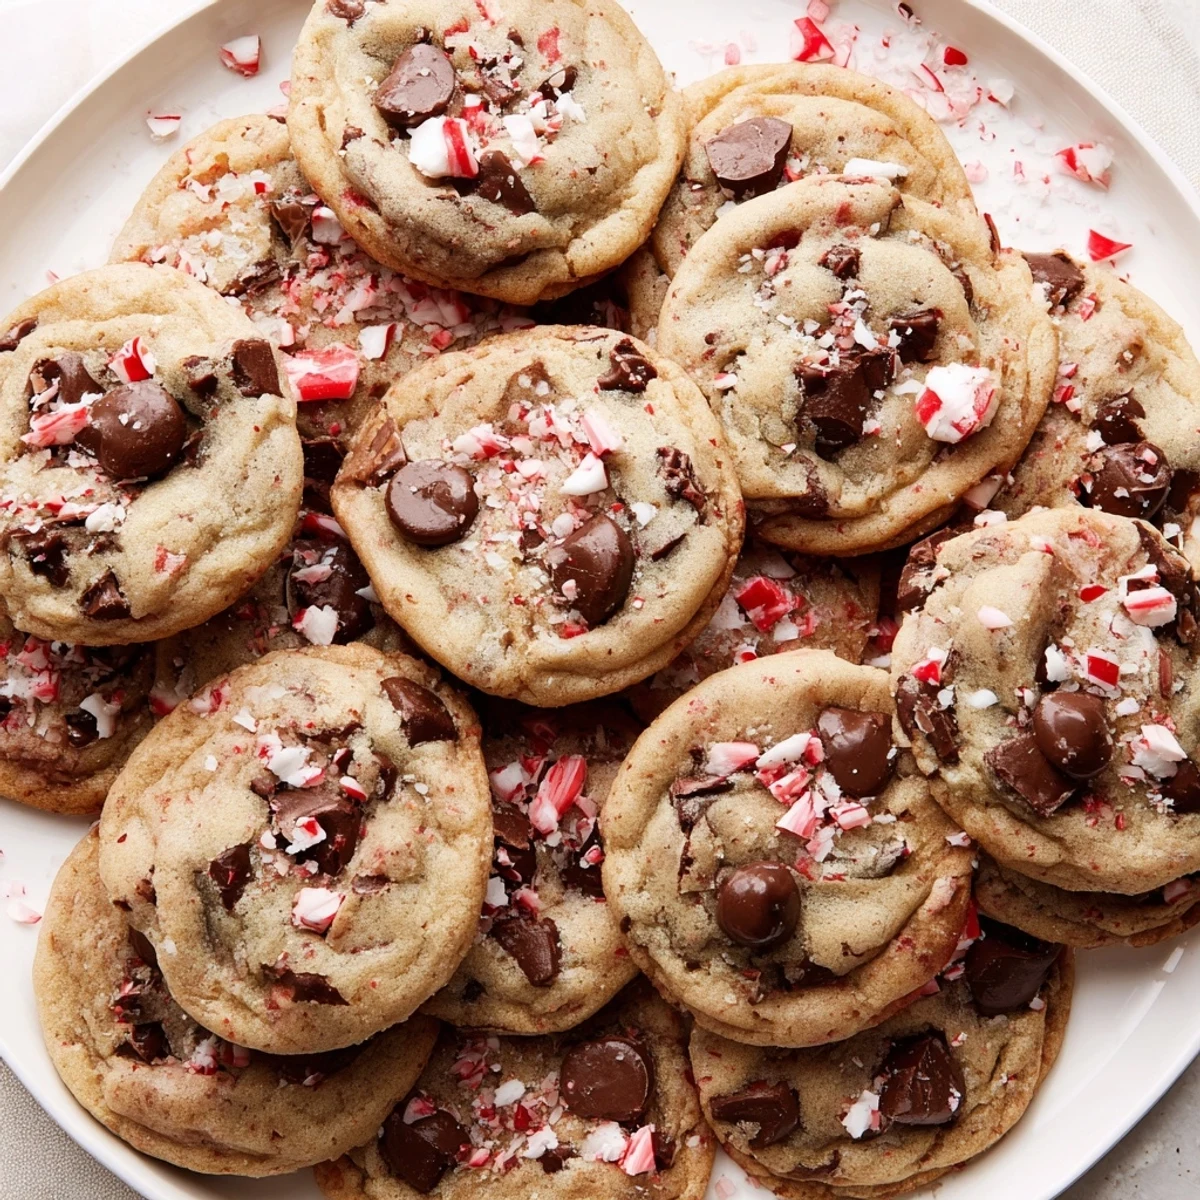
 This peppermint chocolate chip cookie blends softened butter, granulated and brown sugars, eggs, vanilla and peppermint extract with plenty of semi-sweet chips and crushed candy cane. Scoop tablespoon-sized mounds and bake at 350°F (175°C) for 9–11 minutes until edges are golden and centers remain soft. Cool briefly on the sheet for chewier texture and garnish with extra crushed peppermint if desired.
As soon as the first whiff of peppermint hits the air, I know the holiday season has truly landed in my kitchen. There’s something undeniably cheerful about blending candy canes and chocolate into cookie dough, even if it means a little extra sweep-up after. One December afternoon, I found myself humming along to carols and absentmindedly crushing peppermint candies far too enthusiastically—my kitchen sounded like a winter wonderland under construction. Somehow, the cookies still came out with that perfect balance of minty freshness and melty chocolate pockets.
Last year, my roommates and I had a spur-of-the-moment cookie bake-off, and these peppermint chocolate chip cookies quickly stole the show. We laughed about which cookies had the most peppermint candy “bling” on top, and by the end of the night, every plate was empty—except for a few perfectly salted crumbs.
Ingredients
- All-purpose flour: This makes your cookies sturdy but tender—be sure to fluff it before measuring to avoid dense cookies.
- Baking soda: Gives the perfect lift, letting your cookies puff up just enough without losing chewiness.
- Salt: A pinch here brings out both the chocolate and peppermint, so don’t skip it.
- Unsalted butter: Let it soften fully for the creamiest, easiest-to-mix dough (microwaves in a pinch, but careful not to melt).
- Granulated sugar: Lends crispness at the edges—just what you want in a holiday cookie.
- Brown sugar: For that signature chew and a subtle hint of molasses that plays off the peppermint.
- Eggs: Use them at room temperature so everything blends smoothly and your dough doesn’t seize up.
- Vanilla extract: Softens the peppermint’s sharpness into something mellow and cozy.
- Peppermint extract: The star—just a teaspoon delivers wintery coolness, but measure carefully (a little goes a long way).
- Semi-sweet chocolate chips: For those glorious melty bites—reserve a few to dot on top if you like them picture-perfect.
- Crushed peppermint candies or candy canes: Scatter them with abandon, but don’t be tempted to overmix or they’ll melt too much into the dough.
Instructions
- Get Set Up:
- Preheat the oven to 350°F (175°C) and line two baking sheets with parchment paper so nothing sticks and cleanup’s a snap.
- Mix Dry:
- In a medium bowl, whisk together flour, baking soda, and salt—the quiet start before the real fun begins.
- Cream Butter & Sugar:
- Grab a large bowl, then beat butter, granulated sugar, and brown sugar until the mixture looks fluffy and pale, like winter snowdrifts.
- Add Eggs & Flavor:
- Mix in eggs one by one, followed by vanilla and peppermint extracts; the dough smells undeniably festive at this stage.
- Combine & Fold:
- Slowly add dry ingredients into the wet, mixing just until blended—overmixing can make tough cookies.
- Chocolate & Peppermint Time:
- Fold in chocolate chips and crushed peppermint candies (reserve a little for sprinkling on top if you want extra sparkle).
- Shape & Sprinkle:
- Scoop tablespoon-sized dough balls onto your prepared sheets, leaving room to spread—decorating with more candy is highly encouraged.
- Bake Off:
- Bake for 9–11 minutes until just golden at the edges but still soft at the center—they’ll finish setting as they cool.
- Cool Down:
- Let cookies rest on the baking sheet for five minutes before carefully moving them to a wire rack—this gives them that irresistible chewy texture.
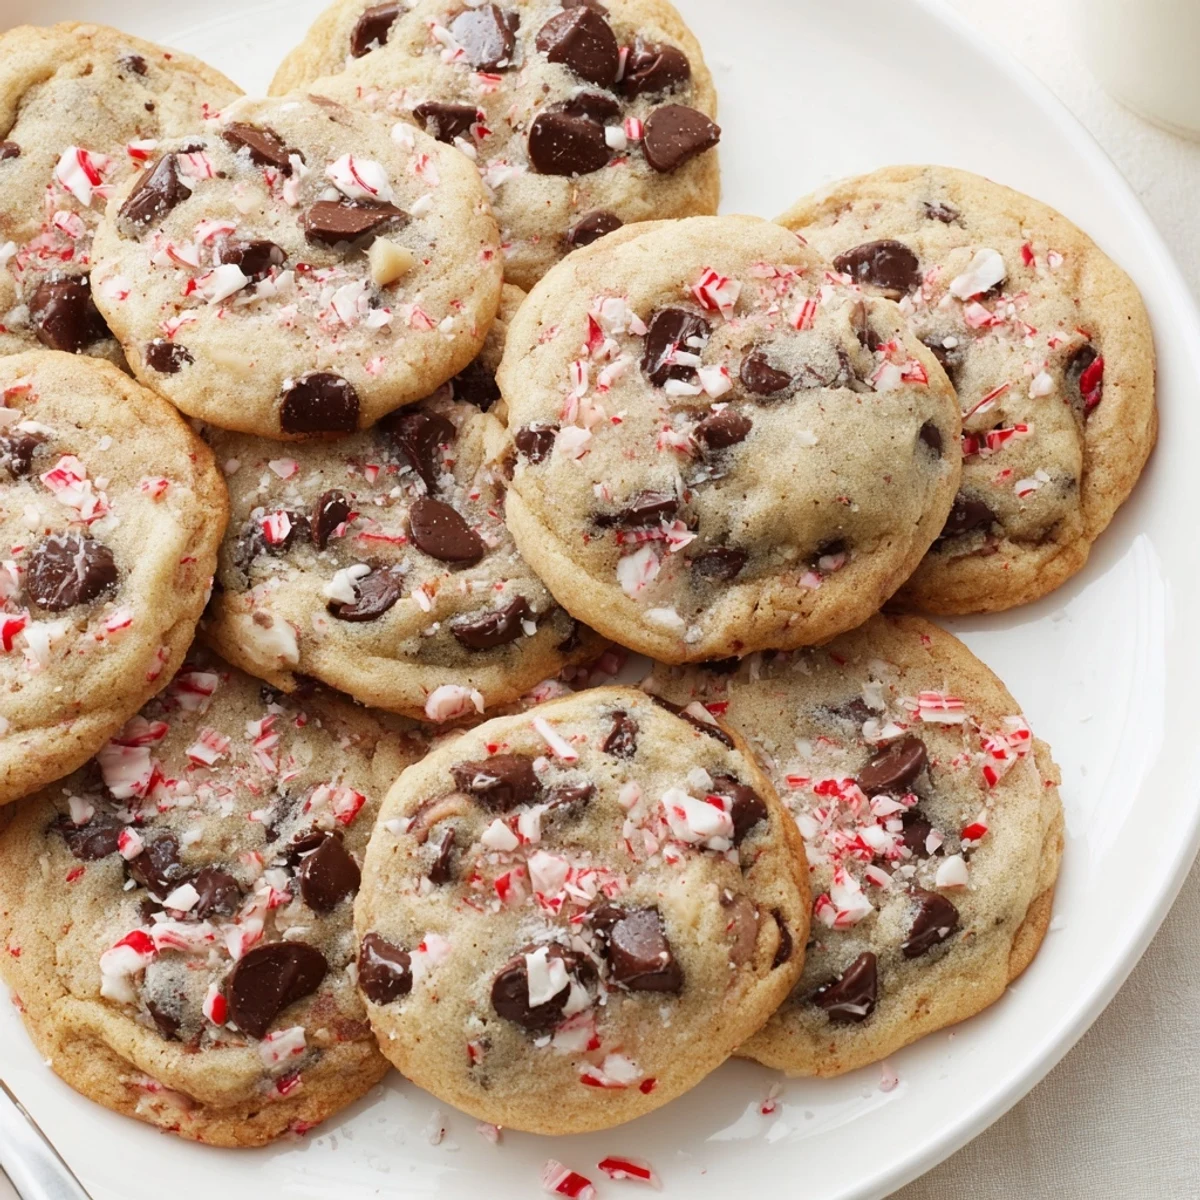 Save to Pinterest
 The batch I made for my nephew’s class party disappeared before they could even cool completely, leaving kids with chocolatey grins and sticky candy bits in their hair. That was the day I realized these cookies could turn any gathering—planned or impromptu—into a miniature celebration.
Making the Dough Feel Festive
Crumbling the peppermint candies by hand always fills the kitchen with a burst of mint that feels like instant holiday spirit. For less mess, I’ve sometimes wrapped the candies in a towel and tapped them with a rolling pin, and it’s honestly more fun than it should be.
Getting the Texture Just Right
If you prefer chewier cookies, underbake them just slightly—the centers will finish setting with residual heat and turn out beautifully soft. On the flip side, a minute longer in the oven will yield crispier edges without sacrificing that gooey middle.
Serving & Storing for Sweet Surprises
These cookies have a way of vanishing, but if by chance you have leftovers, they freeze beautifully for future treats. Serve them warm for melty chocolate pockets, or straight from the freezer for a cool, refreshing bite.
- Wrap individually to keep them soft for days.
- Sneak one into a lunchbox for an afternoon pick-me-up.
- Remember to double-check allergen labels on chocolate chips and peppermint candies if sharing at parties.
 Save to Pinterest
 Baking these peppermint chocolate chip cookies always brings a spark of cheer, no matter the season. Share them with company or nibble straight from the rack—either way, they’re little bites of joy.
Recipe FAQs
- → Can I swap white chocolate for semi-sweet chips?
-
Yes. Use an equal amount of white chocolate chips for a sweeter, creamier contrast to the peppermint. If using baking bars, chop into small chunks to distribute evenly through the dough.
- → How do I get chewier centers instead of crisp cookies?
-
Underbake by a minute or two so centers stay soft, then let cookies finish setting on the hot baking sheet for about five minutes before transferring to a rack. Slightly higher brown sugar ratio also promotes chewiness.
- → Will crushed peppermint make the dough gritty or soggy?
-
Finely crush the candy canes and fold them into the dough so they distribute without large shards. Use just 1/2 cup in the mix and reserve extra for sprinkling on top after baking to avoid moisture issues.
- → Can these be frozen for later?
-
Yes. Freeze baked cookies in an airtight container for up to two months, or freeze portioned dough balls on a tray then transfer to a bag. Bake frozen dough a minute or two longer than fresh.
- → How can I adapt this for dairy-free needs?
-
Substitute vegan butter and use dairy-free chocolate chips. Keep the same measurements and chilling time; texture may be slightly different but flavor remains minty and chocolate-forward.
- → What is the best way to avoid spreading too much?
-
Chill the dough for 15–30 minutes before scooping if your kitchen is warm. Use tablespoon-sized portions spaced about 2 inches apart and ensure your butter isn't overly melted when mixing.
