 Save to Pinterest
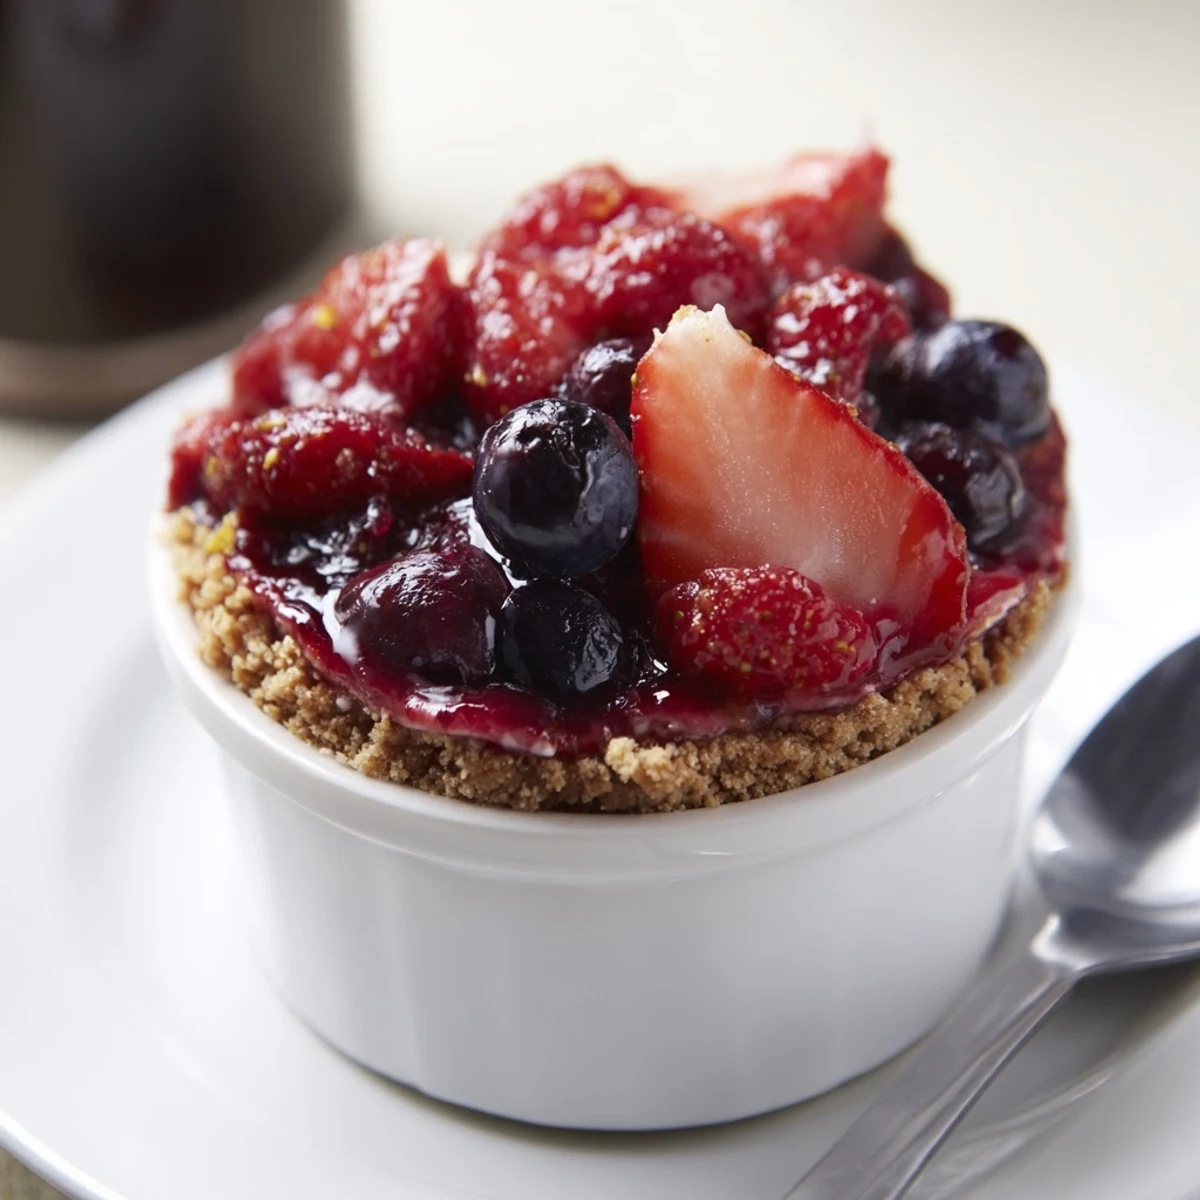
 These no-bake berry cheesecakes layer a buttery crushed-biscuit base with a whipped cream cheese filling and a bright macerated berry topping. Press crumbs into serving glasses, beat cream cheese with powdered sugar and vanilla, fold in stiff whipped cream, then spoon over bases. Toss berries with sugar and lemon to draw juices, spoon atop, and chill at least 3 hours to set. Swap in gluten-free biscuits or add a splash of berry liqueur for variation.
Some desserts announce themselves with the softest of sounds: a spoon tapping glass, a quiet sigh when the first creamy bite dissolves. Last summer, with the heat making the thought of ovens intolerable, I stumbled into making these berry no bake cheesecakes on a sun-drenched afternoon, grateful for each chilled layer. The kitchen was filled with the soundtrack of berries gently tumbling into bowls, and the aroma of crushed biscuits instantly made me crave tea and something sweet. Sometimes, less fuss really does taste better.
I first assembled these for a friend’s picnic—the kind of impromptu evening where drinks, laughter, and plates travel across the grass. Watching everyone swirl bites of cheesecake, scattering crumbs and trading spoonfuls, was the best kind of kitchen reward. Even the ‘I dont even like cheesecake’ skeptics polished theirs off without a pause.
Ingredients
- Graham crackers or digestive biscuits: The biscuits provide that nostalgic crunch and soak up butter to make the base divinely firm yet crumbly—use a rolling pin in a ziptop bag to avoid flying crumbs.
- Unsalted butter: Melted butter binds the biscuits together; I always use unsalted so the flavors stay balanced.
- Cream cheese: Softened cream cheese whips more smoothly; letting it warm up a bit first saves you from lumpy filling woes.
- Heavy cream (cold): The filling needs chilled cream—take it straight from the fridge for best results and a fluffy finish.
- Powdered sugar: Powdered sugar melts effortlessly into the mixture and doesn’t leave any graininess behind.
- Vanilla extract: Just a splash of vanilla brings the flavors together and makes the filling taste dreamy and rich.
- Lemon zest (optional): For a little brightness, a fine grating of fresh lemon zest is like a secret handshake between flavors.
- Mixed fresh berries: Choose a variety for color and tang—strawberries, raspberries, and blueberries all lend their own personalities.
- Sugar (for berries): Just enough to draw out the juices and amplify the sweetness.
- Lemon juice: Even a small squeeze of lemon wakes up the berries and brings everything into sharper focus.
Instructions
- Prepare the biscuit base:
- Stir the crushed biscuits and melted butter until they glisten and clump together when pressed. Spoon into the bottoms of your glasses and press flat; I use the back of a teaspoon or a small glass for neat layers.
- Whip and fold the cheesecake mixture:
- Beat cream cheese with powdered sugar, vanilla, and lemon zest until impossibly smooth. In another bowl, whip the cold heavy cream until it forms billowy peaks, then gently fold it into the cream cheese so the mixture stays light.
- Assemble the filling:
- Carefully spoon or pipe the fluffy cheesecake mixture onto the biscuit bases, smoothing the tops with a spatula.
- Toss the berries:
- Combine berries with sugar and lemon juice, then let them mingle until they release their rosy juice and glisten. Stir once or twice, inhaling that summer fruit perfume.
- Layer and chill:
- Spoon the macerated berries and their sweet liquid over each cheesecake. Chill the assembled desserts for at least three hours (or overnight) so the layers firm up and flavors meld.
 Save to Pinterest
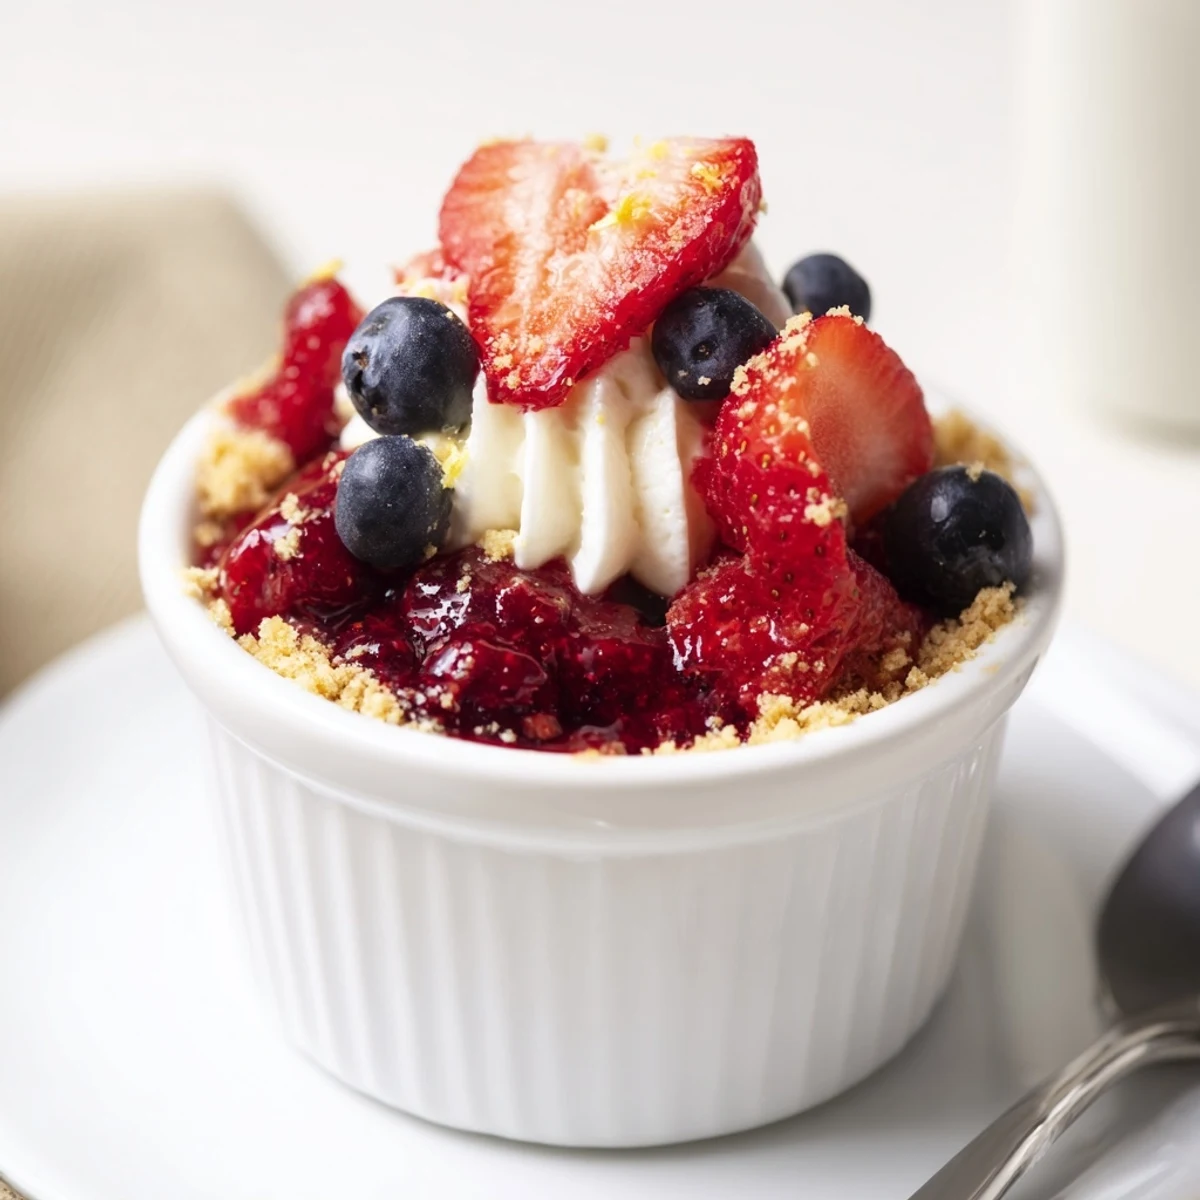
 When I made these for my cousin’s birthday, we ended up eating them on the porch, laughing as the setting sun made the berry juices shimmer in our glasses. It struck me that sometimes, a simple dessert can set the tone for the whole evening—easy, joyful, and quietly memorable.
The Joy of Hands-Off Desserts
No bake cheesecakes let you step away from the stove and spend more time with friends while dessert works its magic in the fridge. Each time I peek in and see those little glasses chilling together, I feel like I’m expecting something special.
Customizing Your Cheesecakes
I love how forgiving these are—swap in whatever berries are good, add a thread of berry jam, or use gluten-free biscuits for guests who need it. The colorful layers draw oohs before anyone has even dug in with a spoon.
Serving and Storing Secrets
If you use pretty glasses or jars, you can assemble these in advance and bring them along to parties, picnics, or late backyard evenings. I once packed them into a cooler for a road trip, and they were still perfect hours later.
- For neater layers, chill the filling briefly before adding berries.
- Berry juices can stain, so be gentle if layering in clear glasses.
- Leftovers keep well in the fridge—if you manage to have any!
 Save to Pinterest
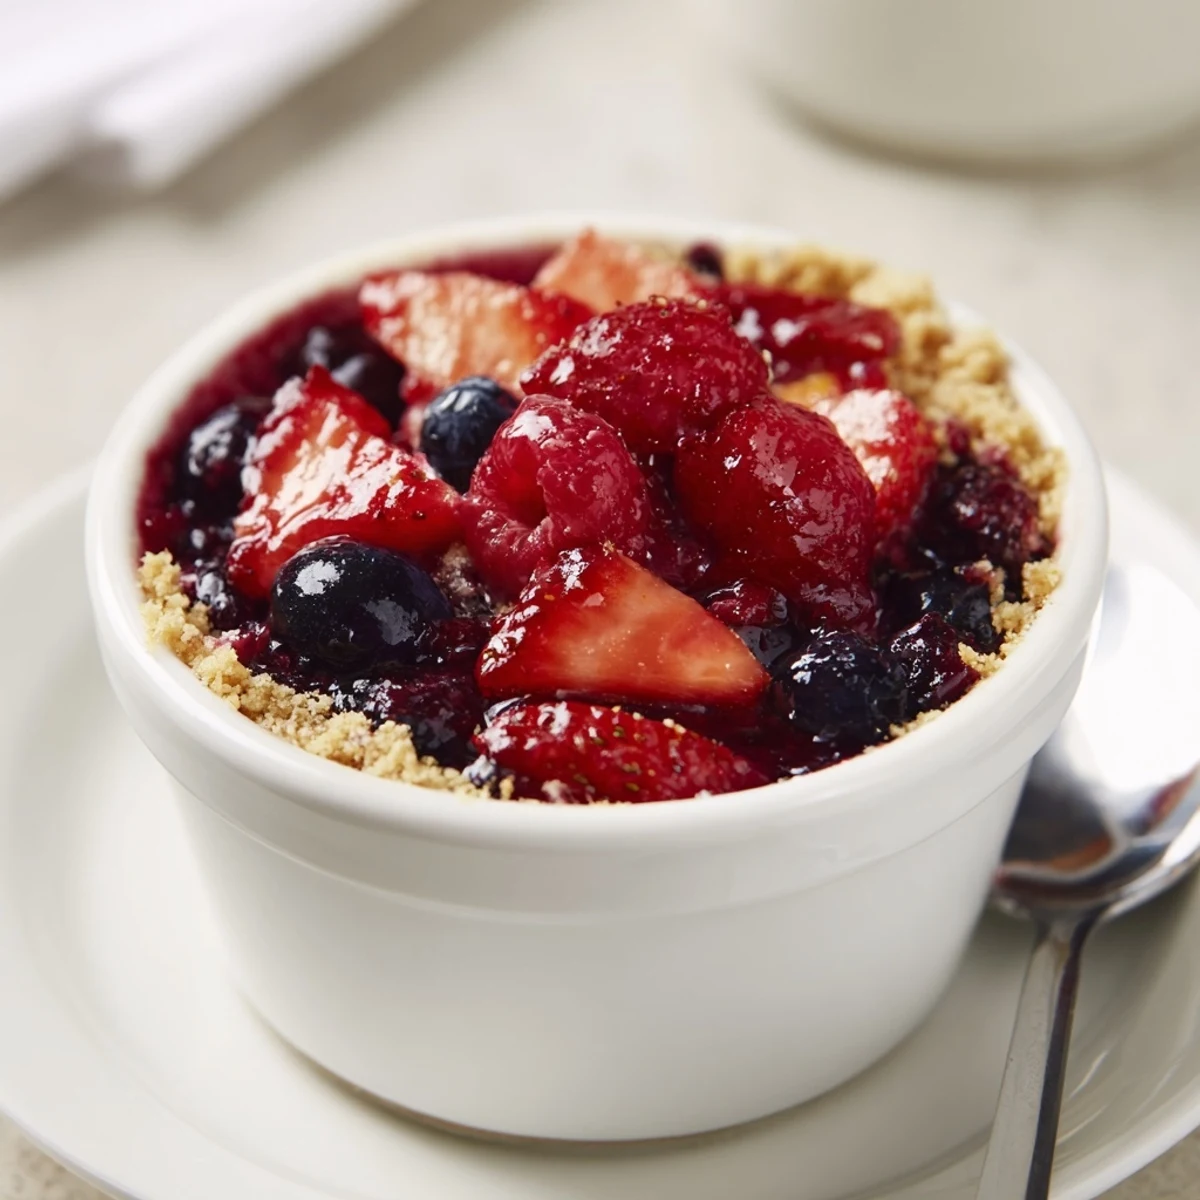
 Let these little glasses be your shortcut to low-fuss cheer, especially when the oven can take a break. Every scoop is proof that simple treats can still bring plenty of delight.
Recipe FAQs
- → How do I get a crunchy biscuit base?
-
Pulse biscuits finely and mix thoroughly with melted butter until evenly moistened. Press firmly into the glass or ramekin to compress the crumbs; chilling helps them set and stay crisp against the filling.
- → How can I ensure the filling is light and stable?
-
Beat the cream cheese until very smooth before folding in stiffly whipped cold cream. Fold gently to keep air in the mixture; chilling for several hours will help it firm without baking.
- → What’s the best way to prepare the berry topping?
-
Toss mixed berries with sugar and a splash of lemon juice and let sit 10–15 minutes to macerate. The juices create a glossy compote that contrasts nicely with the creamy filling.
- → How long should these be chilled before serving?
-
Chill for at least 3 hours to allow the filling to set properly; overnight chilling yields a firmer texture and deeper flavor melding.
- → Any tips for making this gluten-free or richer?
-
Use certified gluten-free digestive biscuits or graham substitutes for the base. For a richer profile, stir in a little mascarpone with the cream cheese or add a splash of berry liqueur to the topping.
- → Can these be assembled ahead for events?
-
Yes. Assemble up to 24 hours ahead and keep refrigerated. Add fresh berry topping just before serving if you want brighter, less watery fruit presentation.
