 Save to Pinterest
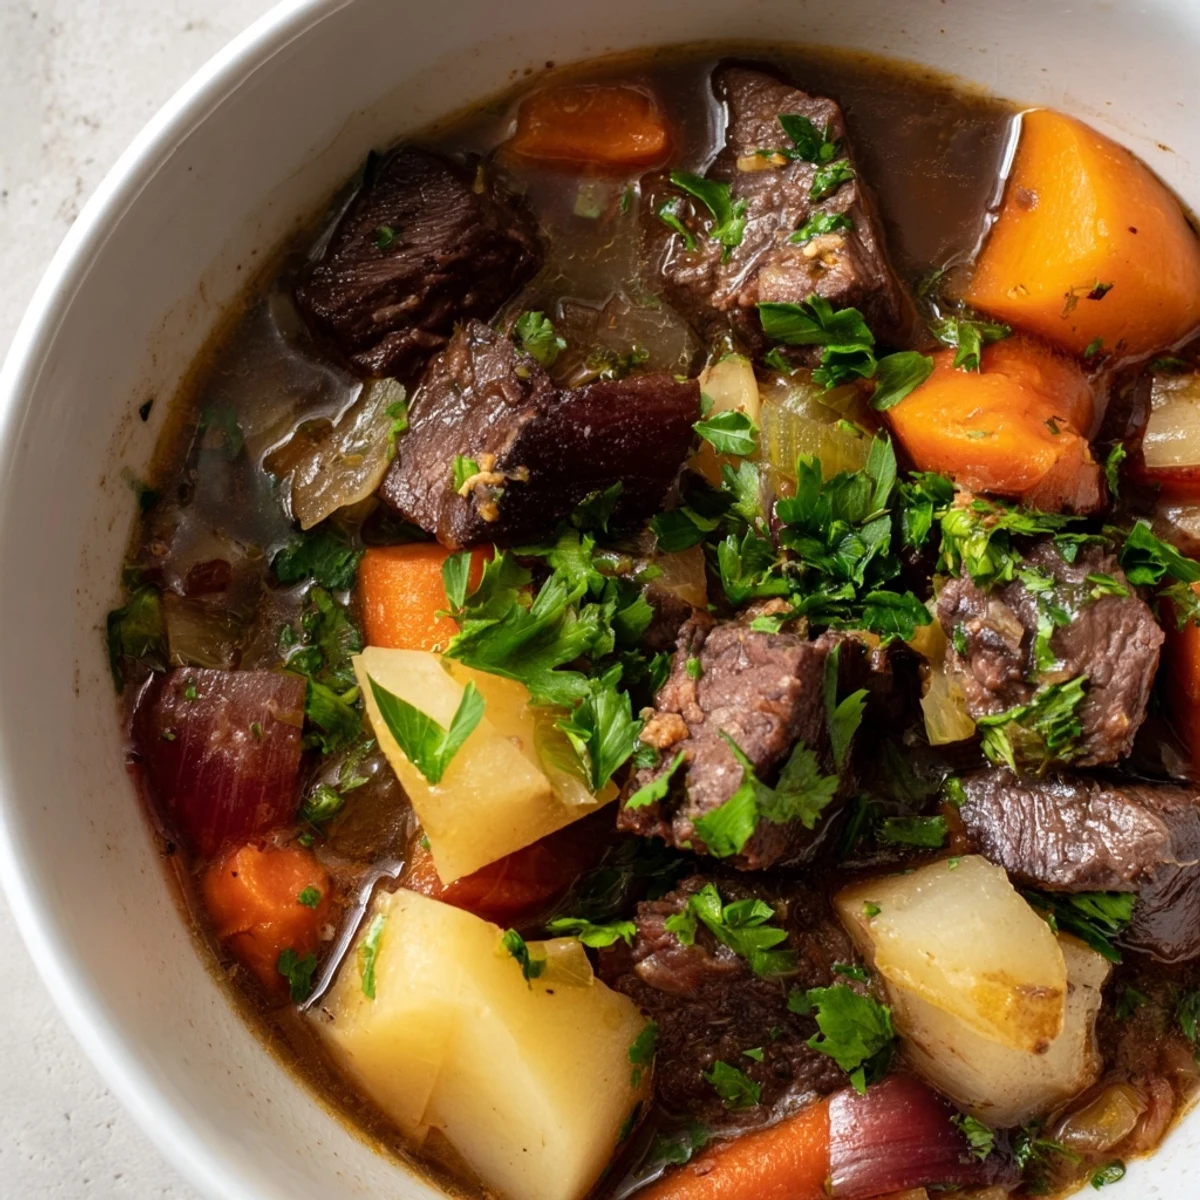
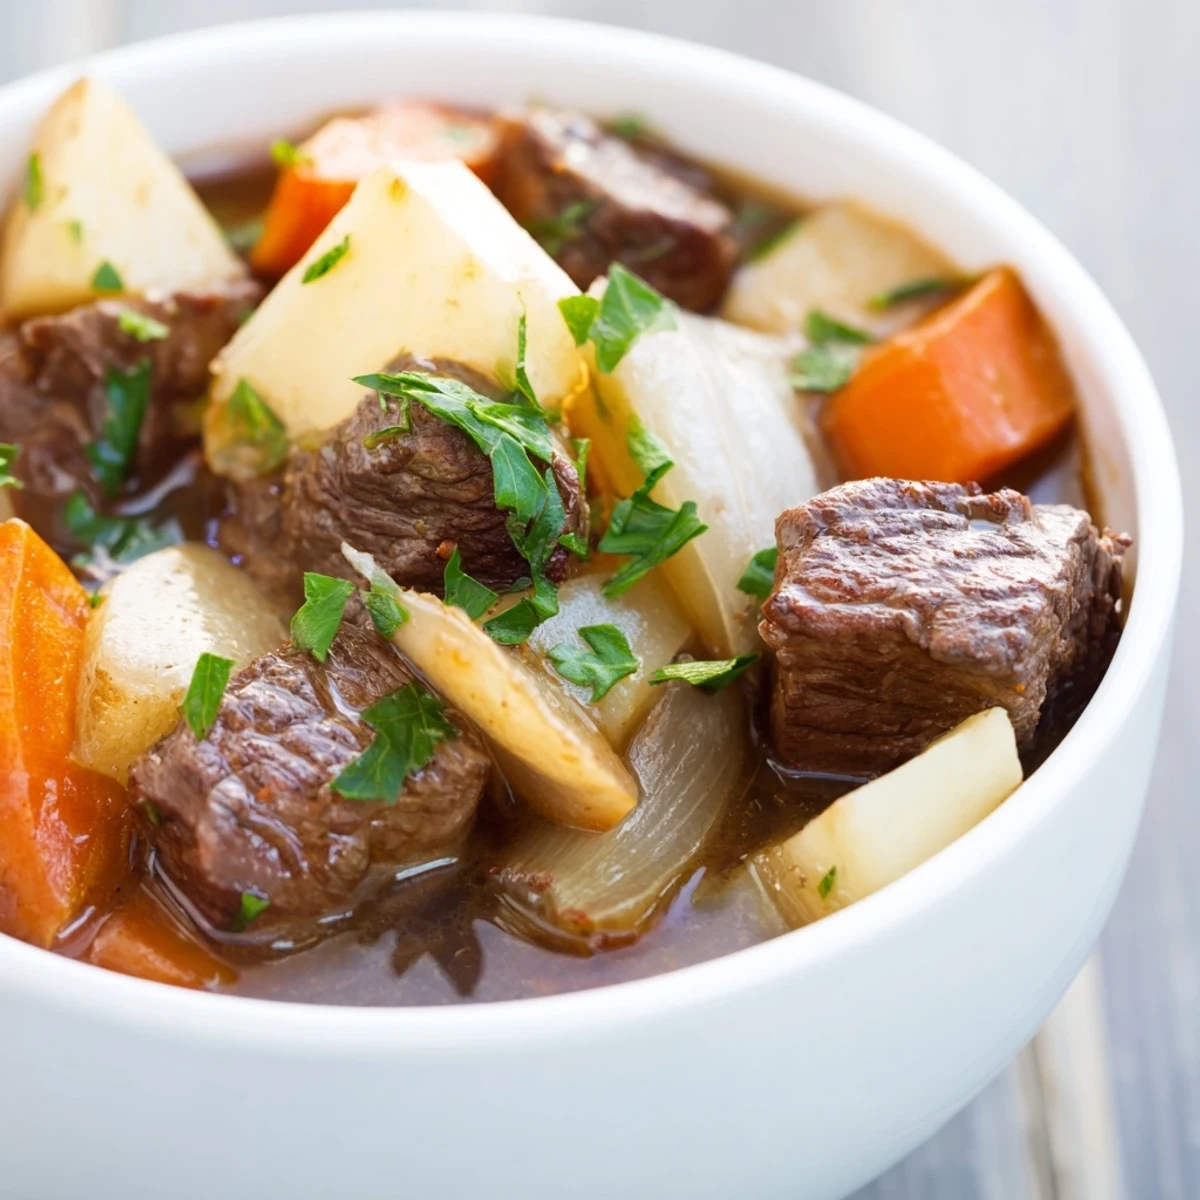
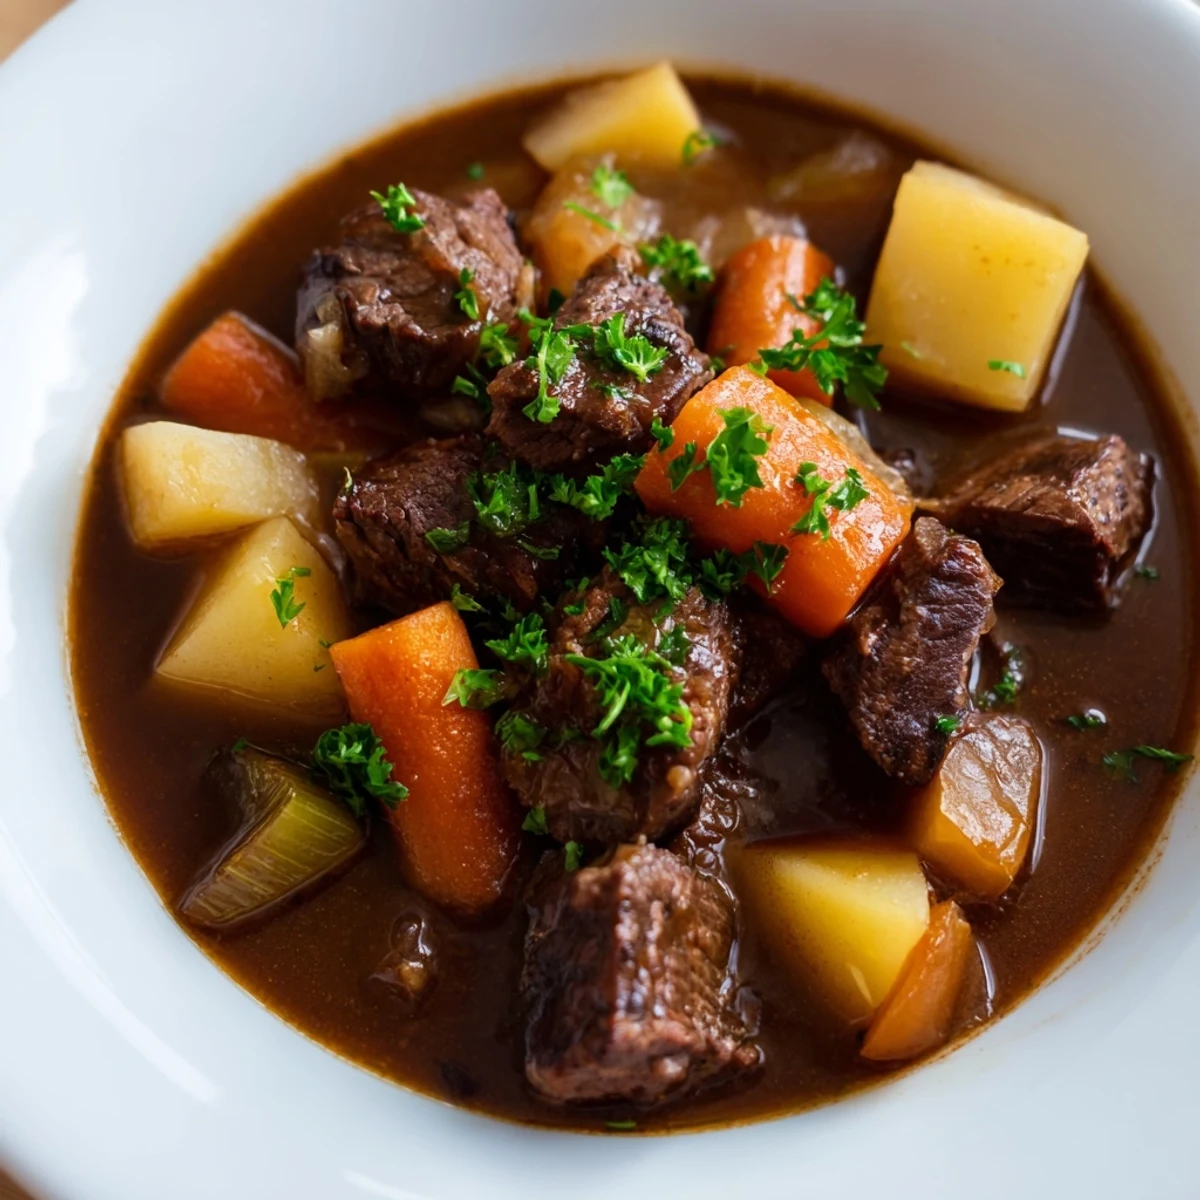
 This traditional Irish stew combines tender beef chuck with carrots, parsnips, turnips, and potatoes simmered in a savory beef broth for 2 hours. The long, slow cooking creates incredibly tender meat and allows flavors to meld beautifully. Perfect for cooler weather, this one-pot meal serves 6 and requires minimal hands-on time after initial browning. Serve with crusty bread or mashed potatoes for maximum comfort.
The crisp autumn chill was seeping through the windows when I first created this Irish Beef Stew with Root Vegetables. Rain tapped gently against the kitchen window as the savory aroma filled every corner of my small apartment. My neighbors actually knocked on my door, drawn by the comforting scent wafting into the hallway. That stew brought us together that evening, strangers becoming friends over steaming bowls of tender beef and vegetables.
My uncle visited from Dublin last winter and watched skeptically as I prepared this stew, arms folded across his chest as I worked. When he took his first bite, his eyebrows shot up in surprise, and he quietly asked for the recipe to take back home. The slight smile on his face told me everything I needed to know about its authenticity.
Ingredients
- Beef Chuck: After trying various cuts, chuck consistently delivers the perfect balance of fat and lean for stewing, becoming wonderfully tender after the slow cooking process.
- Root Vegetables: The combination of carrots, parsnips, turnips and potatoes creates layers of flavor that develop during cooking, with each vegetable contributing its unique sweetness and texture.
- Tomato Paste: Just a few tablespoons creates a surprising depth and umami richness that transforms the broth from good to exceptional.
- Worcestershire Sauce: This provides complex savory notes that would typically come from alcohol in traditional recipes, making this version family-friendly while maintaining depth.
Instructions
- Brown the beef properly:
- Heat oil until it shimmers before adding beef cubes in a single layer with space between each piece. Listen for that satisfying sizzle that signals youre building flavor, not just steaming the meat.
- Create the flavor base:
- When sautéing the onions and garlic, scrape up the brown bits from the bottom of the pot with a wooden spoon. Those caramelized bits contain concentrated beef flavor that will enrich your entire stew.
- Layer your vegetables:
- Add all vegetables to the pot with the beef, allowing their flavors to meld together as they slowly cook. The starchy potatoes will help naturally thicken the stew as they release their starches.
- Simmer with patience:
- Maintain a gentle simmer rather than a rolling boil, which would toughen the meat. Youll know its ready when the beef yields easily when pressed with a fork.
- Final seasoning check:
- After the full cooking time, taste and adjust the salt level. Flavors concentrate during long cooking, so this final adjustment makes all the difference.
 Save to Pinterest
 Last Christmas Eve, the power went out during a snowstorm just as we were sitting down to dinner. Instead of panicking, we lit candles and discovered this stew actually tastes even better by candlelight, with the steam rising from the bowls visible in the soft glow. My daughter declared it our new holiday tradition, and now we turn the lights off intentionally when serving this meal.
Make-Ahead Options
This stew actually improves with time, developing deeper flavors after resting overnight in the refrigerator. The fat rises to the top and solidifies, making it easy to remove for a lighter version the next day. I often make a double batch on Sunday afternoons, knowing weeknight dinners will be both effortless and delicious.
Serving Suggestions
While crusty bread is the traditional accompaniment, Ive discovered that a simple side of steamed green beans provides the perfect color contrast and fresh texture alongside this hearty stew. The bright green against the rich brown creates a visually appealing plate that somehow makes the stew taste even better.
Storage and Freezing
After accidentally leaving a portion in the back of my refrigerator for nearly a week, I discovered this stew keeps remarkably well for up to 5 days when properly stored in an airtight container. For freezing, let me save you from my mistake of freezing in large containers that take forever to thaw.
- Portion into individual servings before freezing to make weeknight meals a breeze.
- Allow the stew to cool completely before transferring to freezer containers to prevent ice crystals from forming.
- Label with the date and consume within 3 months for the best flavor and texture.
 Save to Pinterest
 This hearty Irish Beef Stew connects me to generations of home cooks who understood that patience and simple ingredients create the most memorable meals. Its not just food, its comfort made tangible.
Recipe FAQs
- → Can I prepare this ahead of time?
-
Yes, this stew actually tastes better the next day as flavors develop further. Prepare completely, cool, and refrigerate for up to 3 days. Reheat gently on the stovetop, adding a splash of broth if needed. You can also freeze for up to 2 months.
- → What cut of beef works best?
-
Beef chuck is ideal because it contains connective tissue that breaks down during long cooking, creating tender, succulent meat. Avoid lean cuts like sirloin that become tough with extended simmering.
- → How do I know when the beef is tender?
-
After 2 hours of simmering, pierce a cube with a fork—it should break apart easily. If still firm, continue cooking in 15-minute intervals. Cooking time varies based on meat size and pot temperature.
- → Can I use different vegetables?
-
Absolutely. Rutabaga, sweet potato, parsnips, or celeriac all work beautifully. Keep pieces similarly sized for even cooking. Avoid delicate vegetables like zucchini that break down too quickly.
- → Is this truly dairy-free?
-
Yes, as written. Just verify your Worcestershire sauce doesn't contain unexpected dairy additives. Use an allergen-free version if needed. The creamy texture comes solely from the broth and vegetables, not cream.
- → What's the best way to brown the beef?
-
Ensure beef is dry, work in batches so pieces aren't crowded, and let each side develop a golden crust without moving them around. This takes 8-10 minutes total and creates rich, deep flavor through the Maillard reaction.
