 Save to Pinterest
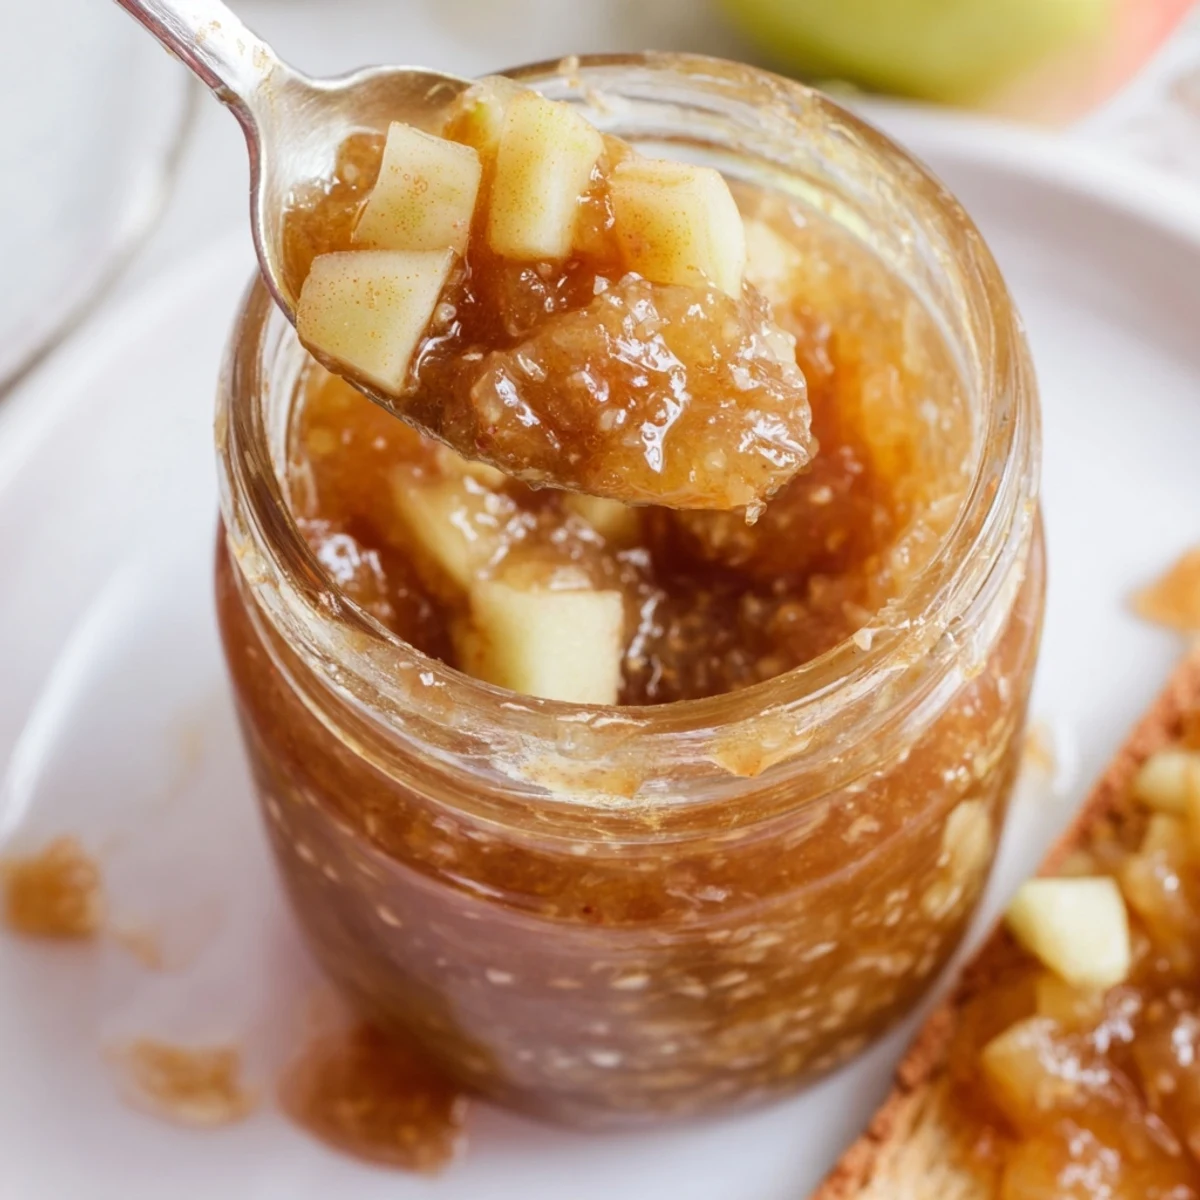
 This autumn caramel apple jam combines peeled, tender apples with fresh lemon, apple cider and a buttery caramel base of granulated and brown sugar. Ground cinnamon, nutmeg and allspice add warmth while liquid pectin and a short, vigorous boil set the texture. Cook slowly in a heavy pot, stir to prevent scorching, ladle hot into sterilized jars and process in a boiling water bath for shelf stability; refrigerate after opening.
The first time the scent of caramel apples simmered in my kitchen, it was a brisk fall afternoon and I had more apples than the fruit bowl could hold. The sharp tang of lemon juice mingled with the warm, sweet depth of caramel on the stove, making it impossible not to sneak a taste while stirring. I remember the gentle pop of the canning jars as they sealed and the golden jam catching the afternoon light. There’s something whimsical about transforming a mountain of apples into jars brimming with autumn flavor.
Last October, I remember scooping foamy jam into jars as the kitchen filled with laughter and the mess of apple peels—my neighbor dropped in unexpectedly and left with a warm jar, still slightly sticky on the outside.
Ingredients
- Apples: I always pick a mix of sweet and tart apples like Honeycrisp and Granny Smith; chopping them finely helps the jam cook evenly and gives just the right texture.
- Lemon juice: Freshly squeezed is non-negotiable—it keeps the apples bright and the flavor lively.
- Granulated sugar: It’s what sets the caramel in motion; measure carefully so the jam isn’t tooth-achingly sweet.
- Light brown sugar: This adds depth to the caramel note and keeps things softly sweet.
- Unsalted butter: Don’t skip this; it rounds out all the flavors and brings in real caramel richness.
- Ground cinnamon, nutmeg, and allspice: I tinkered with the spice amounts over batches; the warmth makes all the difference when the jam meets toast.
- Salt: Just a pinch perks up the caramel and stops it from being one-note.
- Liquid pectin: Using the pouch keeps things no-fuss and assures a luscious, spreadable set.
- Apple cider or juice: Adds punchy apple flavor and cooks into a sweet, tangy base.
- Water: It helps soften the apples without sticking—just enough to get everything going.
Instructions
- Start the Apples:
- Combine the apples, lemon juice, cider, and water in a sturdy pot and set over medium heat. As everything simmers, you’ll notice steam curling up and the apples turning tender after about 10 minutes.
- Mash for Texture:
- Use a potato masher or an immersion blender to break down the apples, stopping while you still spot some small chunks.
- Add Sweetness and Spice:
- Sprinkle in both sugars, the cinnamon, nutmeg, allspice, and salt. Stir gently until every grain dissolves and you see the mixture start to glisten.
- Create the Caramel:
- Drop in the butter cubes and keep cooking, stirring frequently—listen for the soft simmer and watch as the color deepens to golden caramel over 20-25 minutes.
- Thicken and Set:
- Crank the heat to bring it all to a boil, then pour in the pectin and stir well. Boil hard for 1-2 minutes, producing a bubbling, fragrant mixture before removing from heat.
- Jar It Up:
- If any foam appears, skim it. Ladle the hot jam into sterilized jars (I always aim for a steady hand), wipe the rims, secure lids, and process in a boiling water bath for 10 minutes.
- Cool and Store:
- Let jars cool undisturbed until you hear the satisfying pop. Once sealed, stash them in a cool, dark nook and refrigerate after opening.
 Save to Pinterest
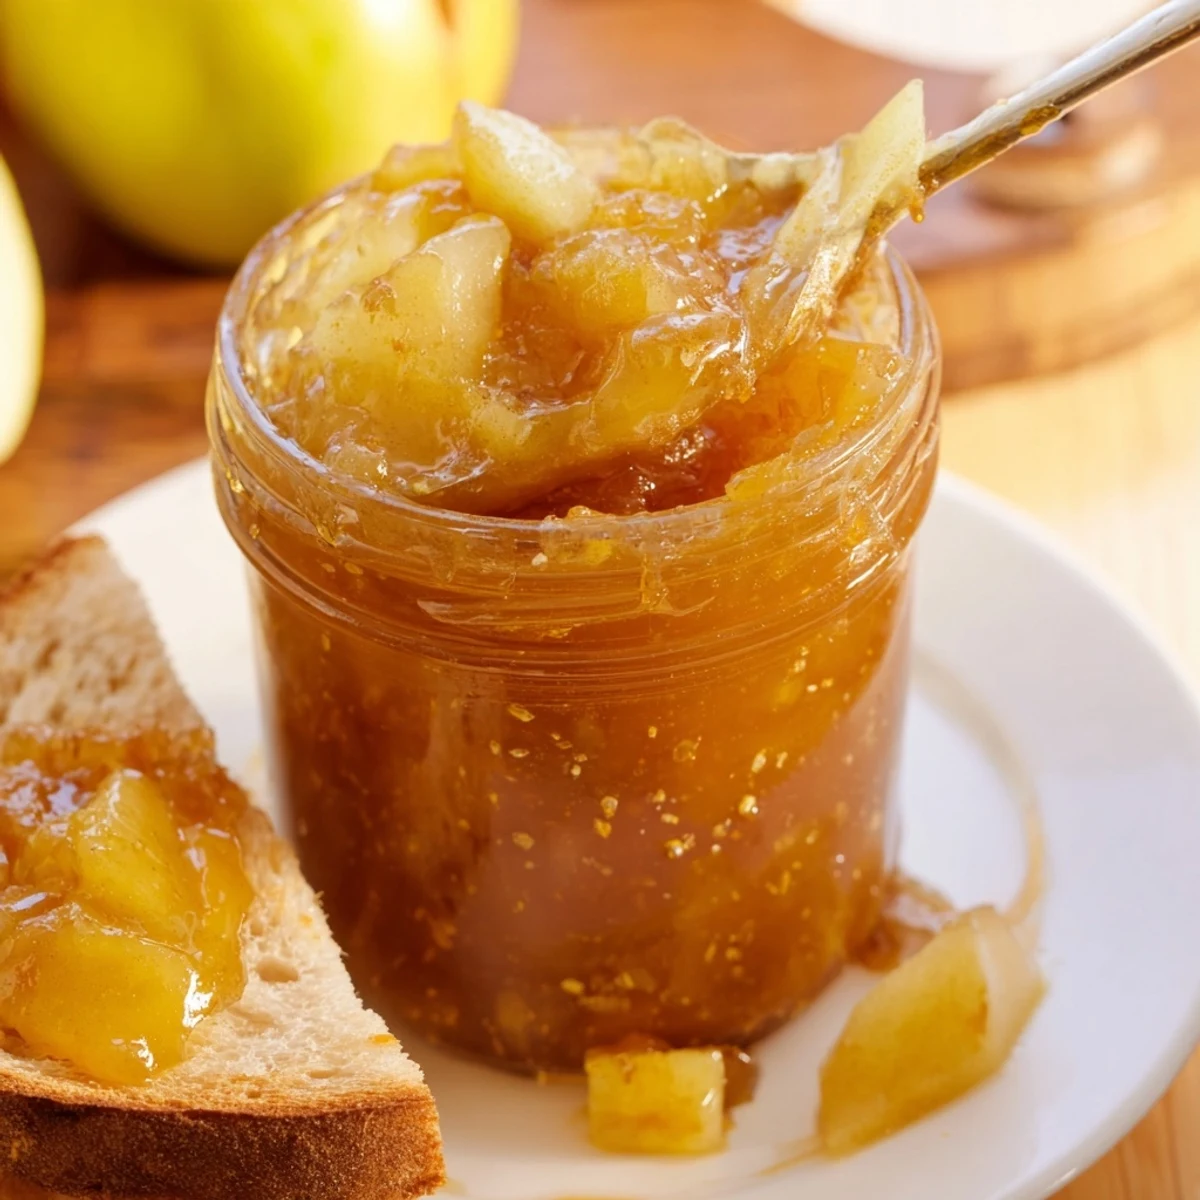
 The first snowy morning when I opened a jar, the soft aroma of cinnamon and apples felt like a cozy hug—a little reminder that autumn can linger long into winter breakfasts.
The Magic of Homemade Caramel
Making the caramel in this jam feels a bit like capturing the essence of a fairground treat, only grown-up and perfectly spreadable. When the butter melts into the sugar and apples, the kitchen is flooded with the kind of warm, sweet scent that makes everyone wander in and ask what you’re making.
Swaps, Twists, and Personal Touches
One afternoon I swapped half the apples for ripe pears, and the result was pure silk—just a bit softer and with an elegant sweetness that surprised me. This jam also loves a little grated ginger or even a swirl of vanilla bean for extra warmth.
Canning Confidence (and Little Fixes)
Canning intimidated me once, but now it’s a calm, almost meditative act—I line up jars, listen for the pop as they seal, and feel a proud, secret joy each time another is added to my pantry shelf.
- Label your jars with the date so you know which batch you’re opening midwinter.
- If you get some foam, just skim it off gently—it won’t mess up the flavor.
- Always check that the jars are sealed before gifting or storing for the long haul.
 Save to Pinterest
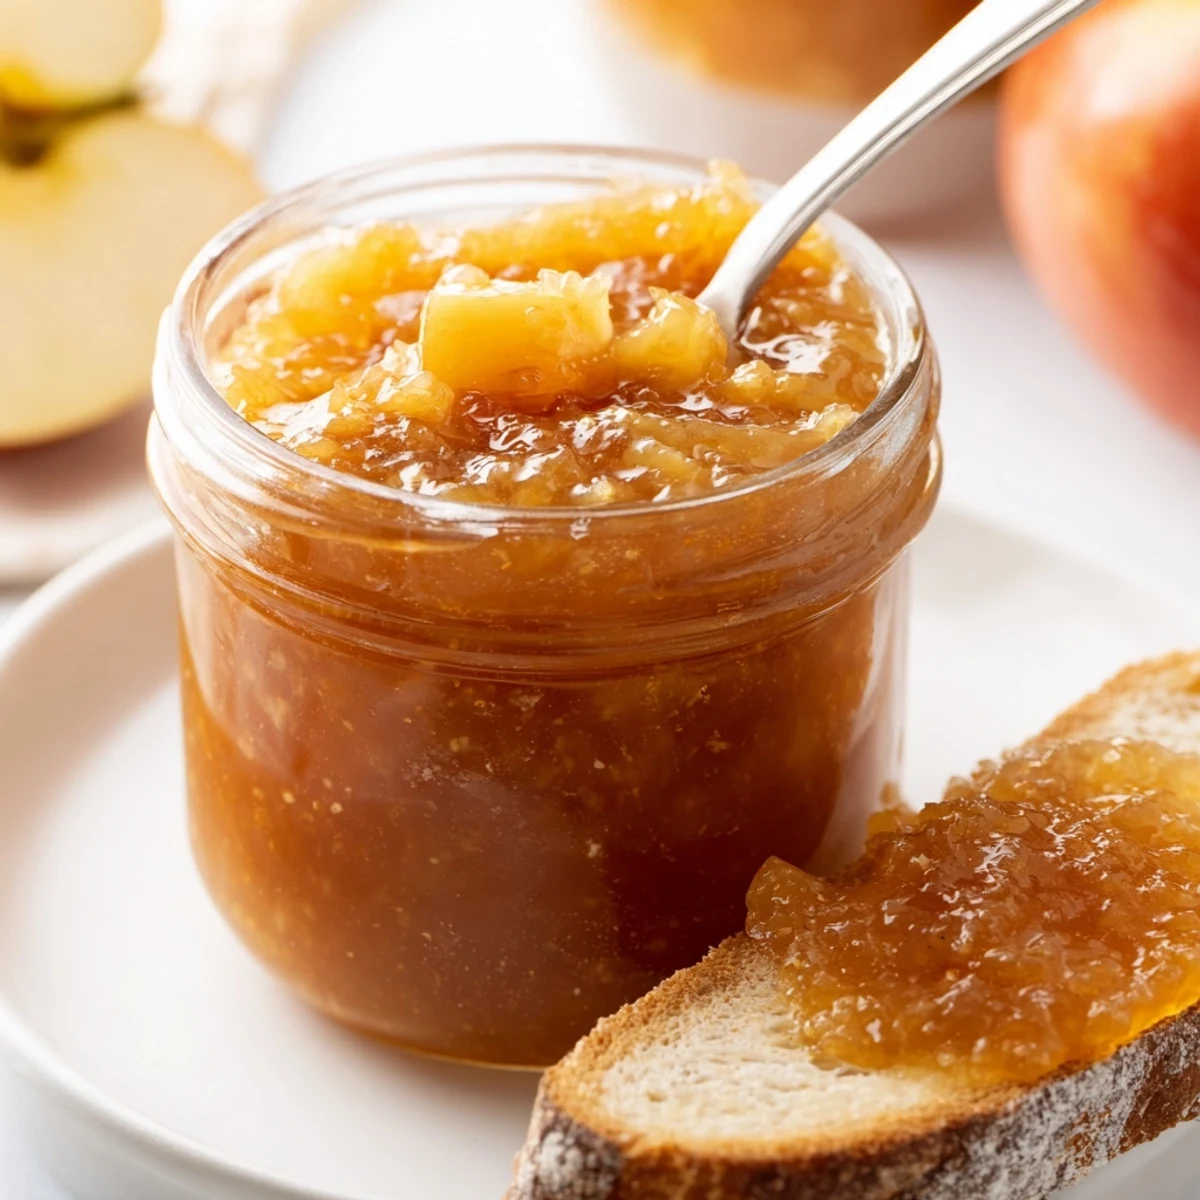
 Few things make me happier than tucking away bright jars of caramel apple jam and remembering how one homemade project can fill mornings, hearts, and toast for months to come.
Recipe FAQs
- → How do I prevent the mixture from scorching?
-
Use a heavy-bottomed pot, maintain medium heat and stir frequently, scraping the bottom gently. Reducing heat slightly if the mixture browns too quickly helps prevent burning.
- → Which apples work best for this caramel blend?
-
Firm, crisp apples like Honeycrisp or Granny Smith hold texture well; you can also mix sweet and tart varieties for a balanced flavor. Swap in some pears for a milder, fragrant variation.
- → Can I deepen the caramel flavor?
-
Yes. For a richer note, caramelize the granulated sugar separately to a light amber before adding to the apples, or finish with browned butter for a nutty boost.
- → How do I know the spread has set properly?
-
After the short, vigorous boil with pectin, test a spoonful on a chilled plate: it should thicken and wrinkle when pushed. The jars will also firm up as they cool.
- → What is the proper storage and shelf life?
-
Process jars in a boiling water bath for shelf stability and store unopened jars in a cool, dark place for several months. Refrigerate after opening and use within a few weeks.
- → Any tips for canning safety and foam removal?
-
Skim off foam before ladling into jars to improve seals. Wipe rims clean before applying lids, and adjust water bath processing time for altitude to ensure safe preservation.
