 Save to Pinterest
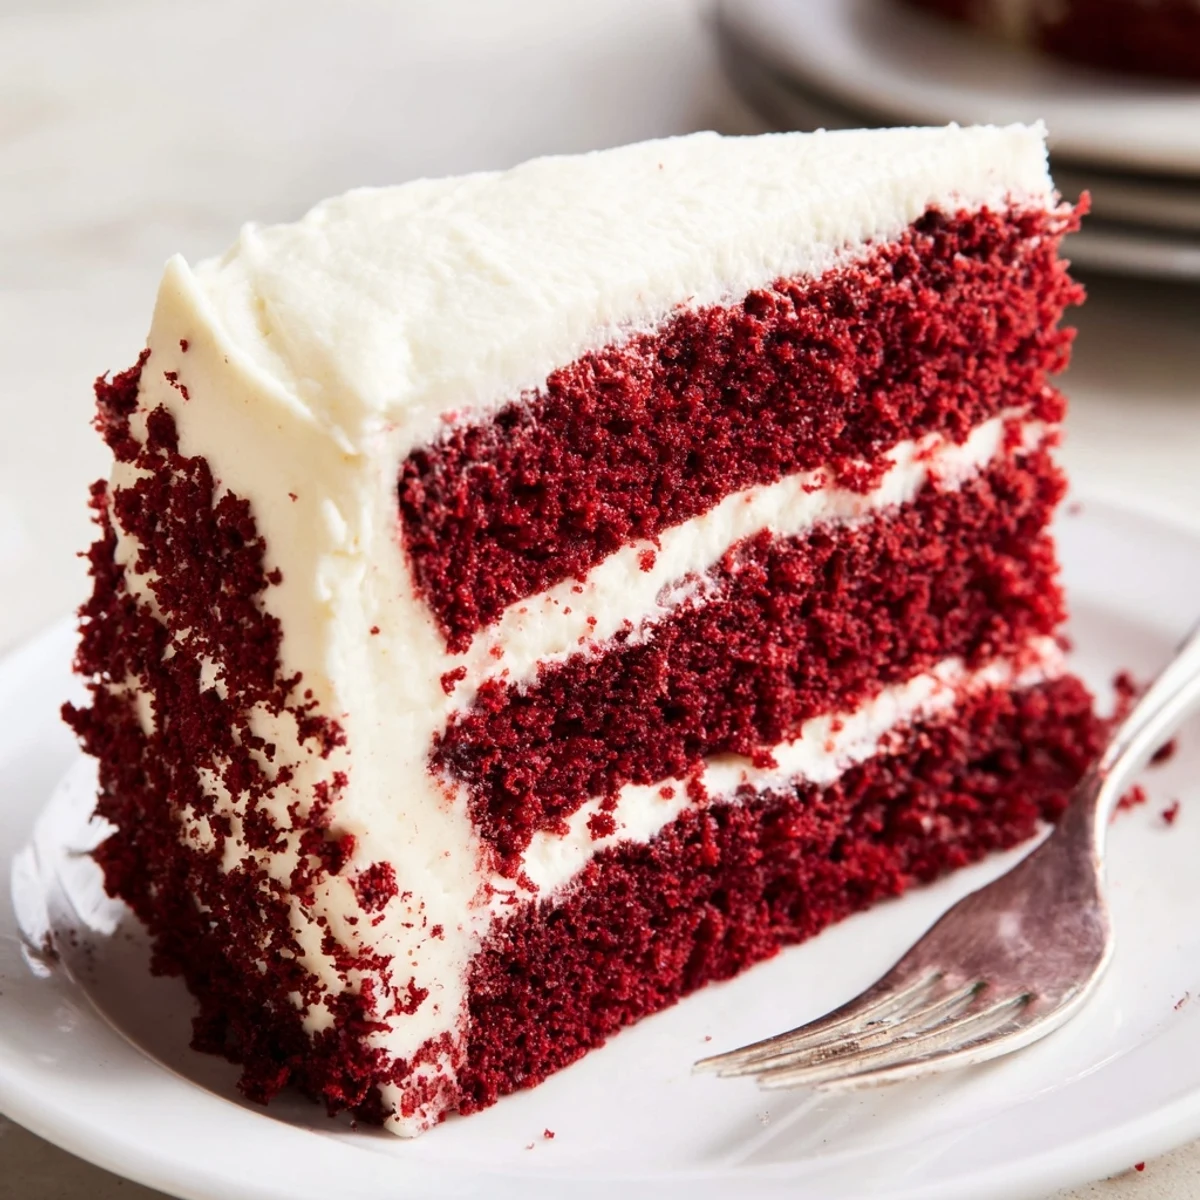
 This classic red velvet cake features a tender, velvety crumb with hints of cocoa, topped with rich cream cheese frosting. The vibrant red color makes it stunning for birthdays, weddings, and holidays. With simple ingredients and straightforward steps, you can create a bakery-worthy dessert at home. The buttermilk ensures moisture while the vinegar enhances the red color and reacts with baking soda for a light texture.
The way my grandmother used to say you only make red velvet cake when something worth celebrating is happening stuck with me forever. I remember standing on a chair in her kitchen at age seven, absolutely mesmerized by the bright red batter swirling in the bowl. She told me the color was magic and honestly, after tasting that first perfectly tangy sweet bite, I believed her.
Last spring I made this cake for my best friends birthday and she literally stopped mid conversation after her first bite. The frosting was perfectly thick, the layers were even, and I felt like a kitchen magician. Her husband asked for the recipe before the night was over, which is basically the highest compliment a home cook can receive.
Ingredients
- All purpose flour: The structure builder, measure properly by spooning into your measuring cup and leveling off
- Granulated sugar: Sweetens and tenderizes, do not reduce this or your cake texture will suffer
- Baking soda: Reacts with the buttermilk and vinegar for that signature velvet rise
- Fine salt: Enhances chocolate flavor without making the cake taste salty
- Unsweetened cocoa powder: Just enough for subtle chocolate notes, use Dutch process for deeper color
- Vegetable oil: Keeps the cake incredibly moist for days, much better than butter here
- Buttermilk: The secret to tanginess and tenderness, room temperature is non negotiable
- Large eggs: Also need to be room temp so they incorporate smoothly into the batter
- Red food coloring: For that iconic vibrant color, gel coloring gives the most intense red
- White vinegar: Activates the baking soda and enhances the red color reaction
- Cream cheese: Must be completely softened or your frosting will have lumps
- Unsalted butter: Room temperature butter blends seamlessly with cream cheese
- Powdered sugar: Sifting prevents those annoying tiny lumps in your frosting
Instructions
- Get your oven ready:
- Preheat to 350 degrees Fahrenheit and generously grease two nine inch round pans with butter, then dust with flour, tapping out the excess
- Whisk your dry team:
- In a medium bowl, sift together flour, sugar, baking soda, salt, and cocoa powder to aerate everything and prevent lumps
- Make the red mixture:
- In your largest bowl, whisk oil, buttermilk, eggs, food coloring, vanilla, and vinegar until completely combined
- Bring it together:
- Gradually pour dry ingredients into the wet mixture, folding gently until just smooth, being careful not to overmix
- Bake the layers:
- Divide batter evenly between prepared pans and bake for twenty eight to thirty minutes, until a toothpick comes out clean
- Cool them down:
- Let cakes rest in pans for ten minutes, then carefully turn out onto wire racks to cool completely before frosting
- Make the frosting:
- Beat softened cream cheese and butter until smooth and creamy, about two minutes, then gradually add powdered sugar
- Build the cake:
- Place one layer on your serving plate, spread frosting over the top, add the second layer, then frost the top and sides
 Save to Pinterest
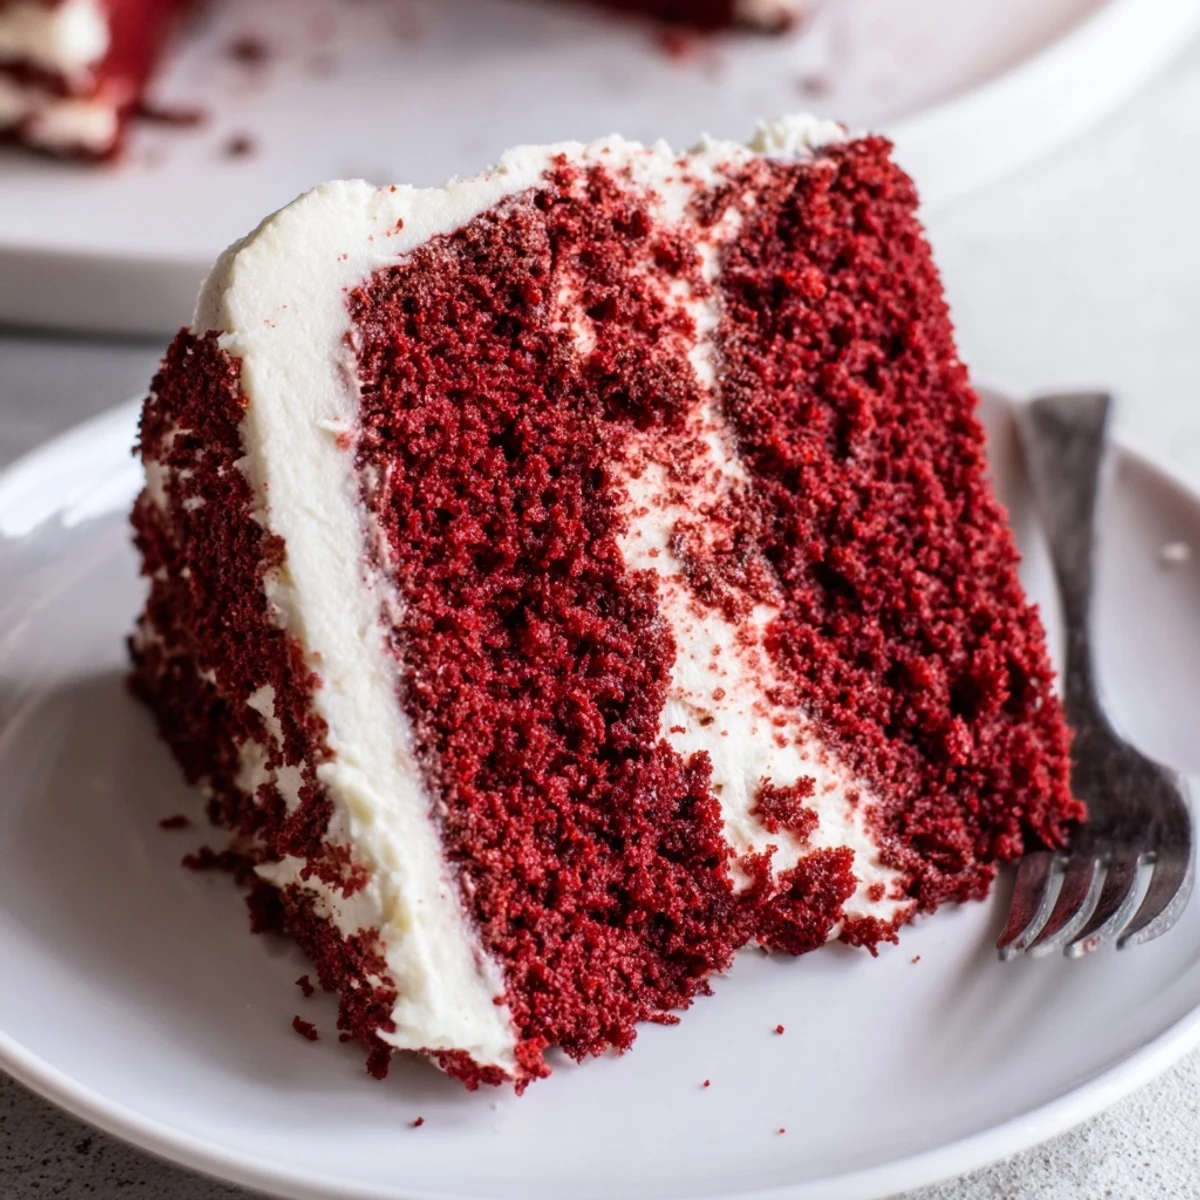
 This cake has become my go to for baby showers, graduations, and random Tuesdays when people need cheering up. Something about that striking red color and swirled frosting makes everyone smile before they even take a bite.
Making It Your Own
Once you master the basic recipe, tiny variations can make it feel new each time. I have added orange zest to the frosting for a creamsicle version that disappeared faster than any cake I have ever made.
Storage Secrets
This cake actually tastes better on day two when the flavors have had time to meld and the frosting has softened slightly into the crumb. Keep it refrigerated but bring to room temperature for thirty minutes before serving.
Perfect Presentation
A simple dollop of extra frosting with a few cake crumbs pressed into the top looks elegant and homemade. My favorite trick is running an offset spatula under hot water to smooth the frosting into those perfect professional swirls.
- Chill the frosted cake for thirty minutes before slicing to get those clean bakery style cuts
- Use a long serrated knife and gently saw through the cake without pressing down
- Wipe the knife clean between each slice for picture perfect servings
 Save to Pinterest
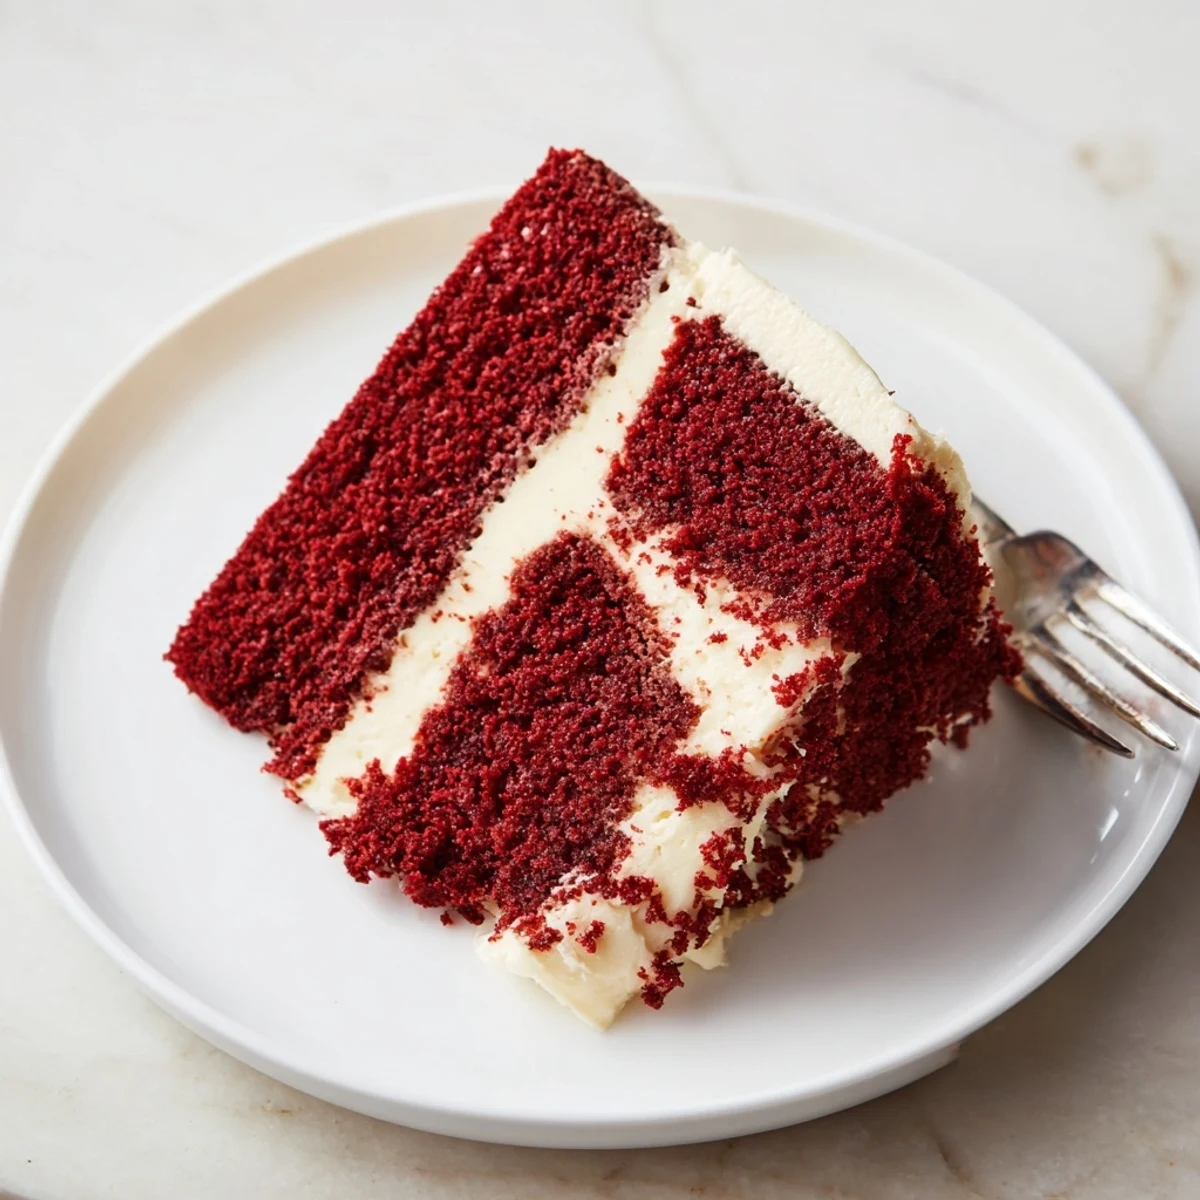
 Every time I pull this cake out of the oven and see that gorgeous red hue, I think about all the celebrations it has been part of over the years. Hope it becomes part of your special moments too.
Recipe FAQs
- → What makes red velvet cake different from chocolate cake?
-
Red velvet cake has a subtle cocoa flavor compared to traditional chocolate cake. The buttermilk and vinegar create a tender, velvety texture with a slight tang. The iconic red color comes from food coloring reacting with the acidic ingredients.
- → How do I store red velvet cake?
-
Store frosted cake in the refrigerator, covered loosely with plastic wrap or in a cake container. It stays fresh for 4-5 days. Bring to room temperature 30 minutes before serving for the best texture and flavor.
- → Can I make red velvet cake ahead of time?
-
Yes, bake the cake layers up to 2 days ahead. Wrap cooled layers tightly in plastic wrap and refrigerate. Frost on the day of serving. Unfrosted layers can also be frozen for up to 3 months.
- → Why did my red velvet cake turn brown instead of red?
-
Brown color usually means insufficient food coloring or overbaking. Use high-quality gel or liquid red food coloring. Natural cocoa powder works best—Dutch-processed cocoa can cause color changes. Don't exceed the recommended baking time.
- → What can I use instead of buttermilk?
-
Make homemade buttermilk by adding 1 tablespoon of lemon juice or white vinegar to 1 cup of regular milk. Let it sit for 5-10 minutes until thickened. This creates the necessary acidity for the cake's texture and color.
- → How do I get smooth frosting on red velvet cake?
-
Ensure cake layers are completely cool before frosting. Apply a thin crumb coat first, then chill for 15 minutes. Apply the final layer of frosting, using an offset spatula and bench scraper for smooth sides. Softened ingredients prevent lumps.
