 Save to Pinterest
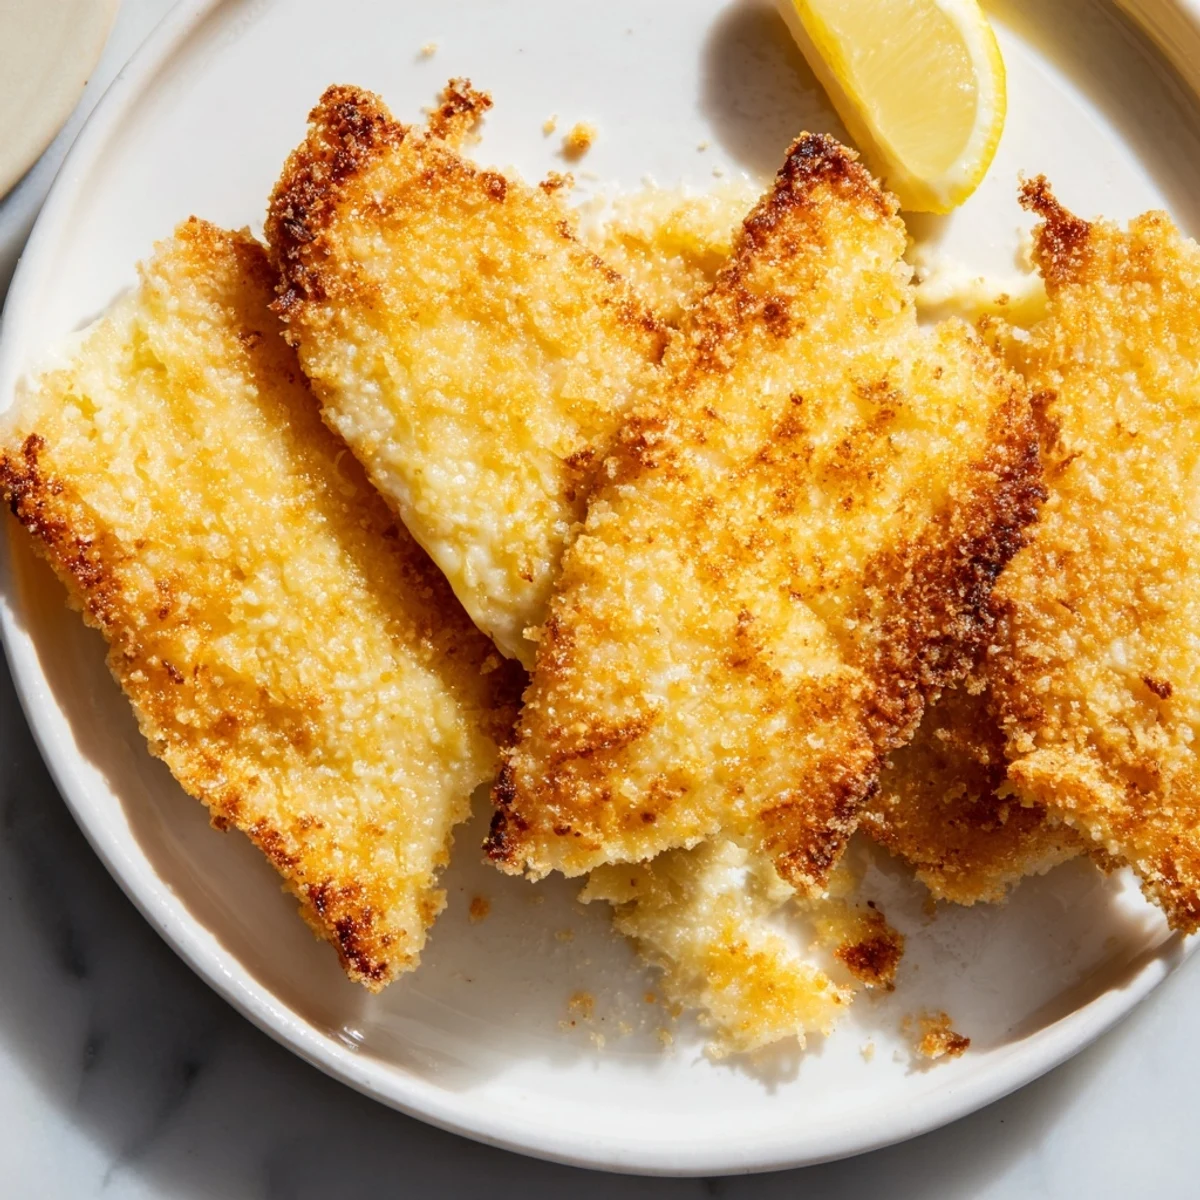
 This beloved Greek appetizer features firm cheese slices coated in seasoned flour and pan-fried until golden and crisp. The exterior creates a satisfying crunch while the interior becomes beautifully melted and creamy. Traditionally made with Kefalotyri or Graviera cheese, this simple preparation delivers maximum flavor in just 20 minutes.
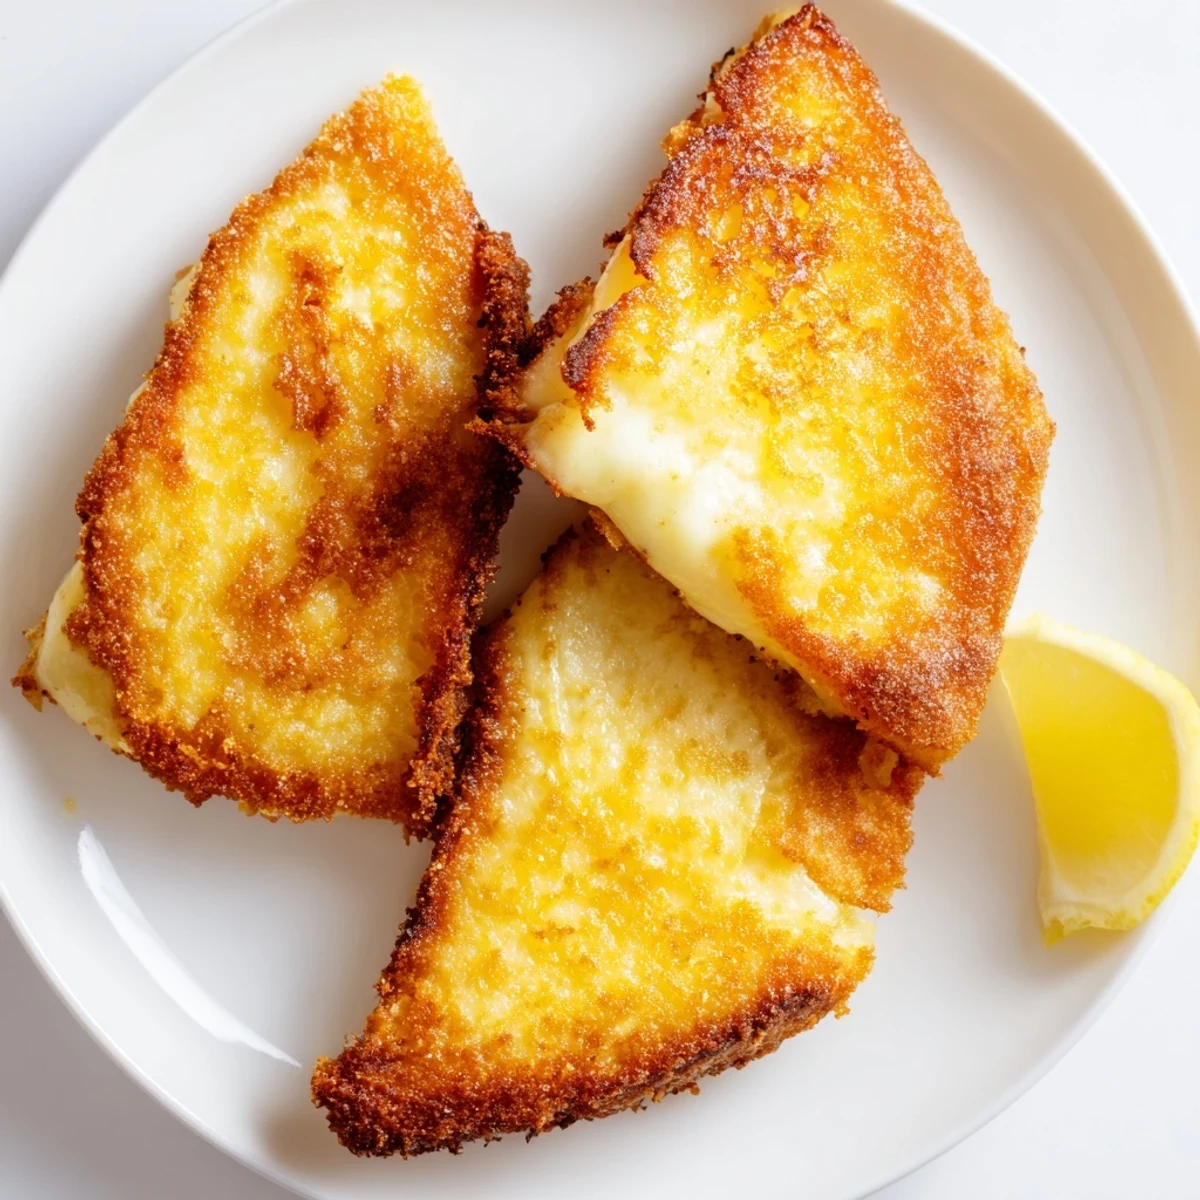
Serve immediately with fresh lemon wedges—the bright citrus acidity perfectly balances the rich, salty cheese. For an authentic Greek experience, pair with chilled white wine or ouzo. The coating technique ensures even crisping while preventing the cheese from sticking to the pan.
The first time I encountered Saganaki was in a tiny taverna in Athens, where the waiter brought out a sizzling pan of golden cheese and dramatically flamed it at the table with a shout of 'Opa!' The whole room erupted in cheers, and I knew I had to recreate that magic at home. Now, this crispy fried cheese has become my go-to appetizer for impromptu gatherings, because nothing breaks the ice quite like the sound of hot cheese hitting your plate.
Last summer, I made this for a group of friends who claimed they werent cheese people. Within minutes, they were fighting over the last wedge, squeezing lemon wedges with abandon. Theres something universally thrilling about hot, salty, crispy cheese that turns any ordinary Tuesday into a celebration.
Ingredients
- 250 g firm Greek cheese: Kefalotyri or Graviera give you that authentic sharp salty tang, but Halloumi works beautifully too and is easier to find
- 80 g gluten-free flour: The coating creates that essential crunch, and regular all-purpose flour works if gluten isnt a concern
- Freshly ground black pepper: Just enough to cut through the richness and add a gentle warmth
- 3 tbsp extra virgin olive oil: Use a good quality oil here since youre frying at high heat and it really matters
- Lemon wedges: The bright acid is non-negotiable, it cuts through all that rich cheese and makes each bite sing
Instructions
- Prep the cheese:
- Cut your cheese into 1–1.5 cm thick slices and pat each piece thoroughly dry with paper towels to prevent splattering and ensure the flour sticks properly.
- Coat evenly:
- Spread flour on a plate, season with pepper, then dredge each cheese slice, coating both sides and shaking off excess to avoid a thick, doughy layer.
- Heat things up:
- Warm the olive oil in a non-stick skillet over medium-high heat until it shimmers, testing readiness by flicking a tiny pinch of flour into the pan.
- Fry to golden perfection:
- Carefully place cheese in the hot oil and cook 1–2 minutes per side until deep golden brown and crispy, then transfer to paper towels.
- Serve immediately:
- Bring to the table while still sizzling, with fresh lemon wedges for squeezing over each bite.
 Save to Pinterest
 There was that rainy evening when my partner came home exhausted and I surprised them with a plate of this sizzling cheese. The simple act of squeezing that lemon over the hot, golden wedge seemed to melt away the entire stressful day. Food this straightforward has a way of becoming a memory.
Choosing Your Cheese
The traditional Kefalotyri has this beautiful sharp, salty profile that stands up beautifully to frying, but I have fallen in love with using Halloumi for its squeaky, satisfying texture. Firm feta can work in a pinch, though it crumbles more easily and becomes incredibly salty when heated. Whatever you choose, make sure it is firm enough to hold its shape in the hot pan.
Getting That Perfect Crunch
The secret to restaurant-style results lies in the flour coating being thin but complete, and the oil being properly hot before the cheese even touches the pan. I have found that pressing the flour gently into the cheese helps it adhere better, and giving the pan a gentle shake to distribute the oil evenly prevents any sticking. Do not crowd the pan or the temperature drops too much.
Serving Ideas and Variations
While lemon is the classic finish, I have discovered that a drizzle of warm honey over the hot, salty cheese creates this incredible sweet-savory situation. Sometimes I sprinkle dried oregano right after frying for an herby kick that transports me straight to a Greek island.
- Try a tiny sprinkle of flaky sea salt after frying for extra crunch
- A drizzle of balsamic glaze creates a surprisingly delicious variation
- Keep extra lemon wedges handy because everyone wants more acid
 Save to Pinterest
 Whether you are recreating that taverna memory or just need something ridiculously delicious in under twenty minutes, this fried cheese delivers every single time. Grab some lemons and get cooking.
Recipe FAQs
- → What cheese works best for frying?
-
Kefalotyri and Graviera are traditional Greek choices that hold their shape beautifully when fried. Halloumi makes an excellent alternative with its unique squeaky texture. Firm feta can work but may become more crumbly. The key is choosing a cheese that can withstand high heat without completely melting away.
- → Why do I need to coat the cheese in flour?
-
The flour coating creates a protective barrier that helps the cheese hold its shape during frying while developing a golden, crispy exterior. It also prevents the cheese from sticking to the pan and absorbs excess moisture, ensuring better browning. Seasoning the flour with pepper adds subtle flavor throughout.
- → How do I prevent the cheese from melting too much?
-
Use firm, aged cheeses rather than soft varieties. Pat the cheese dry before coating to remove excess moisture. Keep the oil at medium-high heat and don't overcrowd the pan. Work quickly once the cheese hits the hot oil—fry just until golden, about 1-2 minutes per side.
- → What's the best way to serve this dish?
-
Serve immediately while hot and crispy for the best texture. Fresh lemon wedges are essential—the bright acidity cuts through the rich, salty cheese. Arrange on a platter with optional dried oregano or a honey drizzle. Pair with crusty bread, olives, and chilled white wine or ouzo.
- → Can I make this ahead of time?
-
This dish is best enjoyed fresh from the pan for optimal crispiness. However, you can prepare the cheese slices in advance—cut, pat dry, and store in the refrigerator. Coat in flour just before frying. If needed, fried pieces can be briefly reheated in a hot skillet, though they won't be quite as crispy as freshly made.
- → Is this suitable for gluten-free diets?
-
Yes! Simply substitute the all-purpose flour with a certified gluten-free flour blend. The coating technique works exactly the same way. Always verify that your chosen flour is specifically labeled gluten-free, and check that your cheese hasn't been processed with any gluten-containing ingredients.
