 Save to Pinterest
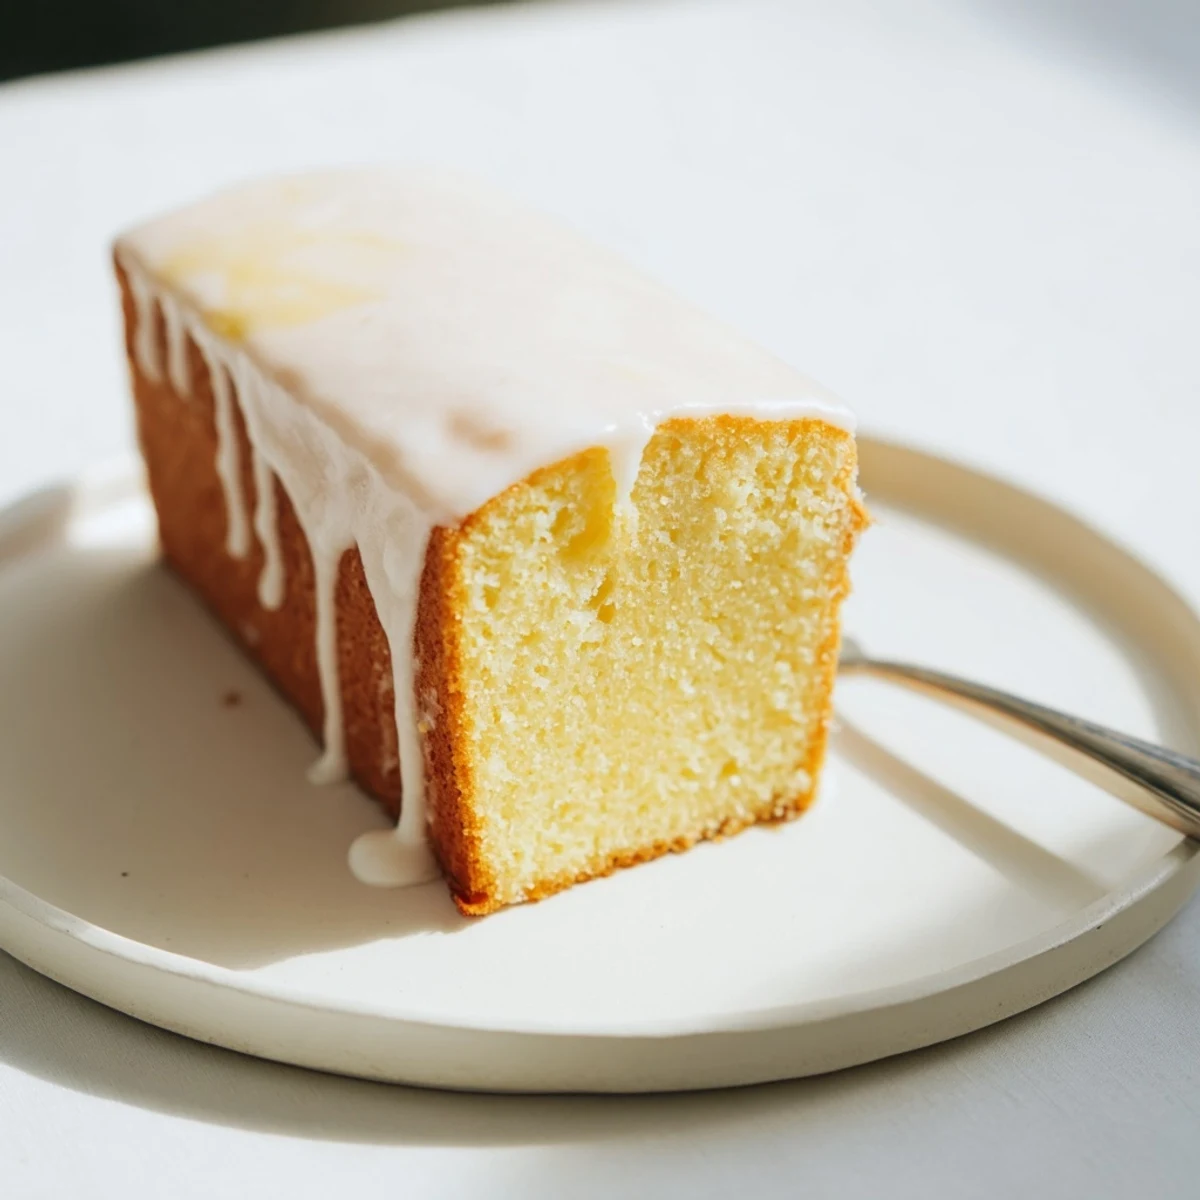
 This beloved community dessert features a tender, moist crumb achieved through buttermilk and proper creaming techniques. The vanilla-infused batter bakes into golden perfection in a 9x13 pan, making it practical for feeding crowds. A quick whisked glaze adds just the right amount of sweetness without overpowering the delicate vanilla flavor. The entire process takes under an hour, and the results transport you to nostalgic church socials and community potlucks.
The way this cake appeared on every church potluck table still makes me smile, that familiar 9x13 pan with its snowy white glaze catching the fluorescent lights of the fellowship hall. I must have eaten this cake a hundred times growing up, usually while balancing a flimsy paper plate and trying not to drip on my Sunday clothes. When I finally asked Mrs. Henderson for her recipe, she laughed and told me it wasn't much of a secret, just something reliable that never failed to feed a crowd.
Last summer my youngest daughter called from college, frantic because she'd offered to bring dessert to a roommate's birthday gathering and had zero baking experience. We made this cake together over FaceTime, her phone propped against a stack of textbooks in a cramped dorm kitchen, and when she sent me a photo of the empty platter afterward, I knew the tradition had found another generation.
Ingredients
- All-purpose flour: The backbone of this tender sponge, providing just enough structure without becoming heavy or dense
- Baking powder and baking soda: This dual leavening combination is what gives the cake its signature rise and fluffy texture
- Unsalted butter: Softened to room temperature creates that perfect creamed base that makes everything else come together beautifully
- Granulated sugar: Not just for sweetness, this creamed with butter creates the air pockets that make the cake so light
- Large eggs: Room temperature eggs incorporate better and help bind everything while adding richness
- Vanilla extract: Don't skimp here, this pure extract is what gives the cake its comforting classic flavor
- Buttermilk: The secret weapon that creates an incredibly tender crumb and subtle tang you can't quite put your finger on
- Powdered sugar: For the glaze, this dissolves perfectly into a smooth, pourable coating that sets beautifully
- Milk: Just enough to thin the glaze to the perfect pouring consistency while keeping it opaque and sweet
Instructions
- Get your oven ready:
- Preheat to 350°F and grease your 9x13 pan thoroughly, coating every corner and edge with butter and a dusting of flour.
- Whisk the dry ingredients:
- In a medium bowl, combine flour, baking powder, baking soda, and salt, whisking until everything is evenly distributed.
- Cream the butter and sugar:
- Beat softened butter and sugar for a full three minutes until it's pale and fluffy, creating the base for that tender texture.
- Add the eggs:
- Drop in eggs one at a time, beating completely after each addition, then mix in the vanilla until the batter smells like comfort.
- Combine everything:
- Alternate adding the flour mixture and buttermilk, starting and ending with the dry ingredients, mixing just until you no longer see streaks of flour.
- Bake to golden:
- Spread the batter evenly and bake for 30 to 35 minutes until the top springs back when touched and a toothpick comes out clean.
- Let it rest:
- Cool in the pan for 15 minutes before transferring to a wire rack, letting the cake set while you whisk up that simple vanilla glaze.
- Finish with glaze:
- Whisk powdered sugar with milk and vanilla until smooth, then drizzle generously over the completely cooled cake.
 Save to Pinterest
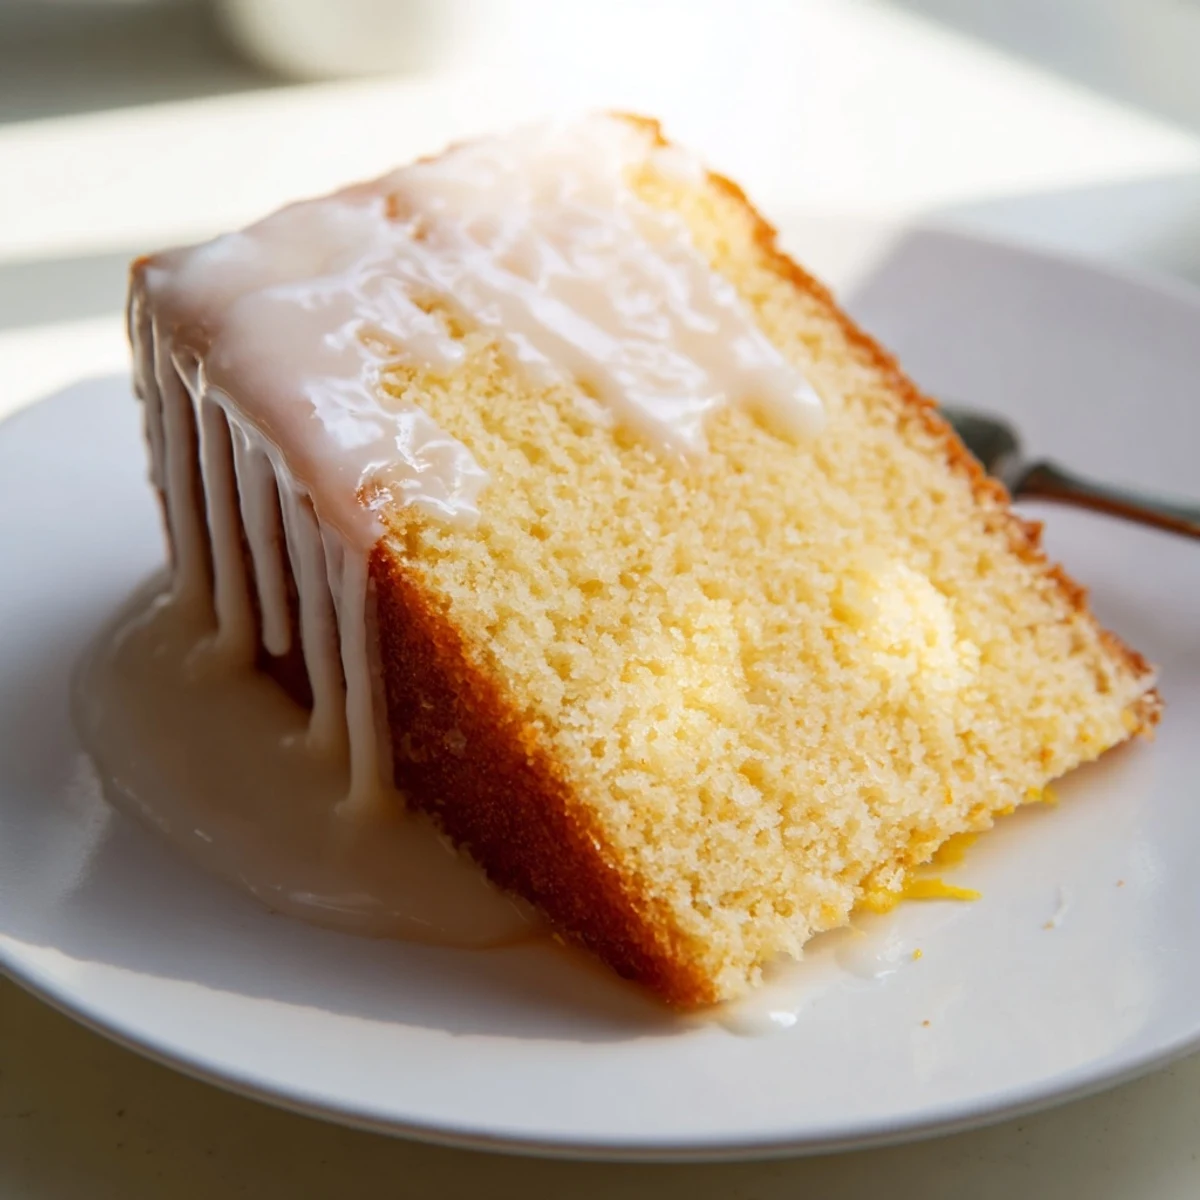
 My grandmother kept a foil-wrapped slice of this cake in her refrigerator at all times, claiming it was her emergency dessert for unexpected visitors. Now I understand the wisdom, having pulled out that same foil-wrapped slice more times than I can count when neighbors drop by or the evening calls for something sweet.
Making It Ahead
This cake actually tastes better on day two, which is why it's the ultimate make-ahead dessert. Bake it up to two days before you need it, glaze it the morning of your event, and serve without any last-minute kitchen stress.
Perfecting The Glaze
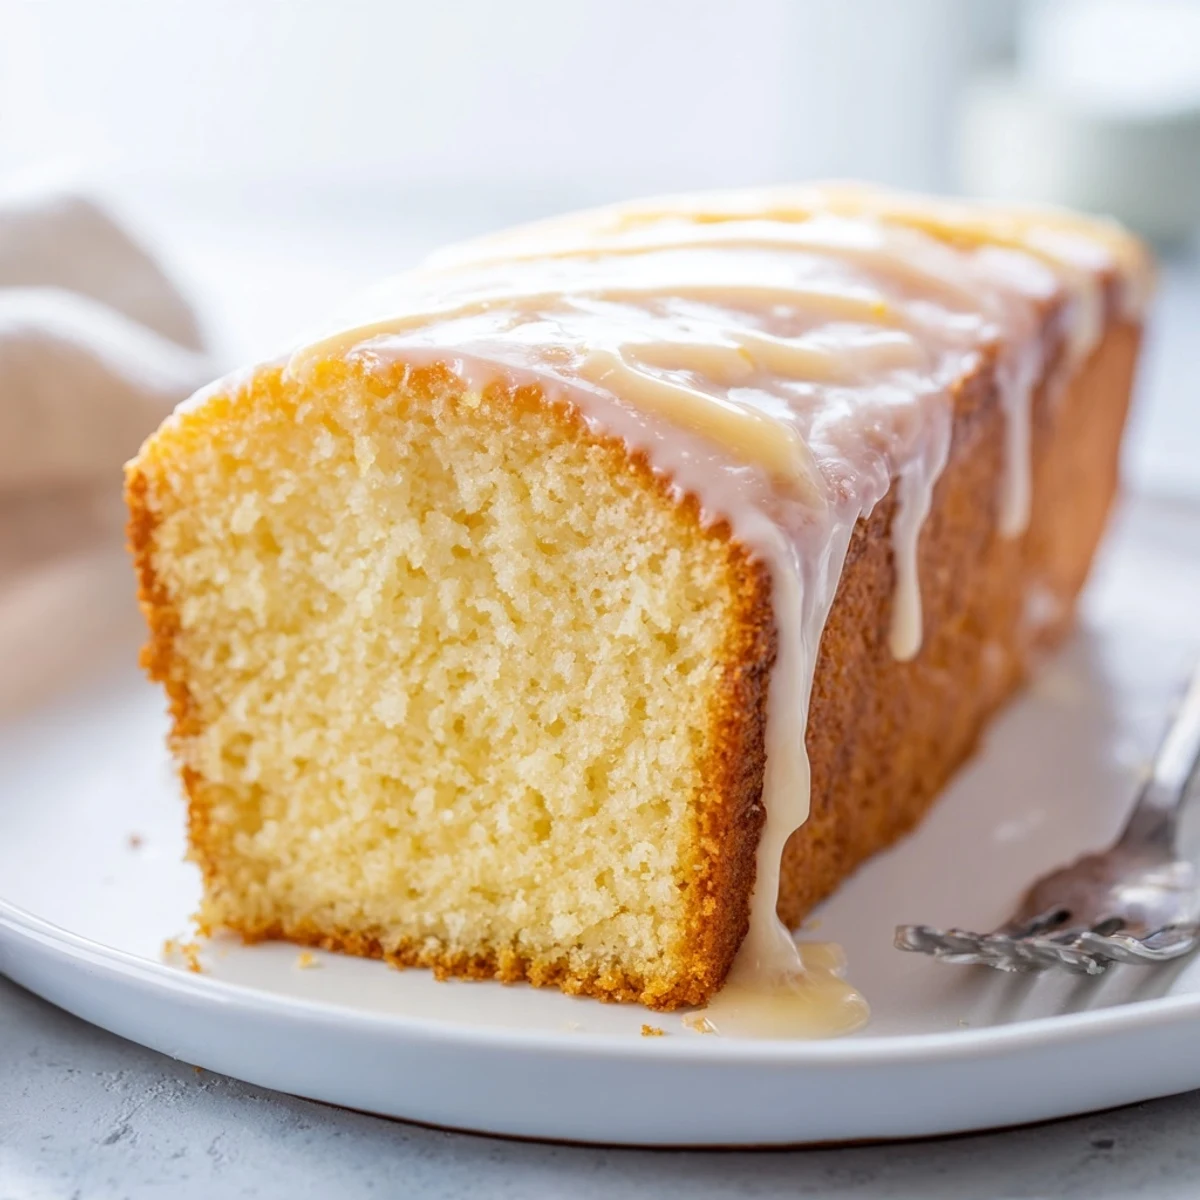
The glaze should pour in a steady stream and spread slowly on its own, thick enough to coat the back of a spoon but thin enough to create those beautiful drips down the sides. Let it set for at least 30 minutes before slicing so you get those clean cuts.
Serving Ideas
This is the cake that works everywhere from funeral receptions to birthday parties to lazy Sunday mornings. It's not fancy, but that's exactly why people keep coming back for seconds.
- Warm slightly in the microwave for 15 seconds and serve with vanilla ice cream
- Press fresh berries into the glaze while it's still wet for a pop of color and flavor
- Sprinkle chopped pecans or walnuts over the glaze before it sets for added crunch
 Save to Pinterest
 There's something deeply comforting about a recipe that shows up everywhere, that disappears from every potluck table, that people remember years later. This is that cake, the one that somehow becomes part of your story without you even realizing it.
Recipe FAQs
- → Why is it called church cake?
-
The name comes from its longstanding tradition of being served at church gatherings, potlucks, and community events. The large 9x13 pan size and simple ingredients made it practical for feeding crowds, while its moist texture kept well during long services.
- → Can I make this cake ahead of time?
-
Absolutely. This cake actually tastes better the next day as the flavors meld and moisture distributes evenly. Store covered at room temperature for up to 3 days, or freeze unglazed for up to 3 months. Add the glaze before serving.
- → What makes this cake so moist?
-
The combination of buttermilk, proper creaming of butter and sugar, and the alternating addition method creates an exceptionally tender crumb. Buttermilk's acidity activates the baking soda, while the careful mixing prevents gluten development.
- → Can I substitute regular milk for buttermilk?
-
Yes, combine 1 cup of regular milk with 1 tablespoon of lemon juice or white vinegar. Let it sit for 5-10 minutes until slightly thickened and curdled. This mimics buttermilk's acidity and tenderizing properties.
- → How do I know when the cake is done?
-
Insert a toothpick into the center—it should come out clean or with just a few moist crumbs. The edges will pull slightly from the pan sides, and the top will spring back when gently pressed. Overbaking leads to dry texture.
- → Can I double this recipe?
-
Yes, but you'll need two 9x13 pans or adjust to a larger pan like a half sheet pan. Keep the baking temperature the same but extend baking time by 10-15 minutes. Test for doneness rather than relying solely on time.
