 Save to Pinterest
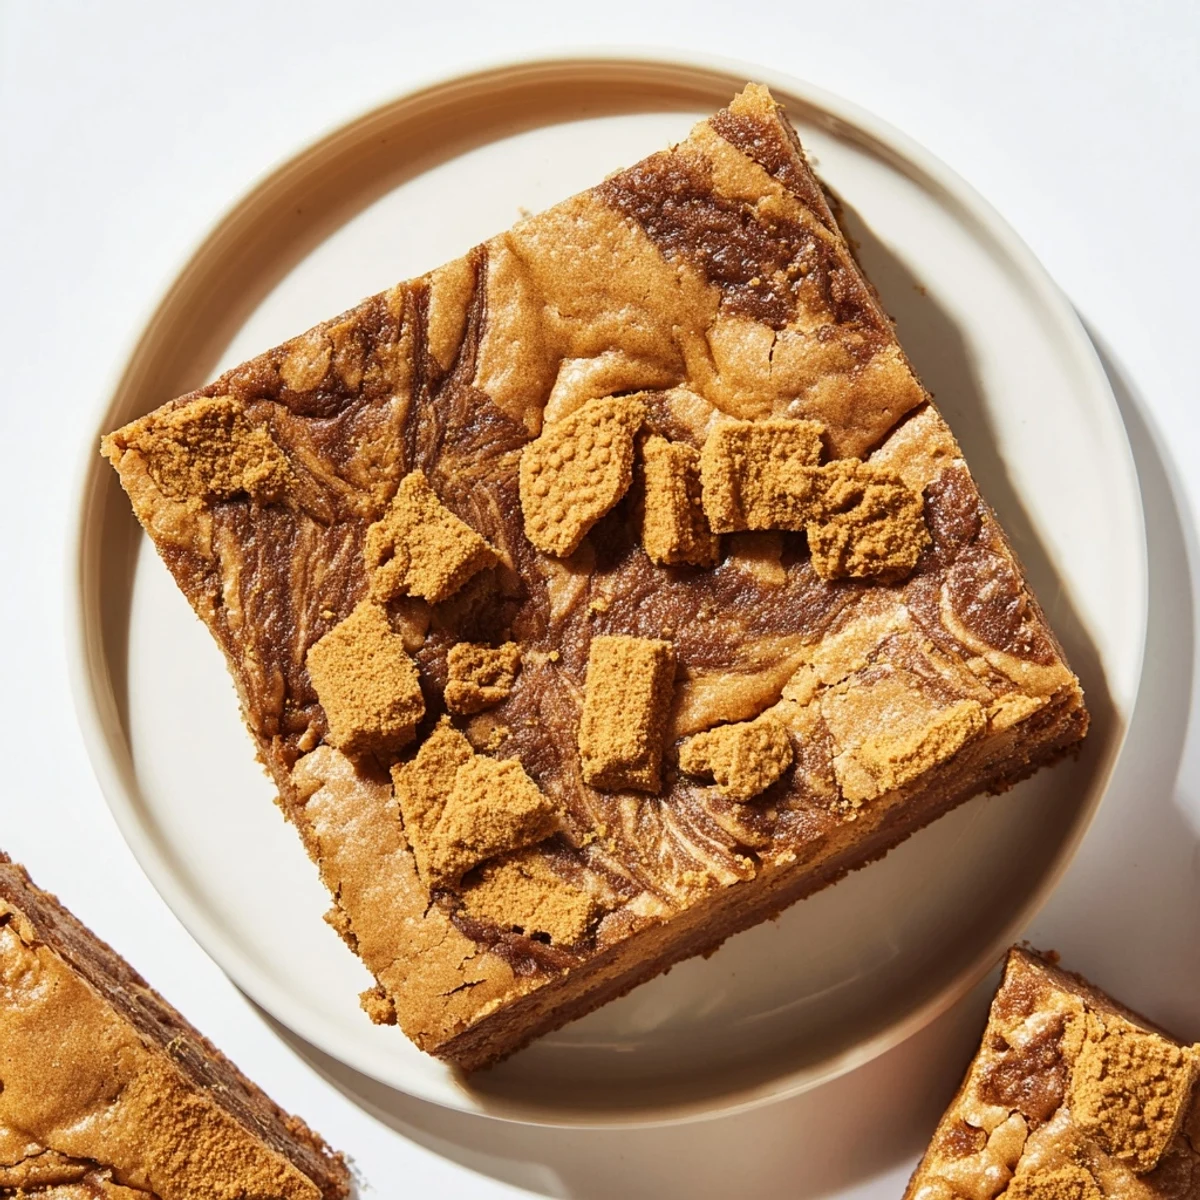
 These indulgent blondies feature a perfectly chewy base enriched with browned butter's nutty depth. The creamy Biscoff swirls through the golden batter while crushed cookies add satisfying crunch to every bite.
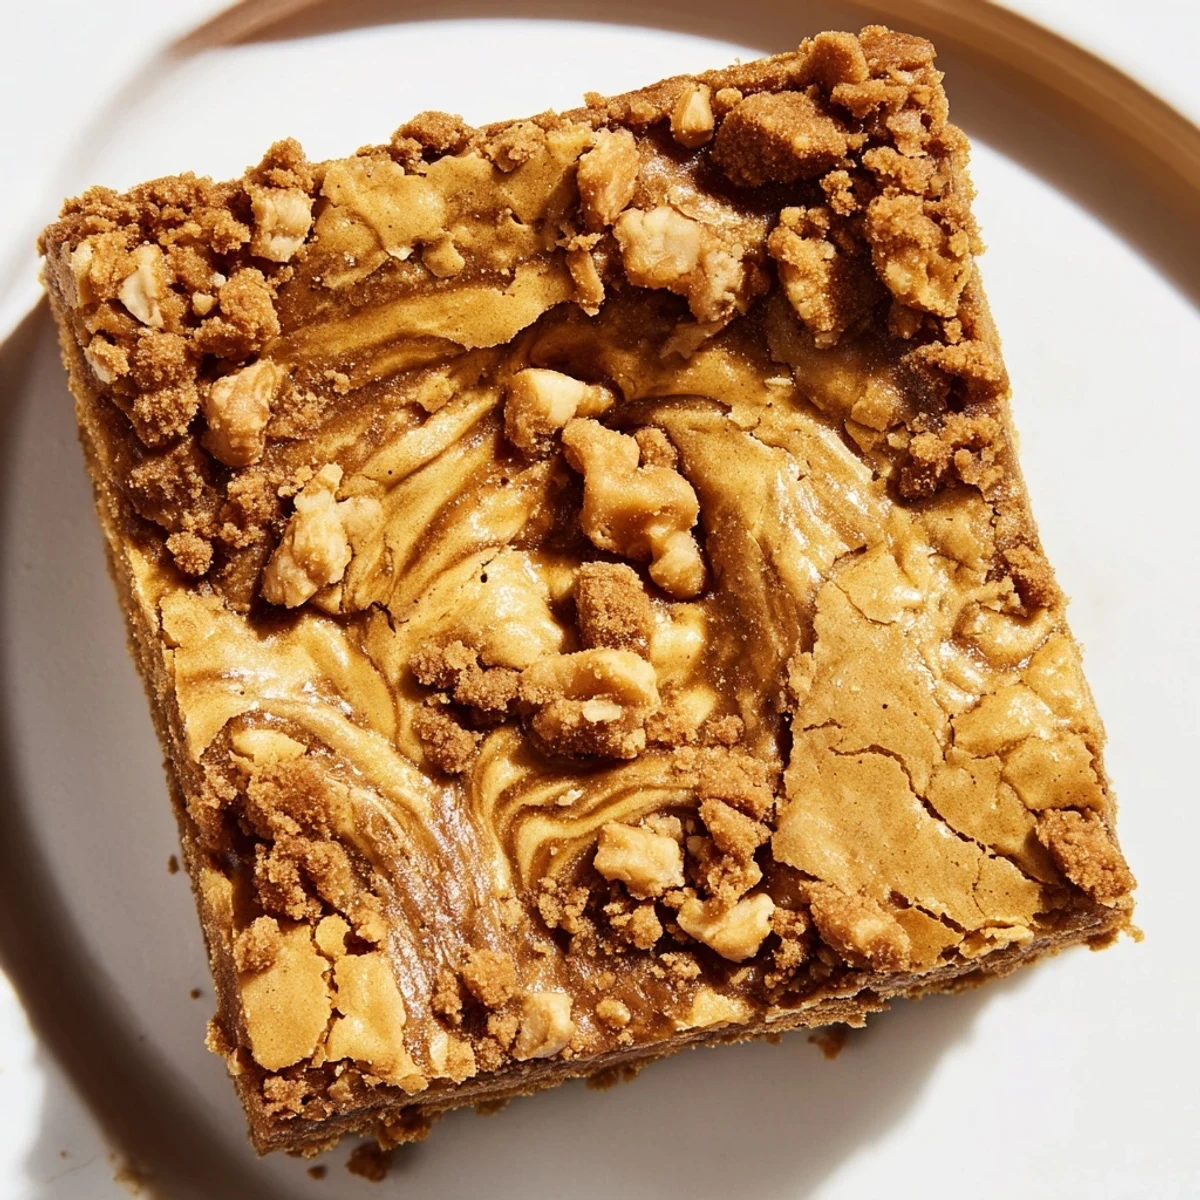
Browning the butter takes just 5 minutes but transforms these bars with caramel, toffee notes. The cookie butter creates ribbons of sweet spiced flavor throughout, and the scattered cookies provide contrasting texture against the tender crumb.
Bake until edges are golden and center is set for fudgy squares that improve with cooling. Serve warm with vanilla ice cream for an extra special treat.
The smell of brown butter bubbling away on my stove still makes my kitchen feel like a cozy sanctuary, even on the most chaotic Tuesday afternoons. I stumbled onto the magic of brown butter completely by accident years ago when I got distracted by a phone call and left a pan of butter on the heat too long. Instead of the disaster I expected, that golden, nutty liquid transformed everything I thought I knew about baking. These blondies became my go-to whenever I need something that feels like a warm hug but looks impressive enough for company.
My roommate walked in while I was taking my first batch out of the oven and actually stopped mid sentence to ask what smelled like a bakery crossed with caramel. We ended up eating half the pan warm with spoons right out of the pan, standing over the counter and making enthusiastic noises between bites. Now whenever I have friends over, someone inevitably asks if I'm making those Biscoff things as soon as they walk through the door.
Ingredients
- Unsalted butter: Browning this transforms it into something magical with this nutty caramel flavor you cannot get any other way
- Light brown sugar and granulated sugar: The combination gives you that perfect chewy texture with a crisp top edge
- Eggs: Room temperature eggs incorporate better and help create that gorgeous glossy batter
- Vanilla extract: Pure vanilla really shines here and pairs beautifully with the spiced cookie butter
- All purpose flour: Just enough to hold everything together without making these heavy or cakey
- Baking powder: Gives you that slight lift while still keeping the dense fudgy texture we want
- Fine sea salt: Balances all that sweetness and makes the flavors pop
- Biscoff cookie butter: The star of the show, use either smooth or crunchy depending on your texture preference
- Biscoff cookies: Chopping these creates this amazing crunchy contrast on top
Instructions
- Get your oven ready:
- Preheat that oven to 350°F and line your 9x9 inch pan with parchment paper, leaving those little wings hanging over the sides so you can lift the whole thing out later like a pro.
- Make the brown butter:
- Melt your butter in a medium saucepan over medium heat, then keep cooking and stirring as it foams up and turns this gorgeous golden brown with the most incredible nutty smell, about 4 to 5 minutes. Pour it immediately into a large bowl so it stops cooking and let it cool for 5 minutes.
- Build the base:
- Whisk both sugars into that beautiful brown butter until everything is well combined, then add your eggs and vanilla and keep whisking until the mixture looks smooth and glossy.
- Add the dry ingredients:
- Sift in your flour, baking powder, and salt, then fold gently with a spatula until just combined, being careful not to overmix or these will turn tough instead of tender.
- Spread and swirl:
- Spread your batter evenly in the prepared pan, then warm your Biscoff butter for about 15 seconds so it pours easily and dollop it all over the surface before swirling through with a knife.
- Add the crunch:
- Sprinkle those chopped Biscoff cookies all over the top so every square gets some of that crispy texture.
- Bake to perfection:
- Bake for 22 to 26 minutes until the edges are golden and the center is just set, remembering that a toothpick should come out with some moist crumbs attached, not completely clean.
- Patience pays off:
- Let these cool completely in the pan before lifting them out and slicing into squares, or they will fall apart on you.
 Save to Pinterest
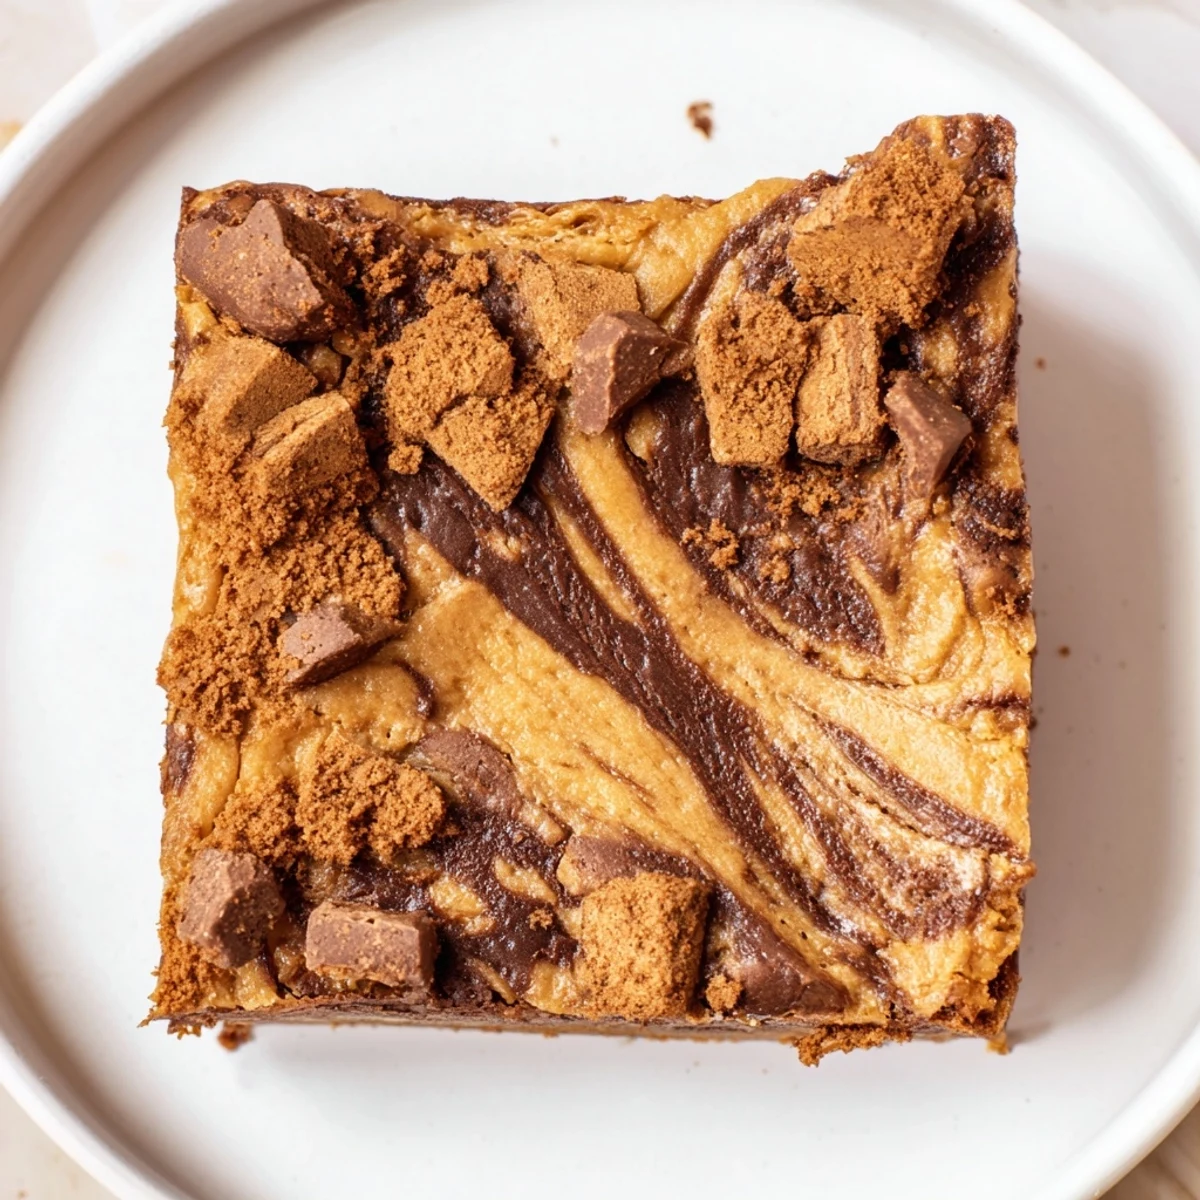
 Last Christmas I made three pans of these to give as gifts, wrapped up in pretty parchment with ribbons, and my brother actually called me the day after to ask if I had any emergency backup stash he could buy off me. Now they are what everyone expects at family gatherings, and I have stopped fighting it and just accepted my role as the Biscoff blondie person.
Getting That Perfect Swirl
I have learned through trial and error that warming your Biscoff just until it is pourable but not hot makes the swirling so much easier. If it is too thick, it will tear through your batter, but too runny and it sinks to the bottom instead of staying in those gorgeous marble patterns. About 15 seconds in my microwave does the trick perfectly every time.
Pan Size Matters
The 9x9 inch pan is crucial here for getting that ideal thickness and texture. I once tried using an 8x8 because I wanted thicker blondies and ended up with underdone centers no matter how long I baked them. Conversely, a larger pan makes them too thin and they lose that fudgy quality that makes these so special.
Make Ahead and Storage
These actually taste even better on day two as the flavors meld together and the texture becomes even more chewy. I have started making them the night before I need them and storing them tightly wrapped at room temperature.
- Freeze individual squares wrapped in plastic and foil for up to three months
- Warm them for 10 seconds in the microwave before serving for that fresh baked experience
- Layer between parchment paper when stacking to prevent sticking
 Save to Pinterest
 There is something so satisfying about pulling that parchment paper to lift the whole blondie block out in one perfect piece. These have become my backup for everything from last minute potlucks to midnight cravings, and I cannot count the number of times they have saved me when I needed to bring something but had zero energy to make anything complicated.
Recipe FAQs
- → What makes these blondies different from regular ones?
-
The brown butter adds deep nutty, caramel notes while the Biscoff swirl creates ribbons of spiced cookie butter flavor throughout. Topped with crunchy cookies, these have multiple textures and rich flavor complexity beyond classic blondies.
- → How do I know when brown butter is ready?
-
Cook the butter until it foams, then turns golden brown with a nutty aroma—about 4-5 minutes. You'll see brown specks at the bottom. Immediately pour it out to prevent burning, as it goes from perfect to burnt quickly.
- → Can I use cookie butter other than Biscoff?
-
Yes! Any smooth cookie butter like Speculoos or Trader Joe's Cookie Butter works beautifully. The flavor profile will be slightly different but equally delicious in these chewy bars.
- → Why did my blondies turn out cakey?
-
Overmixing the flour develops gluten, creating a cakey texture. Fold gently until just combined. Also, avoid overbaking—remove when edges are golden and center has moist crumbs for that perfect chewy fudginess.
- → How should I store these for best texture?
-
Keep in an airtight container at room temperature for up to 4 days. They stay perfectly chewy and the Biscoff swirl remains creamy. For longer storage, wrap individually and freeze for up to 3 months.
- → Can I add mix-ins to the batter?
-
Absolutely! White chocolate chips, toasted pecans, or dark chocolate chunks complement the brown butter and Biscoff flavors beautifully. Fold them in gently with the flour for even distribution.
