 Save to Pinterest
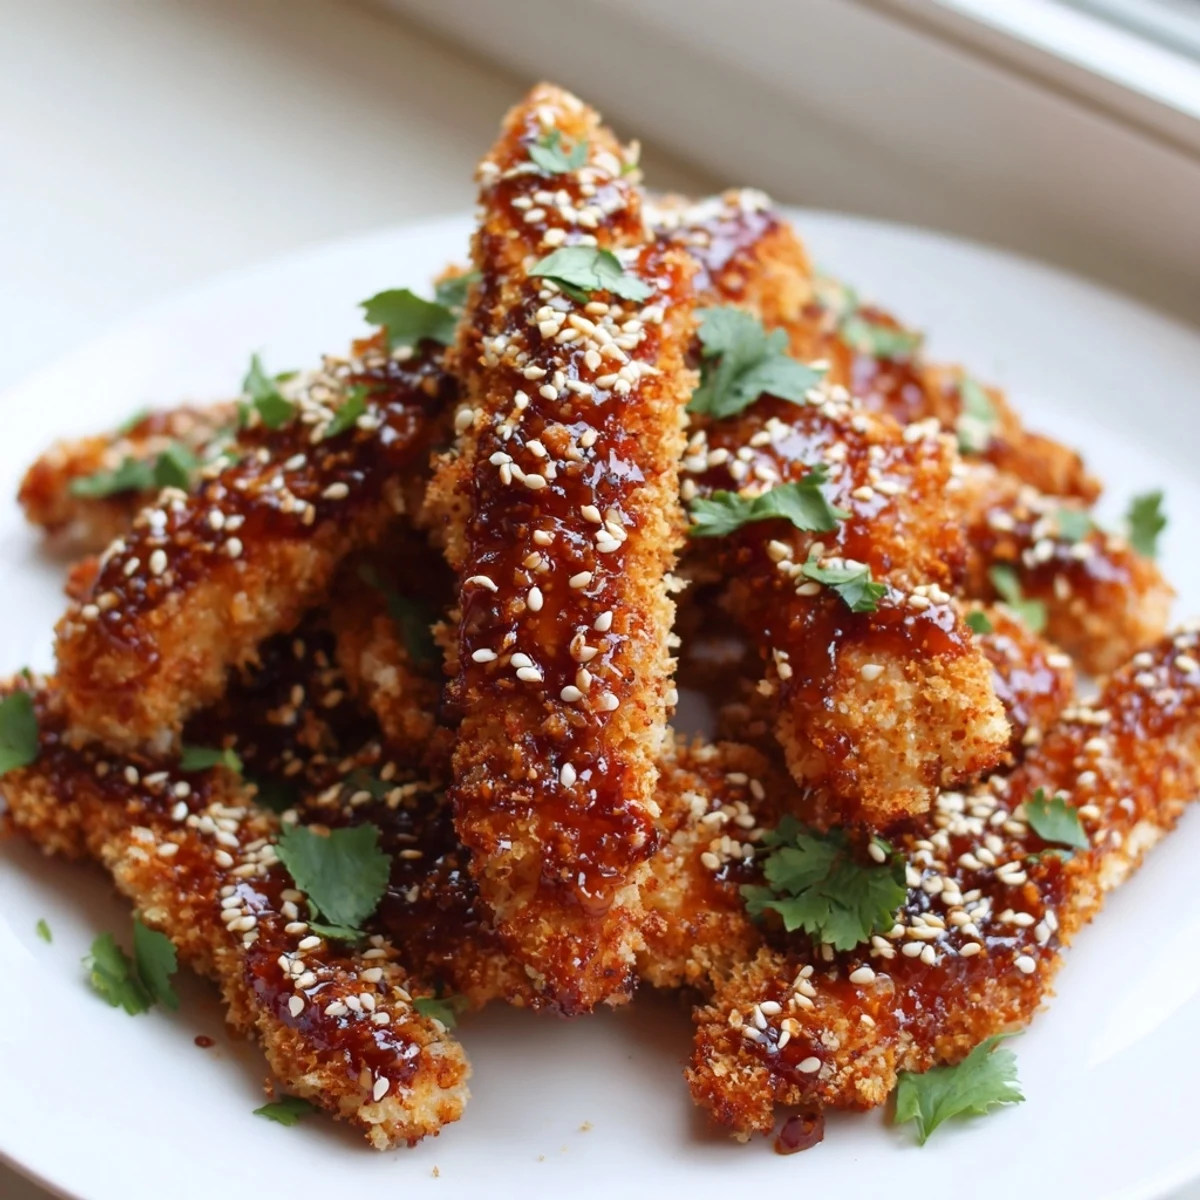
 These Thai sticky chicken fingers feature tender chicken strips coated in crispy panko breadcrumbs, then tossed in a luscious sweet chili and honey glaze.
The sauce brings together soy sauce, rice vinegar, Sriracha, garlic, and ginger for a bold balance of sweet, tangy, and spicy flavors.
Bake or air fry the chicken for a lighter approach, or pan-fry for maximum crunch. Ready in just 40 minutes, they make an excellent appetizer or main course alongside jasmine rice.
The smell of sweet chili hitting a hot pan is enough to make anyone wander into the kitchen asking what is for dinner. My neighbor actually knocked on my door once thinking I had ordered takeout because the aroma was drifting through the hallway. These Thai sticky chicken fingers are the reason I keep a bottle of Sriracha and a jar of honey within arm is reach at all times. They are crispy, saucy, and disappear faster than any appetizer I have ever served.
I made a double batch for a game night gathering expecting leftovers for the week. My friend Dave stood over the platter with tongs and casually ate eleven of them before halftime, then asked if there were more in the kitchen.
Ingredients
- Chicken: 600 g boneless skinless chicken breasts or thighs cut into strips, thighs stay juicier but breasts work beautifully too
- Salt and pepper: Half a teaspoon of salt and a quarter teaspoon of black pepper for seasoning the flour
- Flour: One cup of all purpose flour for the first coating layer that helps the egg adhere properly
- Eggs: Two large eggs beaten, this is the glue that holds everything together so do not skip it
- Panko breadcrumbs: One cup of panko for that irresistible crunch, regular breadcrumbs work but panko gives a lighter crisp
- Vegetable oil: Two tablespoons for drizzling over the chicken before baking or for pan frying
- Sweet chili sauce: One third of a cup, this is the backbone of the sticky Thai flavor profile
- Honey: One quarter cup adds warmth and helps the sauce thicken into that glossy coating
- Soy sauce: Two tablespoons for savory depth, use a good quality one if you can
- Rice vinegar: Two tablespoons to brighten the sauce and cut through the sweetness
- Sriracha: One tablespoon optional but recommended if you enjoy a noticeable kick of heat
- Garlic: Two cloves minced, fresh garlic makes a real difference here so avoid the jarred kind
- Fresh ginger: One teaspoon grated, it adds a subtle warmth that ties the whole sauce together
- Toasted sesame oil: One tablespoon for that nutty aromatic finish
- Fresh cilantro: Two tablespoons finely chopped plus extra for garnish
- Sesame seeds: One tablespoon sprinkled on top for texture and visual appeal
Instructions
- Preheat and prep your station:
- Set your oven to 220 degrees Celsius or 425 degrees Fahrenheit, line a baking sheet with parchment paper, and give it a light coating of oil or set a wire rack on top.
- Set up the breading line:
- Arrange three shallow bowls in a row, flour seasoned with salt and pepper in the first, beaten eggs in the second, and panko in the third, because an organized station means no messy fingers halfway through.
- Bread the chicken strips:
- Dredge each strip through the flour first shaking off excess, then dunk into egg, and finally press firmly into panko making sure every side is well coated before arranging them on your prepared sheet.
- Cook until golden:
- Drizzle or spray the chicken strips with oil and bake for 18 to 20 minutes flipping halfway, or air fry at 200 degrees Celsius for about 15 minutes, until the coating is deeply golden and the chicken is cooked through.
- Make the sticky Thai sauce:
- While the chicken cooks, whisk the sweet chili sauce, honey, soy sauce, rice vinegar, Sriracha, garlic, ginger, and sesame oil together in a saucepan over medium heat, letting it simmer for 3 to 4 minutes until it thickens slightly and turns glossy.
- Coat the chicken:
- Remove the sauce from heat, stir in the chopped cilantro, then toss the cooked chicken fingers in the warm sauce until every piece is generously coated and shining.
- Finish and serve:
- Transfer the saucy chicken fingers to a platter, scatter extra cilantro and sesame seeds over the top, and serve them immediately while the contrast between the crispy coating and sticky sauce is at its peak.
 Save to Pinterest
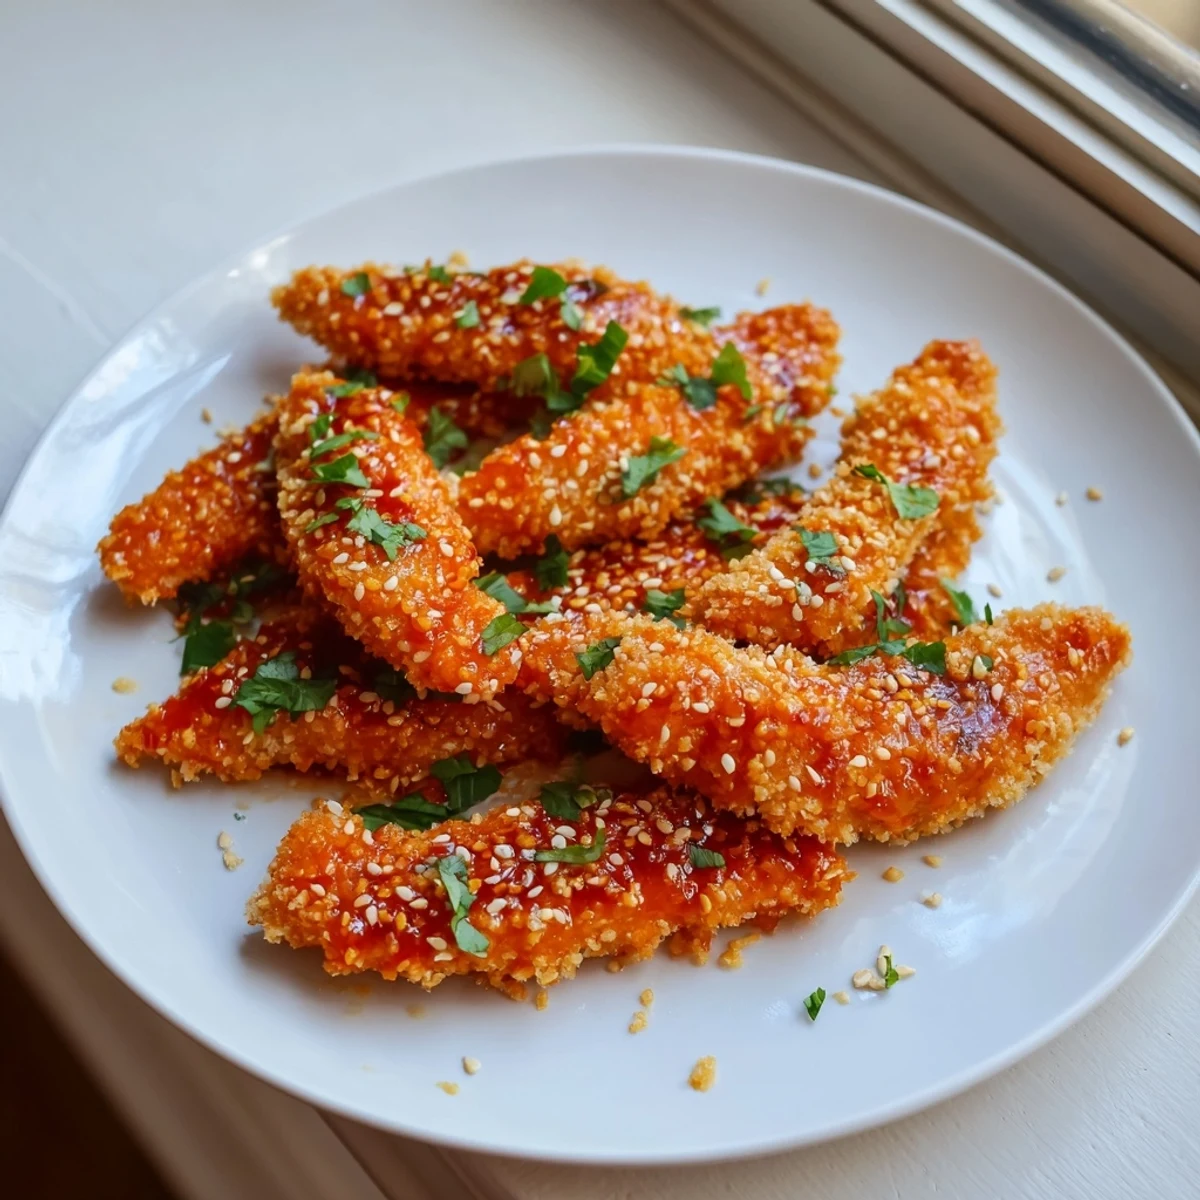
 The moment these went from a random weeknight experiment to a permanent fixture in my recipe rotation was when my pickiest friend asked for the recipe before she even finished her first serving.
Cooking Method Options
Baking is the most hands off approach and yields consistently crispy results with minimal oil, making it my go-to for busy nights. Air frying is faster and arguably gives the crispiest exterior, but you may need to work in smaller batches depending on your machine size. Pan frying in about half an inch of oil creates the most indulgent crunch but requires more attention and a bit more cleanup afterward.
Serving Suggestions
These chicken fingers love company, and a pile of steamed jasmine rice on the side turns them into a complete meal that feels surprisingly special for how easy it is. Fresh vegetable sticks like cucumber, carrot, and bell pepper add a cooling crunch that balances the sticky heat beautifully. A cold lager or a slightly sweet Riesling alongside them is genuinely one of my favorite simple dinners.
Making It Your Own
The sauce is forgiving and invites experimentation, so think of the recipe as a starting point rather than a strict rulebook. You can dial the Sriracha up or down, swap honey for maple syrup, or add a squeeze of lime juice for extra brightness. Here are a few things to keep in mind as you play around with it.
- Gluten-free flour and gluten-free panko work perfectly as a one-to-one swap if you need to avoid wheat.
- Chicken thighs will give you a juicier result but breasts are leaner and still delicious when not overcooked.
- Always taste the sauce before tossing the chicken in so you can adjust the heat or sweetness to your preference.
 Save to Pinterest
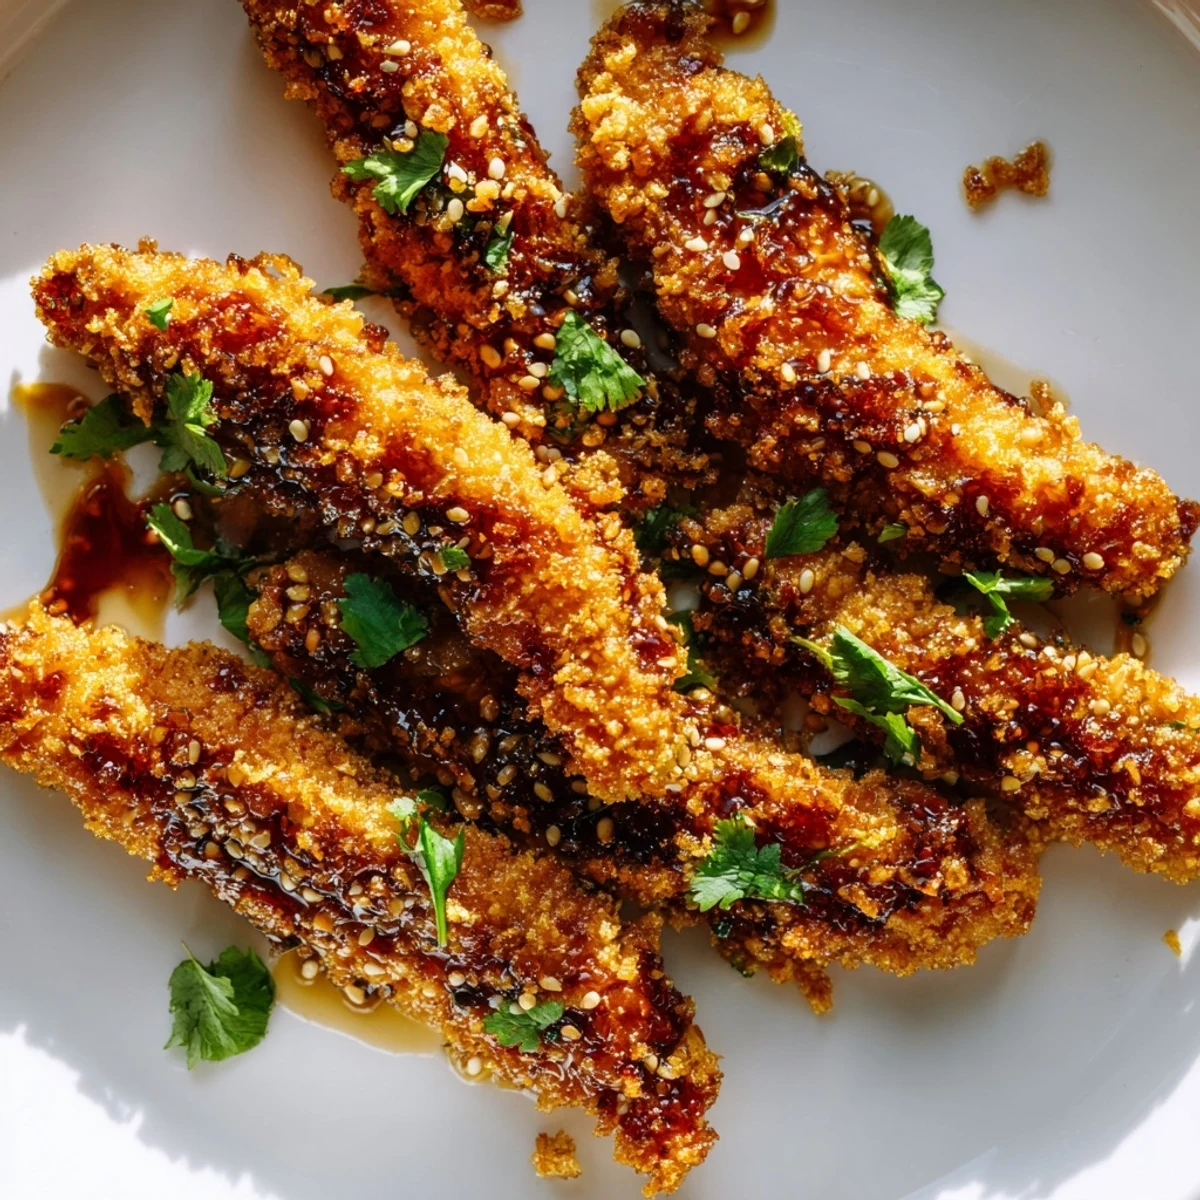
 Keep a stack of napkins nearby because eating these with your fingers is half the fun and honestly the only proper way to do it. They are messy, sticky, and absolutely worth every bit of it.
Recipe FAQs
- → Can I make Thai sticky chicken fingers in an air fryer?
-
Yes, cook the breaded chicken strips in an air fryer at 200°C (390°F) for about 15 minutes, flipping halfway through, until golden and cooked through. Then toss in the warm sauce.
- → How do I adjust the spice level of the sticky Thai sauce?
-
For milder sauce, reduce or omit the Sriracha. For more heat, add an extra tablespoon of Sriracha or a dash of cayenne pepper. The sweet chili sauce already provides a mild warmth.
- → Can I use chicken thighs instead of chicken breasts?
-
Absolutely. Boneless, skinless chicken thighs work great and tend to stay juicier. Cut them into even strips so they cook uniformly.
- → How do I keep the chicken fingers crispy after saucing?
-
Serve immediately after tossing in the sauce for the best crunch. If you need to hold them, keep the sauce separate and toss right before serving.
- → Is there a gluten-free version of this dish?
-
Yes, substitute the all-purpose flour and panko with gluten-free alternatives. Use tamari instead of soy sauce, and check that your sweet chili sauce is gluten-free as well.
- → What should I serve with Thai sticky chicken fingers?
-
They pair wonderfully with steamed jasmine rice, fresh vegetable sticks, or a simple cucumber salad. A crisp Riesling or cold lager beer makes a great accompaniment.
