 Save to Pinterest
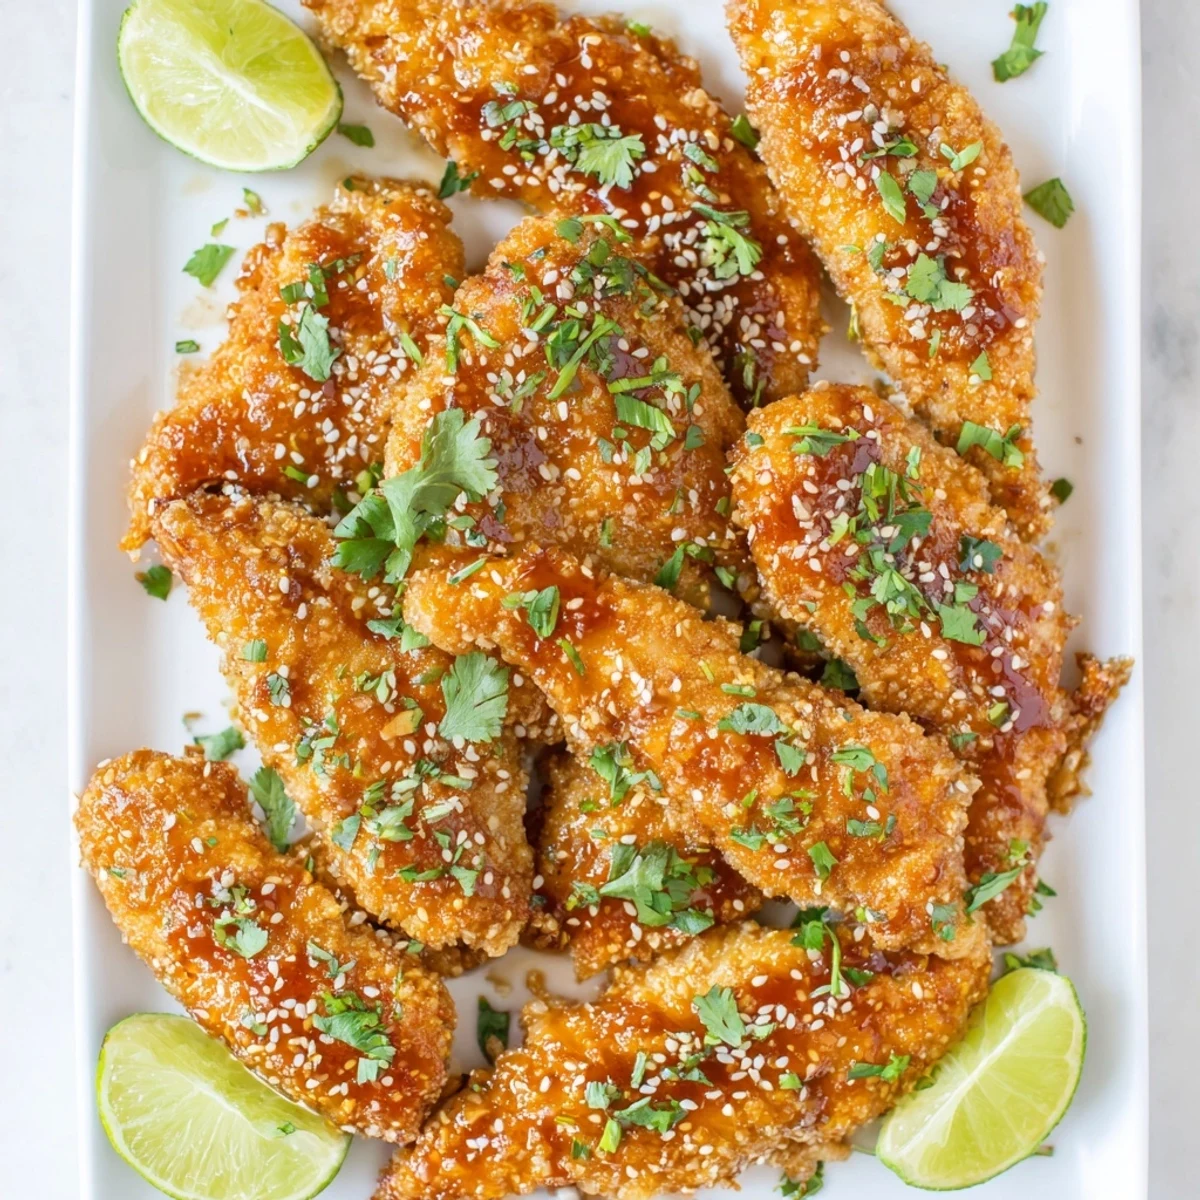
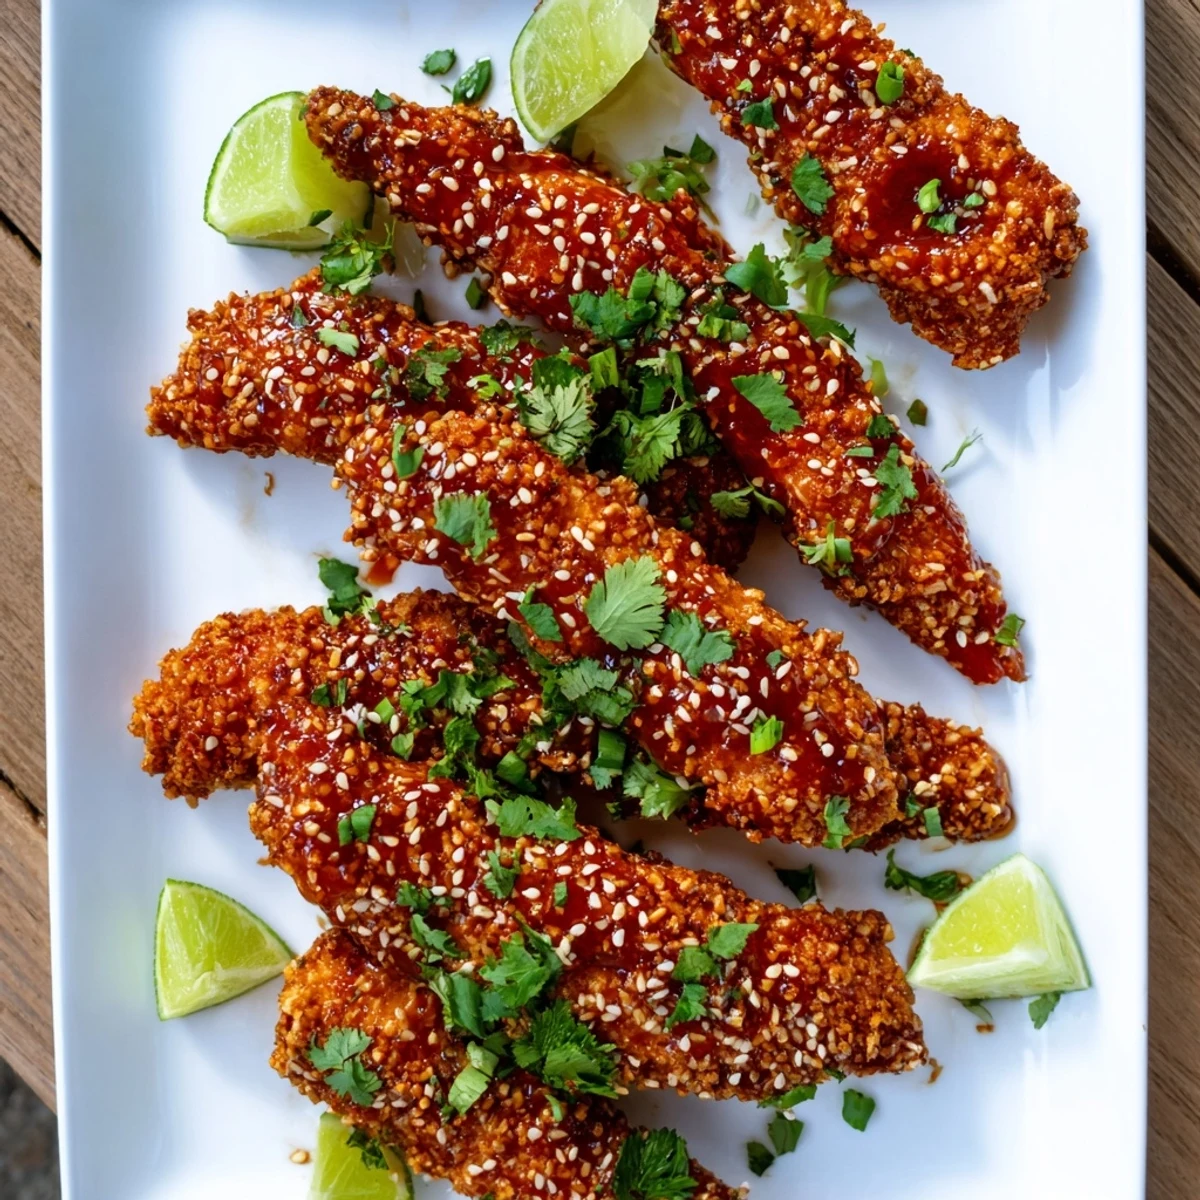
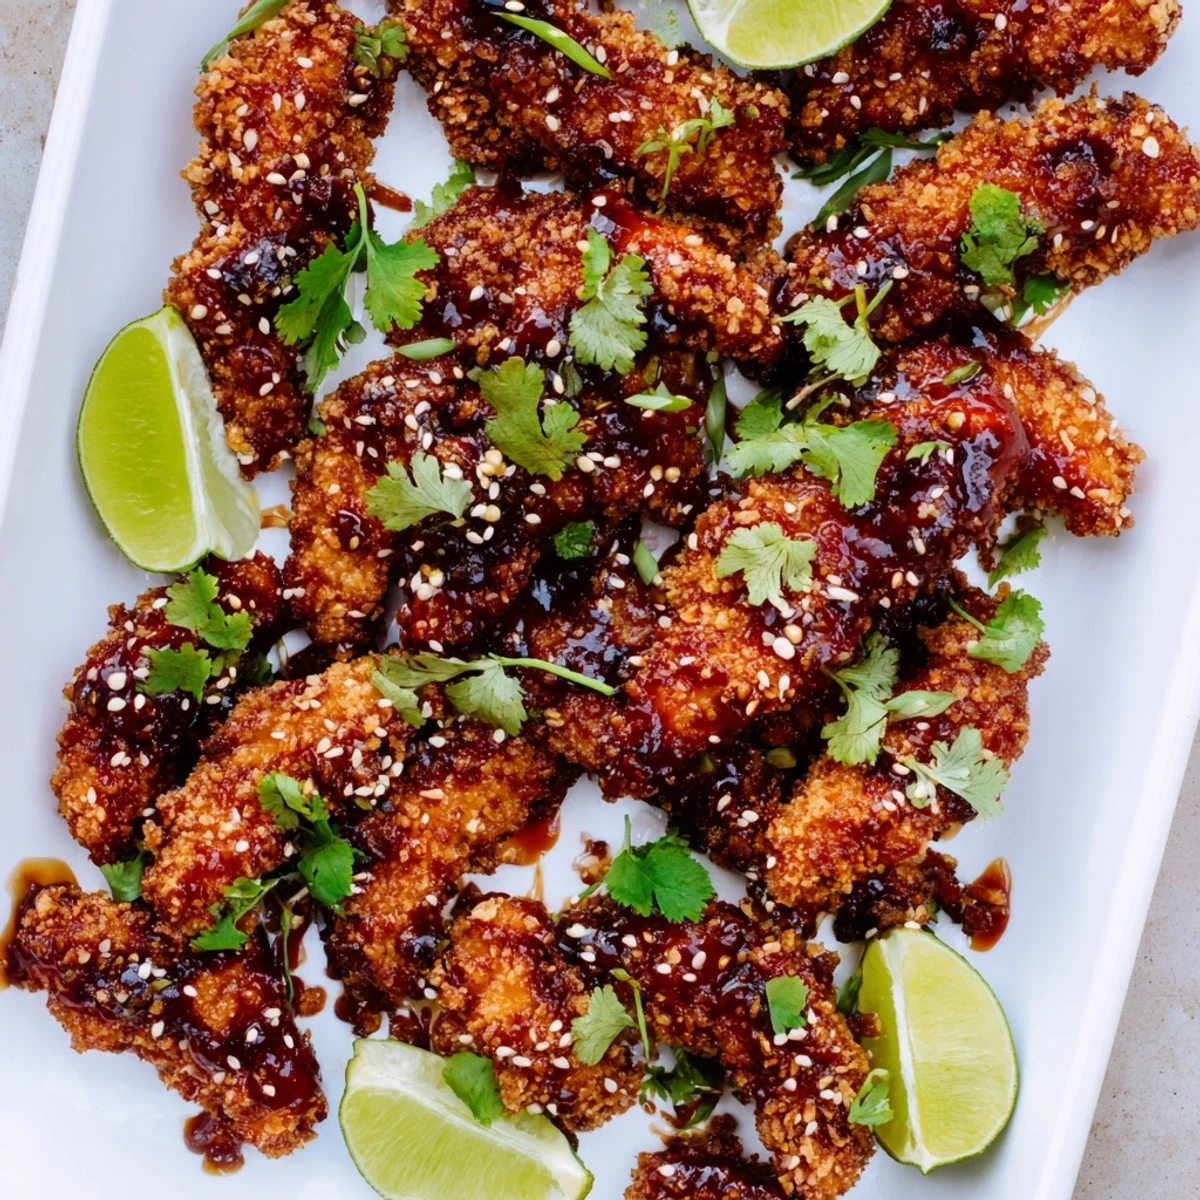
 These crispy baked chicken fingers feature a crunchy panko and coconut coating, then get tossed in a vibrant Thai-style glaze. The sauce balances sweet chili sauce with honey, savory soy, tangy lime juice, and gentle heat from sriracha. Fresh garlic and ginger add aromatic depth while sesame seeds and cilantro provide the finishing touch. Bake until golden, coat in the sticky sauce, and serve alongside lime wedges for an irresistible appetizer or main course.
The first time I made these sticky chicken fingers, my kitchen smelled like the best street food stall in Bangkok. My husband wandered in from the garage, following the sweet-spicy aroma, and practically hovered over the baking sheet until they came out of the oven.
Last summer I brought these to a friend's barbecue, and honestly, people ignored the burgers. Someone even asked for the recipe while mid-bite, sauce on their chin, which I took as the highest possible compliment.
Ingredients
- Chicken tenders: Buy actual tenders if you can find them, otherwise slice breasts yourself and they will cook more evenly
- Flour: This first coating creates the sticky base that helps everything else cling beautifully
- Eggs: Room temperature eggs coat more evenly than cold ones straight from the fridge
- Panko breadcrumbs: These Japanese-style crumbs stay crunchier longer than regular breadcrumbs ever could
- Shredded coconut: Totally optional but adds the most incredible subtle sweetness and extra crunch
- Sweet chili sauce: The backbone of the sauce and worth finding the good stuff at an Asian market
- Soy sauce: Adds that deep savory umami that balances all the sweet elements
- Honey: Creates that gorgeous lacquered look and helps the sauce stick to the chicken
- Rice vinegar: Brightens everything up so the sauce does not become too heavy
- Sriracha: Start with less if you are heat-sensitive because the sauce intensifies as it simmers
- Fresh garlic: Jarred garlic works in a pinch but fresh makes such a difference here
- Fresh ginger: Grate it on a microplane so you do not end up with stringy bits in your sauce
- Lime: Both the juice and those wedges for serving cut through all that rich sticky sweetness
- Fresh cilantro: Adds this pop of fresh herbal brightness that makes everything feel lighter
- Toasted sesame seeds: Toast them yourself in a dry pan for just a minute for way more flavor
Instructions
- Get everything ready:
- Preheat your oven to 425°F and line a baking sheet with parchment paper. Give that paper a quick spritz of oil so nothing sticks later.
- Season the chicken:
- Pat those chicken strips completely dry with paper towels. Sprinkle them all over with salt and pepper and set aside while you set up your breading station.
- Set up three bowls:
- Put flour in one shallow dish, beat the eggs in another, and mix the panko with coconut in a third. Line them up in that exact order so you can work through them efficiently.
- Bread each strip:
- Dredge a chicken strip in flour, shake off the excess, dip it in egg, then press it firmly into the panko mixture. Place each breaded strip on your prepared baking sheet as you go.
- Add some oil:
- Give the tops of the chicken a light spray of oil or a quick brush. This tiny step is what makes them golden and crispy instead of pale and soft.
- Bake them crispy:
- Slide the sheet into the oven for about 22 minutes total. Flip them halfway through so both sides get equally golden and crunchy.
- Start the sauce:
- While the chicken bakes, whisk sweet chili sauce, soy sauce, honey, rice vinegar, sriracha, garlic, ginger, and lime juice in a small saucepan over medium heat.
- Let it thicken:
- Simmer that sauce for about 4 minutes, stirring constantly. You will know it is ready when it coats the back of a spoon and looks glossy.
- Toss it all together:
- Pull the chicken from the oven and immediately toss the hot strips in the sauce. Do this right away so the sauce clings perfectly to all those crispy edges.
- Finish and serve:
- Pile them onto a platter and shower with fresh cilantro and sesame seeds. Squeeze fresh lime over everything just before eating.
 Save to Pinterest
 My friend's daughter, who eats like a bird, ate six of these at that barbecue and asked if I could make them for her birthday party. Watching a kid get that excited about something I cooked was pretty much the best feeling ever.
Making Ahead
You can bread the chicken strips up to six hours ahead. Keep them layered between parchment paper in the fridge so the coating does not get weird and soggy.
Air Fryer Magic
The air fryer makes these insanely crispy. Cook at 400°F for about 14 minutes, shaking the basket halfway through, and skip the oil spray step.
Serving Ideas
These work as an appetizer, a main dish, or even cut into pieces over fried rice. The versatility is part of why they show up at my house so often.
- Pair with a cold cucumber salad to balance the heat
- Make a double batch because leftovers are rare
- Keep extra lime wedges on hand because people love them
 Save to Pinterest
 Hope these become your go-to for everything from game day to Tuesday night dinner.
Recipe FAQs
- → Can I make these ahead of time?
-
Prepare the breaded chicken up to 24 hours in advance and refrigerate. Bake fresh when ready to serve, or bake fully and reheat at 180°C for 8-10 minutes. Toss in sauce just before serving to maintain crispiness.
- → What can I use instead of sweet chili sauce?
-
Mix apricot preserves with rice vinegar and a pinch of cayenne, or combine equal parts honey and sriracha for homemade alternative. Adjust sweetness and heat to your preference.
- → How do I store leftovers?
-
Keep in an airtight container for up to 3 days. Reheat in a 200°C oven for 10-12 minutes to restore crispiness. The microwave will make them soggy, so avoid if possible.
- → Can I air fry these?
-
Absolutely. Cook at 200°C for 12-15 minutes, flipping halfway. The air fryer creates excellent crunch and may even be faster than baking. Spray lightly with oil for best results.
- → What sides pair well?
-
Jasmine rice works perfectly to soak up extra sauce. Serve alongside Asian slaw, cucumber salad, or steamed bok choy. For game day, pair with simple vegetable sticks and dip.
- → Is the coconut necessary?
-
Optional but recommended for extra crunch and subtle sweetness. If avoiding coconut, simply increase panko to 160 g or add crushed cornflakes for similar texture.
