 Save to Pinterest
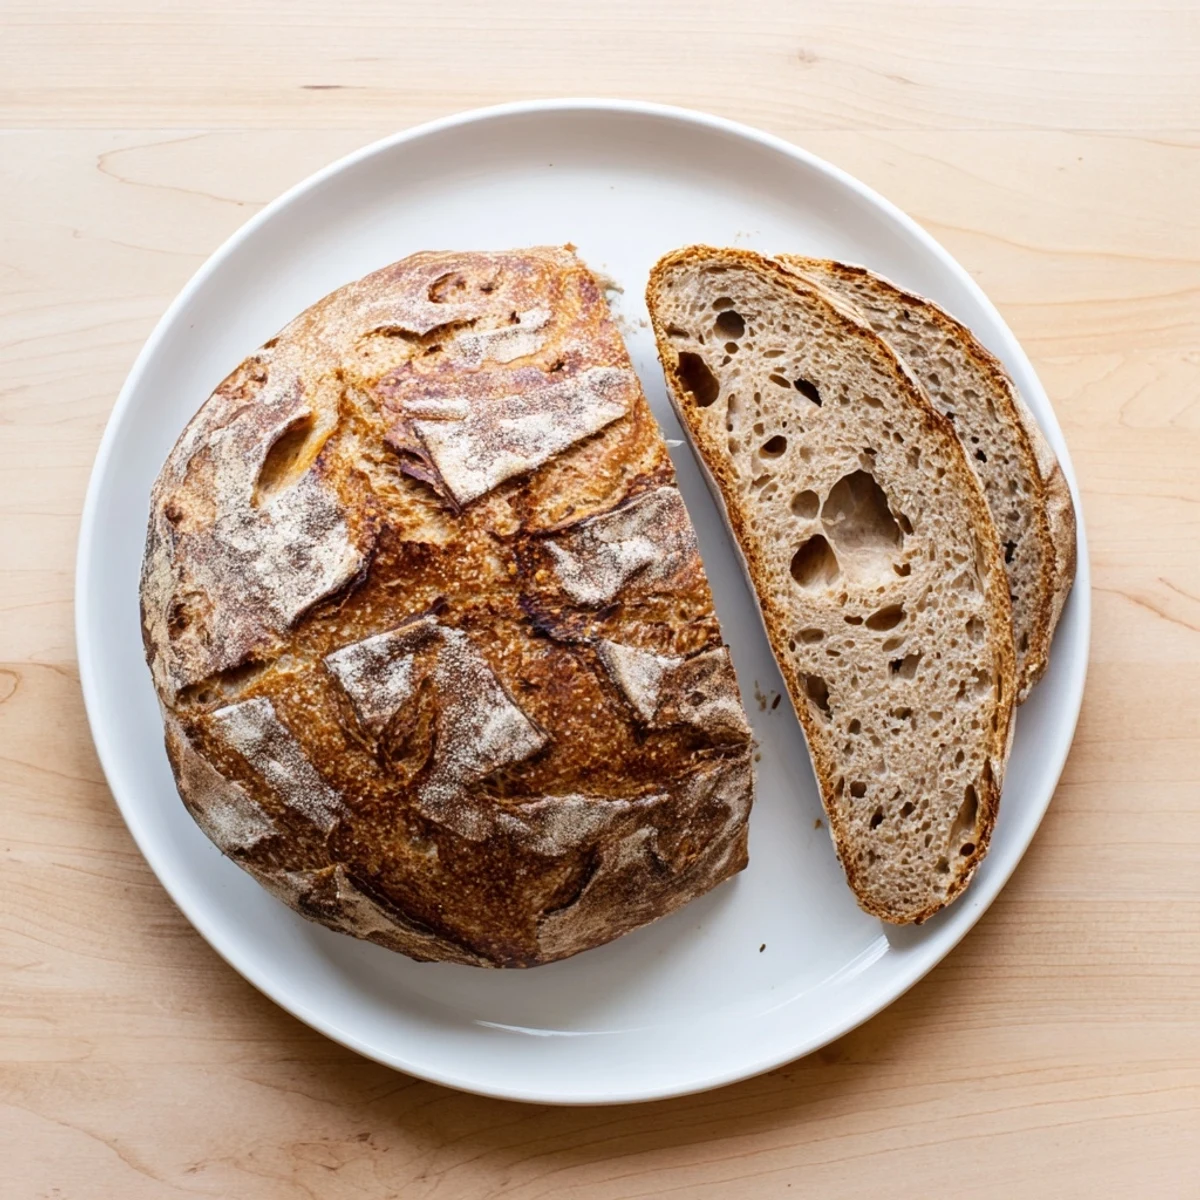
 This artisan sourdough combines just four simple ingredients - flour, water, starter, and salt - to create a beautifully complex loaf. The natural fermentation process of 12-18 hours develops signature tangy notes and exceptional keeping qualities. The stretch-and-fold technique builds strength without kneading, while baking in a preheated Dutch oven creates that coveted crispy, crackling crust.
Perfect for beginners ready to embrace patience and experienced bakers alike. The overnight proof in the refrigerator enhances flavor development and makes timing flexible for your schedule. Slice thick for toast, sandwiches, or alongside soups and cheeses.
The kitchen was silent at 2 AM when I first pulled a crackling sourdough from the oven, that unmistakable sour scent filling every corner of the room. I had been feeding my starter for weeks, treating it like a demanding pet, and finally held a proper loaf in my hands. My roommate stumbled in, drawn by the smell, and we tore into it while it was still too hot to touch properly.
I brought this loaf to a friends dinner party last winter, and the bread disappeared before the main course even hit the table. People kept asking what bakery Id visited, their faces lighting up when I explained Id baked it myself. Now they request it for every gathering, and Ive learned to double the recipe.
Ingredients
- 500 g bread flour: Unbleached gives the best structure and that beautiful golden color we are after
- 350 g water: Room temperature helps everything play nicely together, no shocking the yeast
- 100 g active sourdough starter: This is your living ingredient, make sure it is fed and bubbling with enthusiasm
- 10 g sea salt: Do not skimp here, salt is what balances all that tangy fermentation flavor
Instructions
- Mix your base:
- Combine flour and water in a large bowl until just barely combined, then cover and walk away for 45 minutes to let the flour hydrate properly
- Build the dough:
- Add your bubbly starter and salt, mixing by hand until everything is incorporated and the dough starts to come together
- Stretch and fold:
- Perform four sets of folds every 30 minutes, gently stretching one side of the dough and folding it over itself, rotating the bowl each time
- Let it rise:
- Cover and let the dough do its thing for 4 to 6 hours until it has roughly doubled in size
- Shape your loaf:
- Turn the dough onto a floured surface and gently shape into a round or oval, then place it seam side up in a floured proofing basket
- Final proof:
- Let it proof for 2 to 4 hours at room temperature, or pop it in the fridge overnight for extra flavor development
- Get ready to bake:
- Preheat your oven to 230°C with your Dutch oven inside, getting everything screaming hot
- The big moment:
- Turn the dough onto parchment, score the top with a sharp blade, and carefully transfer to the hot Dutch oven
- Bake covered:
- Cook with the lid on for 25 minutes to trap steam, then remove and bake another 20 minutes until deeply golden
- Cool completely:
- Let the loaf rest on a wire rack before slicing, or you will regret the gummy crumb
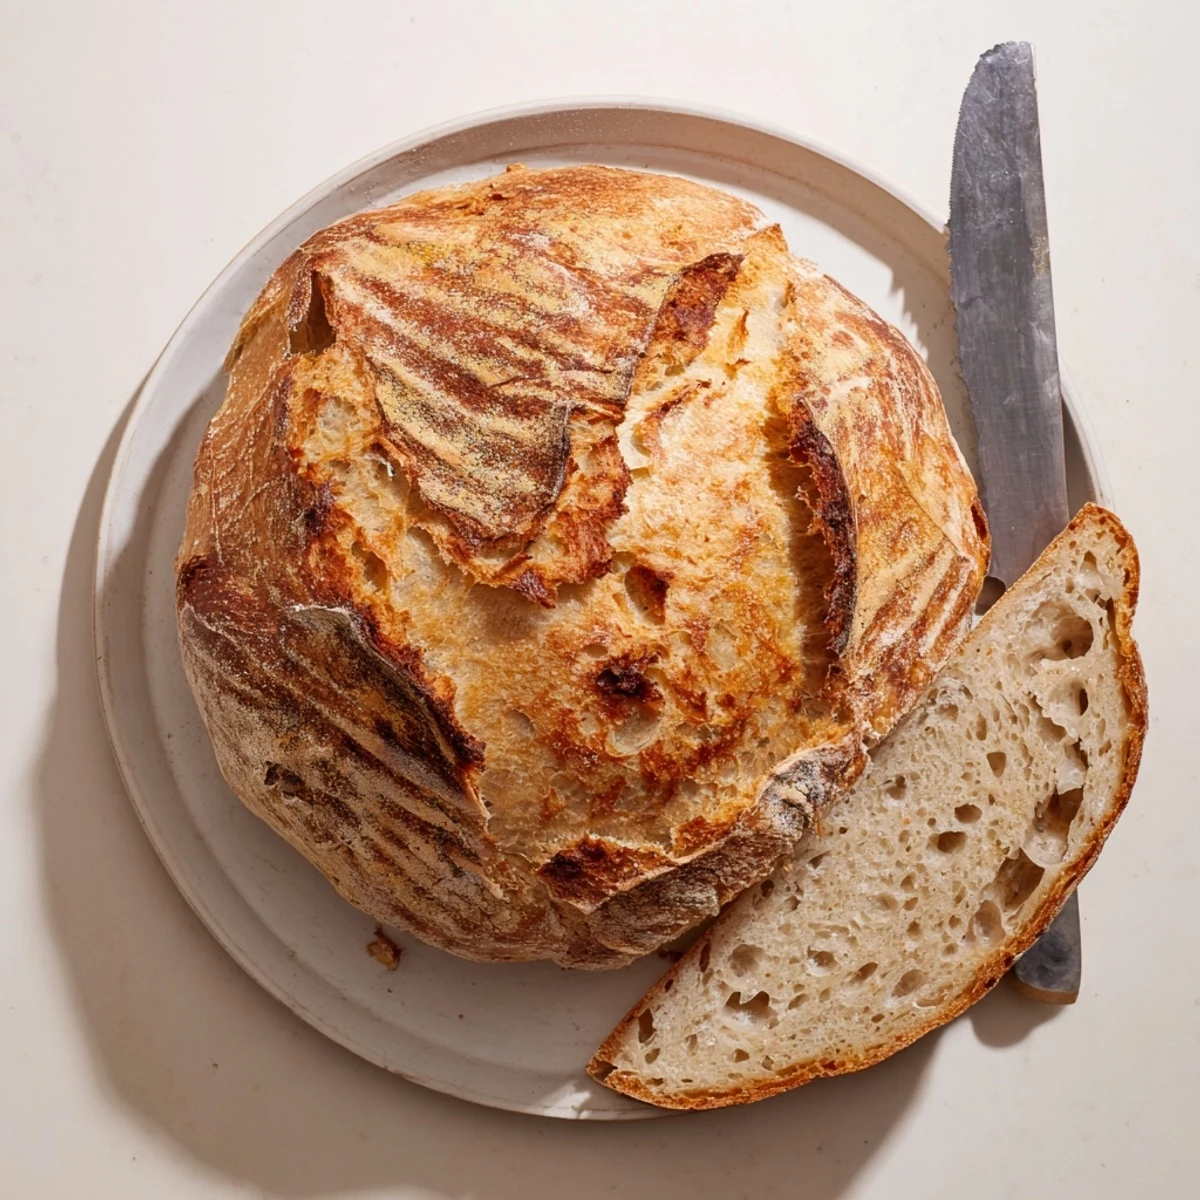 Save to Pinterest
 My daughter now asks to help feed the starter every morning, her small hands carefully measuring flour and water with serious concentration. She says the bread tastes better when she helps, and honestly I think she is right.
Understanding Your Starter
Your starter is alive, and it will tell you when it is ready to use. A fed starter should be bubbly and doubled in size, with a sweet sour smell. If it smells like alcohol or has liquid on top, it needs feeding before baking.
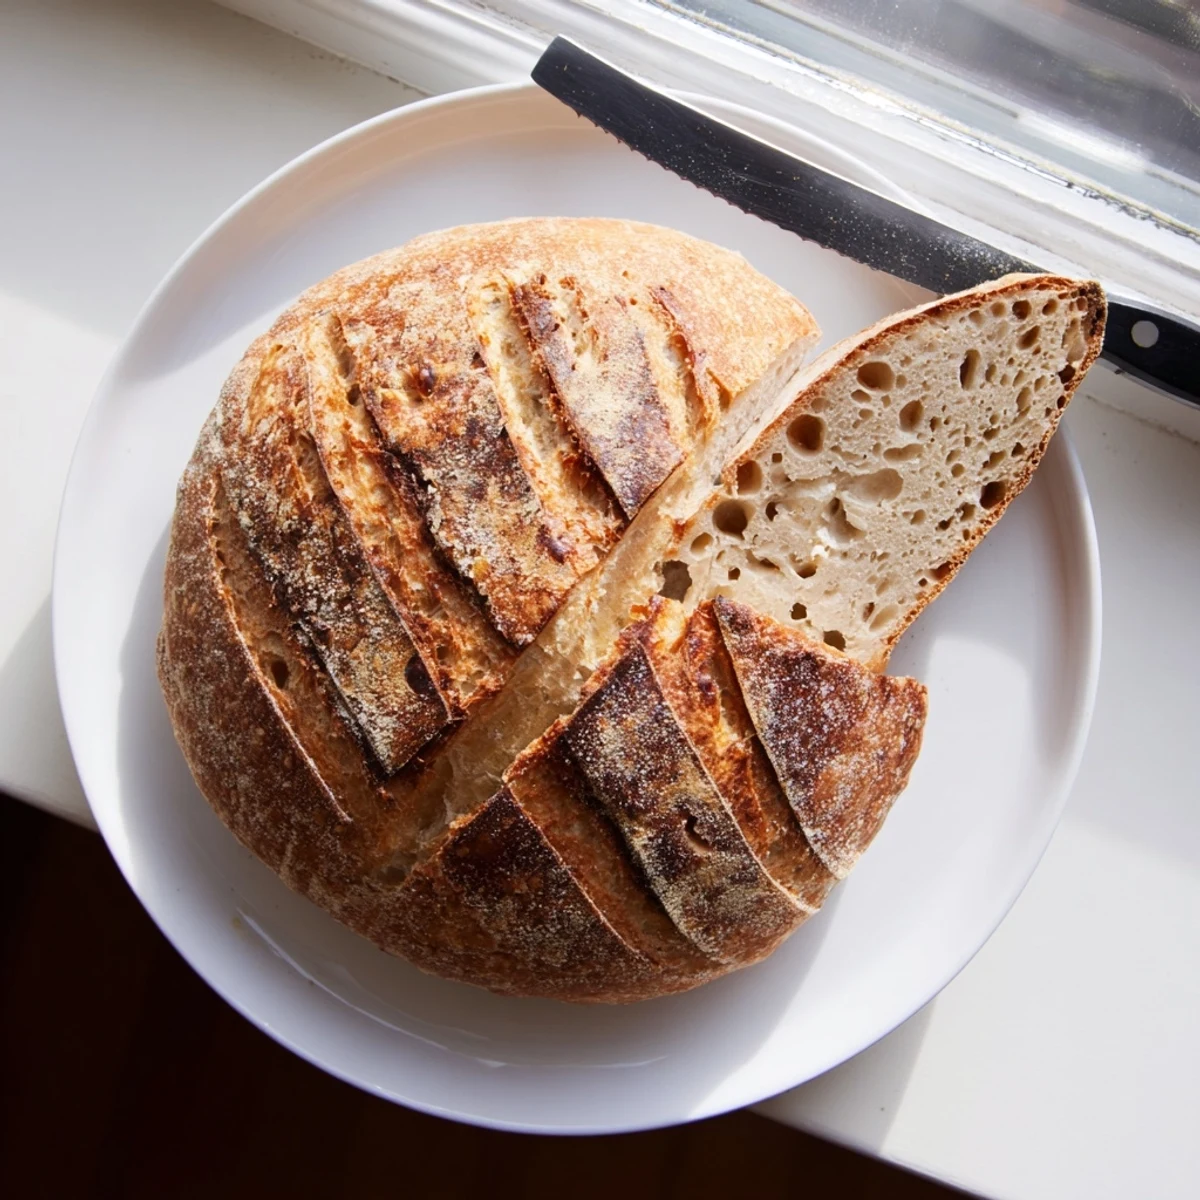
Getting That Perfect Score
Scoring is not just for looks, it tells your loaf where to expand in the oven. Use a sharp blade or razor and score with confidence, about 1/4 inch deep. A hesitant score will seal back up, while a deep cut will cause your bread to collapse.
Storing Your Creation
Homemade sourdough actually improves in texture after the first day. Store it cut side down on a cutting board, wrapped in a cloth, never in plastic which makes the crust soft. After three days, slice and freeze whatever is left.
- Revive day old bread by sprinkling with water and warming at 180°C for 10 minutes
- Stale sourdough makes the most incredible French toast you have ever tasted
- Save your ends and crusts in the freezer for homemade croutons or bread crumbs
 Save to Pinterest
 There is something deeply satisfying about serving bread you created from nothing more than flour, water, and time. Every loaf teaches you something new if you are paying attention.
Recipe FAQs
- → What makes sourdough different from regular bread?
-
Sourdough relies on wild yeast and lactic acid bacteria naturally present in the starter rather than commercial yeast. This creates a longer fermentation process, developing complex tangy flavors, improved digestibility, and a distinctive chewy texture that store-bought bread can't match.
- → Can I shorten the fermentation time?
-
Rushing the fermentation compromises flavor and texture development. The 12-18 hour timeframe allows proper acid production and gluten structure. A warmer environment (around 75-80°F) speeds fermentation slightly, but the slow process is essential for authentic sourdough character.
- → How do I know when my starter is active enough?
-
A ready starter should be bubbly, doubled in volume 4-8 hours after feeding, and pass the float test - a small spoonful should float in water. It should smell pleasantly sour, not unpleasant. If your starter seems sluggish, feed it daily for a week before baking.
- → Why bake in a Dutch oven?
-
A preheated Dutch oven creates a mini-oven environment, trapping steam during the initial bake. This steam allows the bread to expand fully (oven spring) before the crust sets, resulting in better volume and a crispy, crackling crust that stays tender inside.
- → Can I freeze the dough or baked loaf?
-
Freeze the fully cooled baked loaf, wrapped tightly, for up to 3 months. Thaw at room temperature and refresh in a 350°F oven for 10 minutes to restore crust. Freezing dough isn't recommended as the yeast structure may be damaged, though you can refrigerate the shaped dough overnight.
- → What if I don't have a banneton basket?
-
A bowl lined with a well-floured clean kitchen towel works perfectly. The key is creating a supportive, floured environment that holds the shape during proofing. Rice flour prevents sticking better than wheat flour for the lining.
