 Save to Pinterest
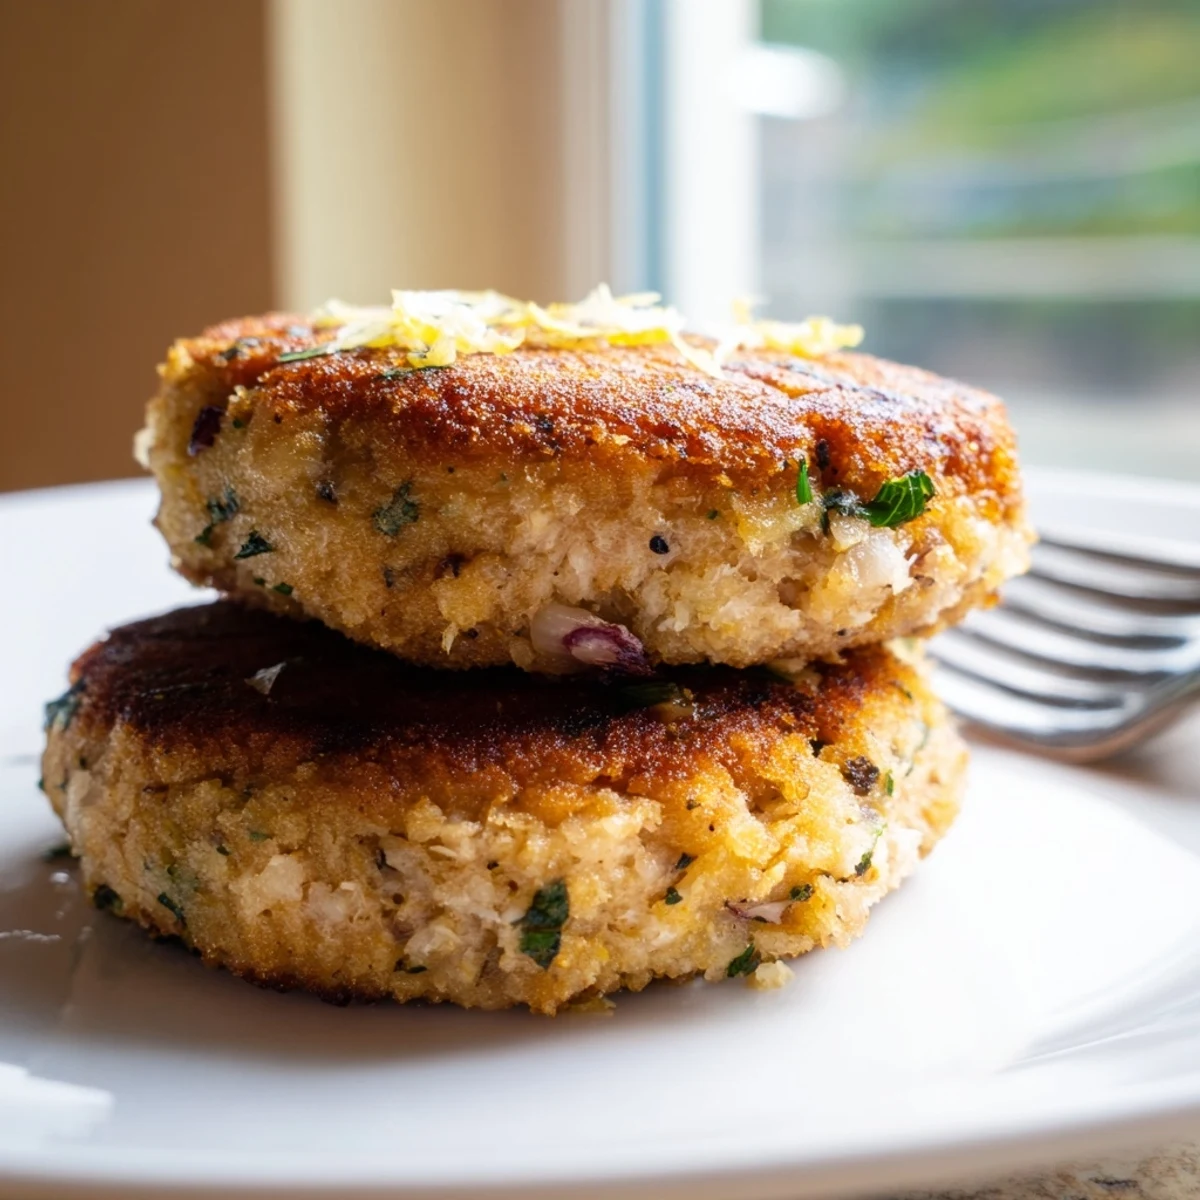
 These golden tuna cakes deliver satisfying crunch outside with tender, flaky texture inside. Ready from start to finish in just 25 minutes, they combine convenient canned tuna with fresh vegetables and aromatic seasonings. The mixture shapes easily into eight portions that fry to beautiful golden-brown perfection. Each patty offers crispy edges while remaining moist and flavorful throughout. Serve simply with lemon wedges, pair alongside fresh salad, or elevate with tartar sauce, creamy aioli, or Greek yogurt dip. Substitute panko breadcrumbs for extra crunch, add cayenne for gentle warmth, or use gluten-free alternatives to accommodate dietary needs.
The smell of celery hitting the cutting board always takes me back to my first apartment kitchen, where I learned that canned tuna could transform into something extraordinary with just a few pantry staples.
I started making these for weeknight dinners when my schedule was packed, and somehow they became the one dish my roommate would hover around the stove for, sneaking bites straight from the pan.
Ingredients
- 2 cans tuna in water: Drain thoroughly and press with a fork to remove excess moisture, which prevents soggy cakes
- 1 large egg: Room temperature eggs bind everything together better than cold ones straight from the fridge
- 1/3 cup finely chopped celery: Adds essential crunch and freshness that cuts through the richness
- 1/4 cup finely chopped red onion: Finer is better here so the onion distributes evenly without overpowering
- 2 tablespoons chopped fresh parsley: Brightens the whole dish and adds a pop of color against the golden crust
- 1 teaspoon lemon zest: Use a microplane to get just the yellow part, avoiding the bitter white pith
- 1/2 cup breadcrumbs: Panko creates an irresistible crunch, but regular works perfectly for a tighter crumb
- 2 tablespoons mayonnaise: This secret ingredient keeps the interior tender and moist
- 1 teaspoon Dijon mustard: Adds depth and a subtle sharpness that balances the mild tuna
- 1/2 teaspoon garlic powder: Distributes evenly throughout the mixture better than fresh garlic
- 1/4 teaspoon salt and black pepper: Adjust to taste, remembering that canned tuna already contains sodium
- 2-3 tablespoons olive oil: Enough to create a thin, shimmering layer in your pan
Instructions
- Combine the base mixture:
- In a large bowl, break up the drained tuna with a fork, then add the egg, celery, red onion, parsley, and lemon zest.
- Add binders and seasonings:
- Sprinkle in the breadcrumbs, mayonnaise, Dijon mustard, garlic powder, salt, and pepper, folding gently until everything is evenly distributed.
- Shape the patties:
- Divide the mixture into 8 equal portions and form each into a patty about 1/2 inch thick, pressing firmly to help them hold their shape.
- Heat the pan:
- Warm olive oil in a large nonstick skillet over medium heat until it shimmers and swirls easily.
- Fry to golden perfection:
- Cook the tuna cakes in batches for 3 to 4 minutes per side until deeply golden and crispy, resisting the urge to flip too early.
- Rest and serve:
- Transfer to a paper towel-lined plate to drain briefly, then serve while still hot and crackling.
 Save to Pinterest
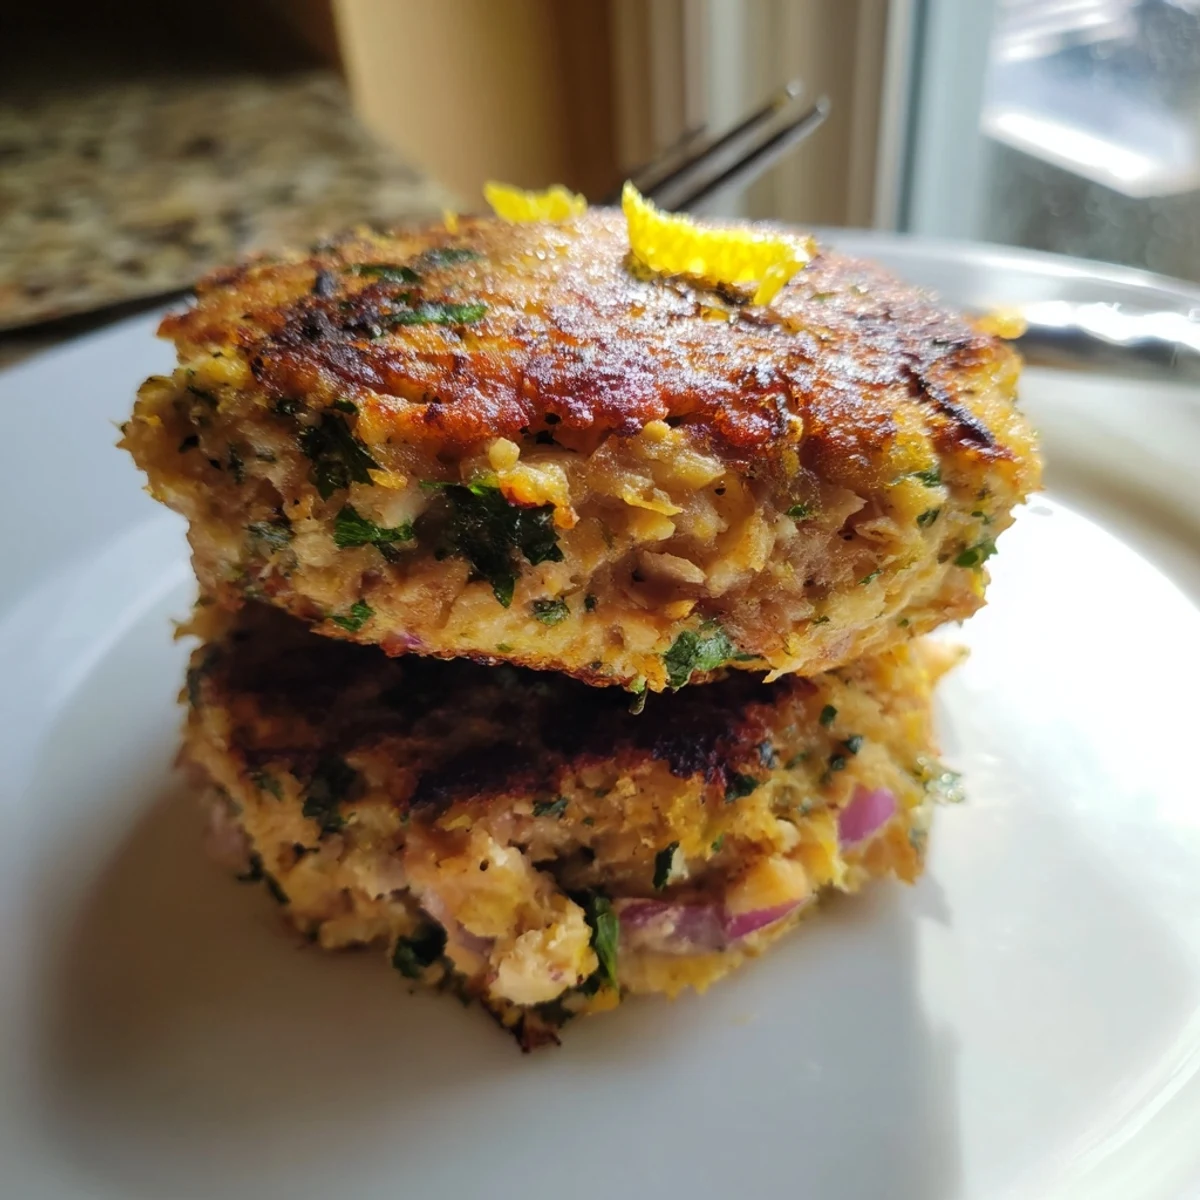
 These little cakes saved me more times than I can count, turning into impromptu dinner party food that guests swore must have taken hours to prepare.
Getting The Perfect Crust
The key to that restaurant-quality crunch is patience with the heat and not overcrowding the pan. Give each cake enough room to breathe, and wait until you hear that sizzle settle into a steady crackle before flipping.
Make Them Your Own
I have experimented with adding everything from diced bell peppers to a splash of hot sauce. The recipe is incredibly forgiving, almost like it wants you to play around with what is in your crisper drawer.
Serving Ideas That Work
Squeeze fresh lemon juice over the cakes right before serving to wake up all the flavors. A simple arugula salad with a light vinaigrette cuts through the richness beautifully.
- Mash avocado with a little lime for a creamy topping that feels luxurious
- A dollop of Greek yogurt mixed with dill and lemon makes a lighter alternative to tartar sauce
- Serve alongside roasted vegetables for a complete meal that feels satisfying without being heavy
 Save to Pinterest
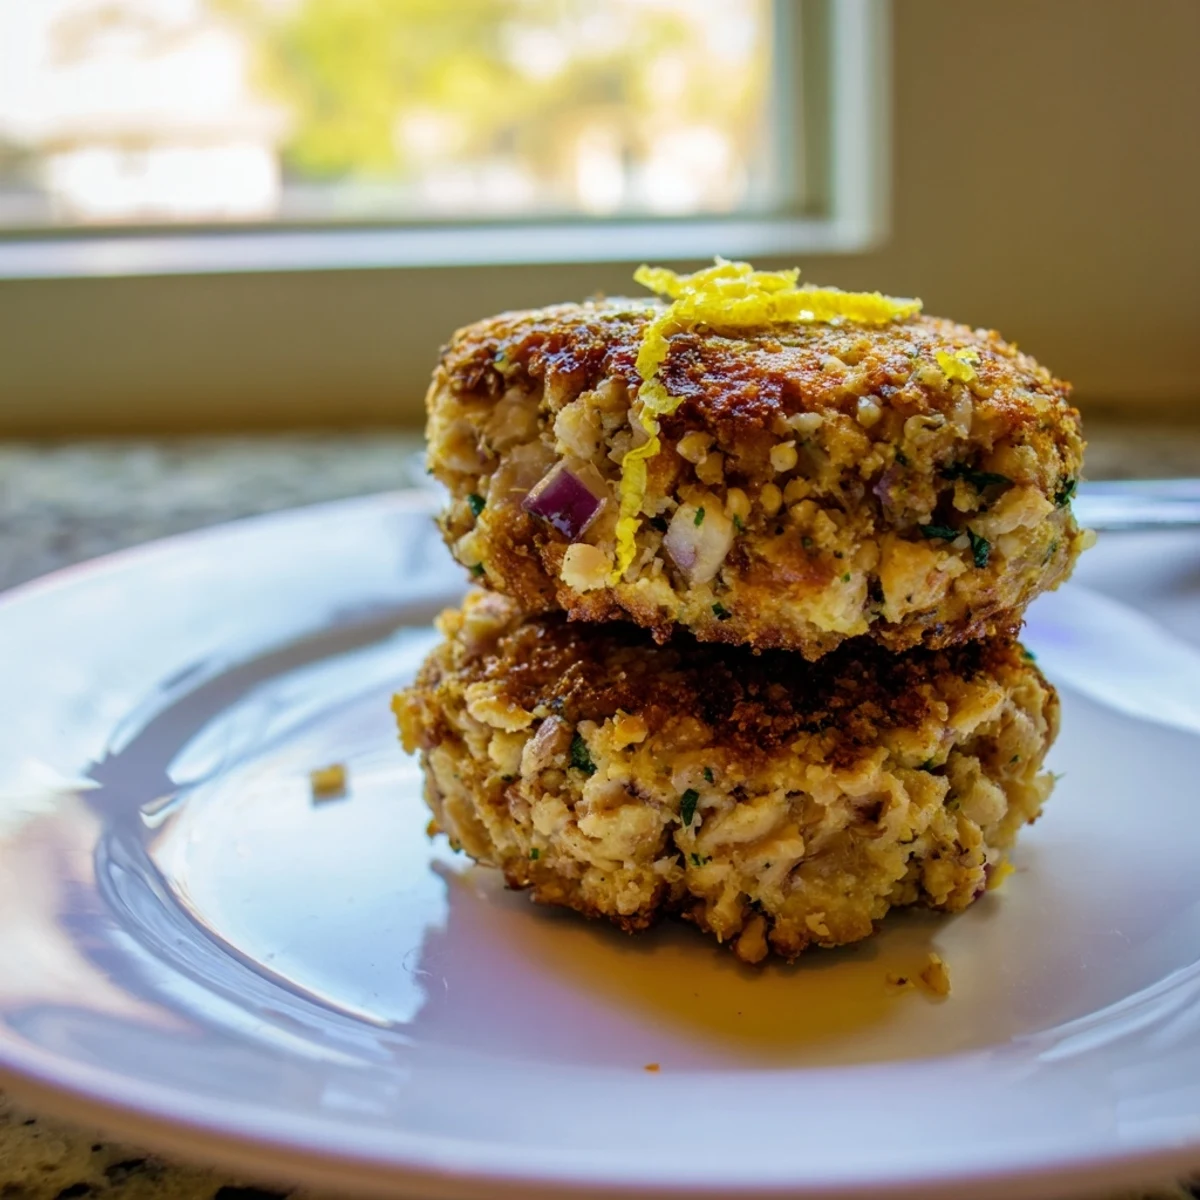
 There is something deeply comforting about transforming humble ingredients into something that feels special, like a little secret victory in the kitchen.
Recipe FAQs
- → How do I keep tuna cakes from falling apart?
-
Ensure the mixture is well-chilled before shaping, and don't skip the breadcrumbs and egg—they act as binders. Form patties firmly but gently, and let them rest briefly before cooking to help them hold their shape during frying.
- → Can I bake these instead of frying?
-
Yes! Place shaped patties on a parchment-lined baking sheet, brush lightly with olive oil, and bake at 400°F for 12-15 minutes per side until golden and crispy throughout.
- → What type of tuna works best?
-
Solid white albacore or chunk light tuna in water both work beautifully. Drain thoroughly and flake slightly before combining with other ingredients for the best texture and flavor distribution.
- → Can I make these ahead of time?
-
Absolutely! Shape the patties and refrigerate for up to 24 hours before cooking, or freeze uncooked patties between parchment paper for up to 3 months. Thaw in refrigerator before frying.
- → What sides pair well with tuna cakes?
-
Fresh green salads, roasted vegetables, or simple steamed asparagus complement perfectly. For heartier meals, serve alongside roasted potatoes or over a bed of mixed greens with light vinaigrette.
- → How do I get extra crispy exterior?
-
Use panko breadcrumbs instead of regular for lighter, crunchier coating. Ensure oil is properly heated before adding patties, and don't overcrowd the pan—this maintains oil temperature for optimal crisping.
