 Save to Pinterest
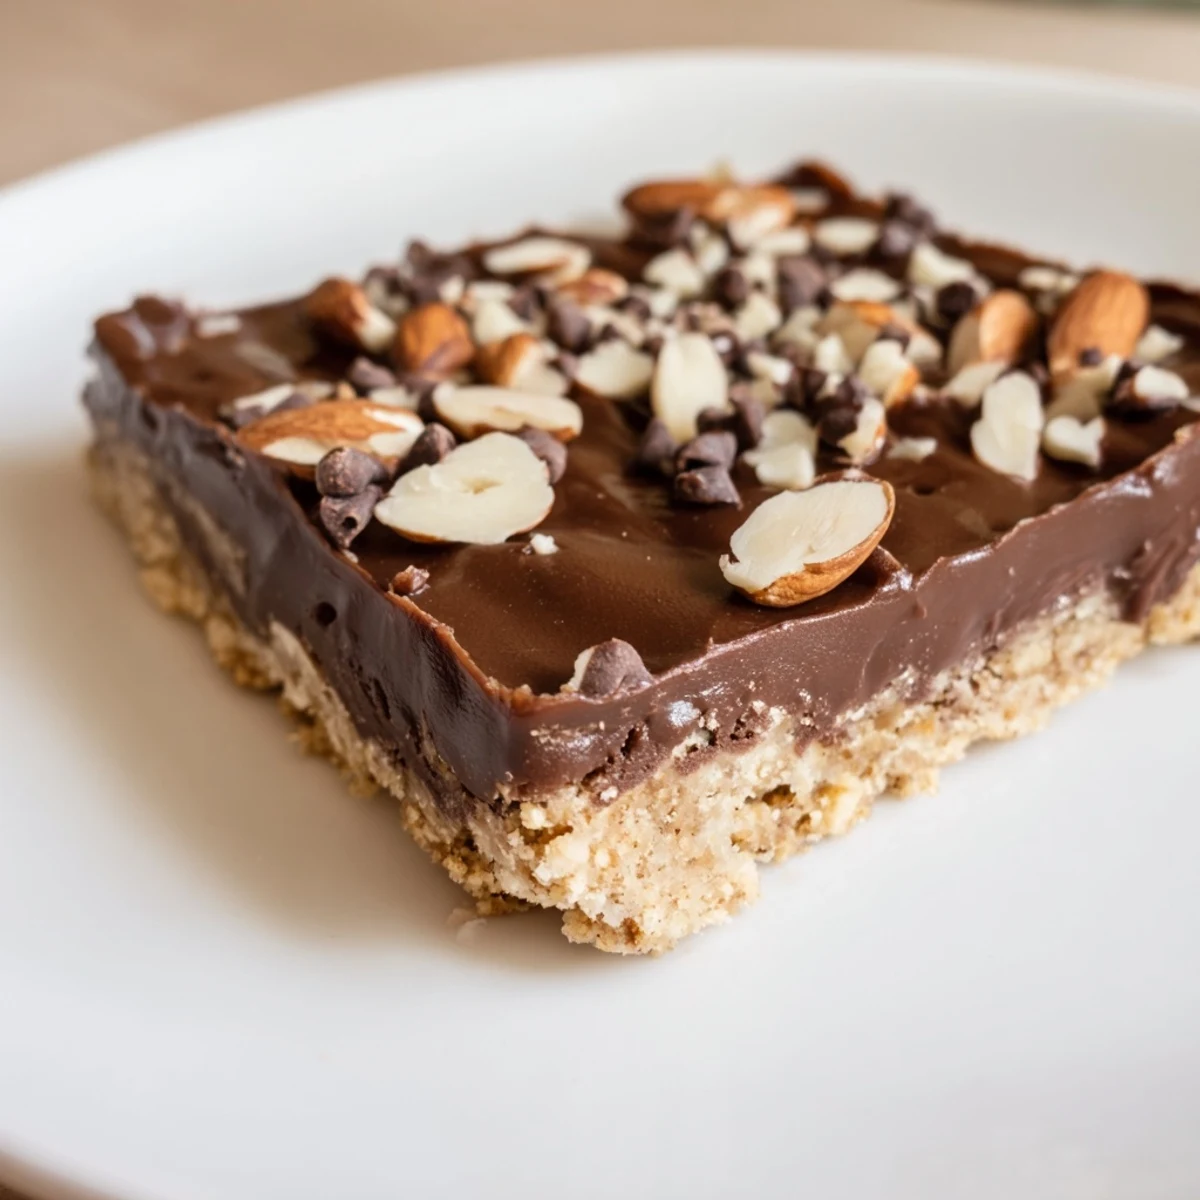
 This luscious no-bake bar combines a buttery crushed biscuit base with smooth melted chocolate infused with vanilla. Chill to set into rich, satisfying portions topped optionally with nuts or chocolate chips for added texture. Easy to prepare and perfect for a quick indulgence that pairs well with coffee or tea.
There's something quietly magical about the moment melted chocolate meets a buttery cookie crust—that split second when you pour it over and watch it settle into place. I discovered these bars by accident one rainy afternoon when I had almost nothing in the pantry except digestive biscuits, some chocolate, and cream. What started as improvisation became something I couldn't stop making, something friends now expect at gatherings.
I remember bringing a batch to my sister's house one Christmas, still slightly chilled, and watching everyone reach for a second piece before they'd finished the first. She asked for the recipe right then and there, standing in her kitchen with chocolate on her fingers, already planning to make them for her book club. That's when I knew these bars had staying power.
Ingredients
- Digestive biscuits or graham crackers, crushed (200g): The foundation that holds everything together—look for ones that are plain and lightly sweet so they don't compete with the chocolate layer.
- Unsalted butter, melted (100g): Bind the crumbs together and add that golden, toasted flavor that makes people ask what's in the base.
- Granulated sugar (2 tbsp): A small touch of sweetness that rounds out the cookies without overwhelming them.
- Semisweet or milk chocolate, chopped (250g): The star of the show—chop it yourself rather than using chips, as they melt unevenly and can seize.
- Heavy cream (100ml): This is what transforms solid chocolate into something pourable and silky; it's the difference between fudgy and glossy.
- Vanilla extract (1 tsp): A whisper that deepens the chocolate without announcing itself.
- Chopped nuts, mini chocolate chips, and sea salt (optional toppings): Scatter these on while the chocolate is still warm so they stick; the salt especially has a way of making chocolate taste more like itself.
Instructions
- Prepare your pan:
- Line your 20x20 cm baking pan with parchment paper, leaving edges to hang over the sides—this becomes your handle later and saves you from struggling to extract the bars. Press the paper into the corners so it stays in place.
- Build the base:
- Combine the crushed biscuits, melted butter, and sugar in a bowl and mix until it feels like sand that's just damp enough to hold together when you squeeze it. Press it firmly and evenly into the pan, using the back of a measuring cup or glass to flatten it—this is where patience pays off, because an even base means even bars.
- Chill while you work:
- Pop the base in the fridge for 10 minutes while you melt the chocolate; this keeps it from softening when the warm chocolate layer goes on top.
- Melt the chocolate layer:
- Place your chopped chocolate and cream in a heatproof bowl and set it over simmering water (a pot filled with water that steams gently, not boiling)—or use the microwave in 30-second bursts, stirring between each round. The double boiler method is gentler and less likely to cause chocolate to seize, but watch carefully that the bowl doesn't touch the water. Once smooth, stir in the vanilla and let it cool for just a minute before pouring.
- Layer and top:
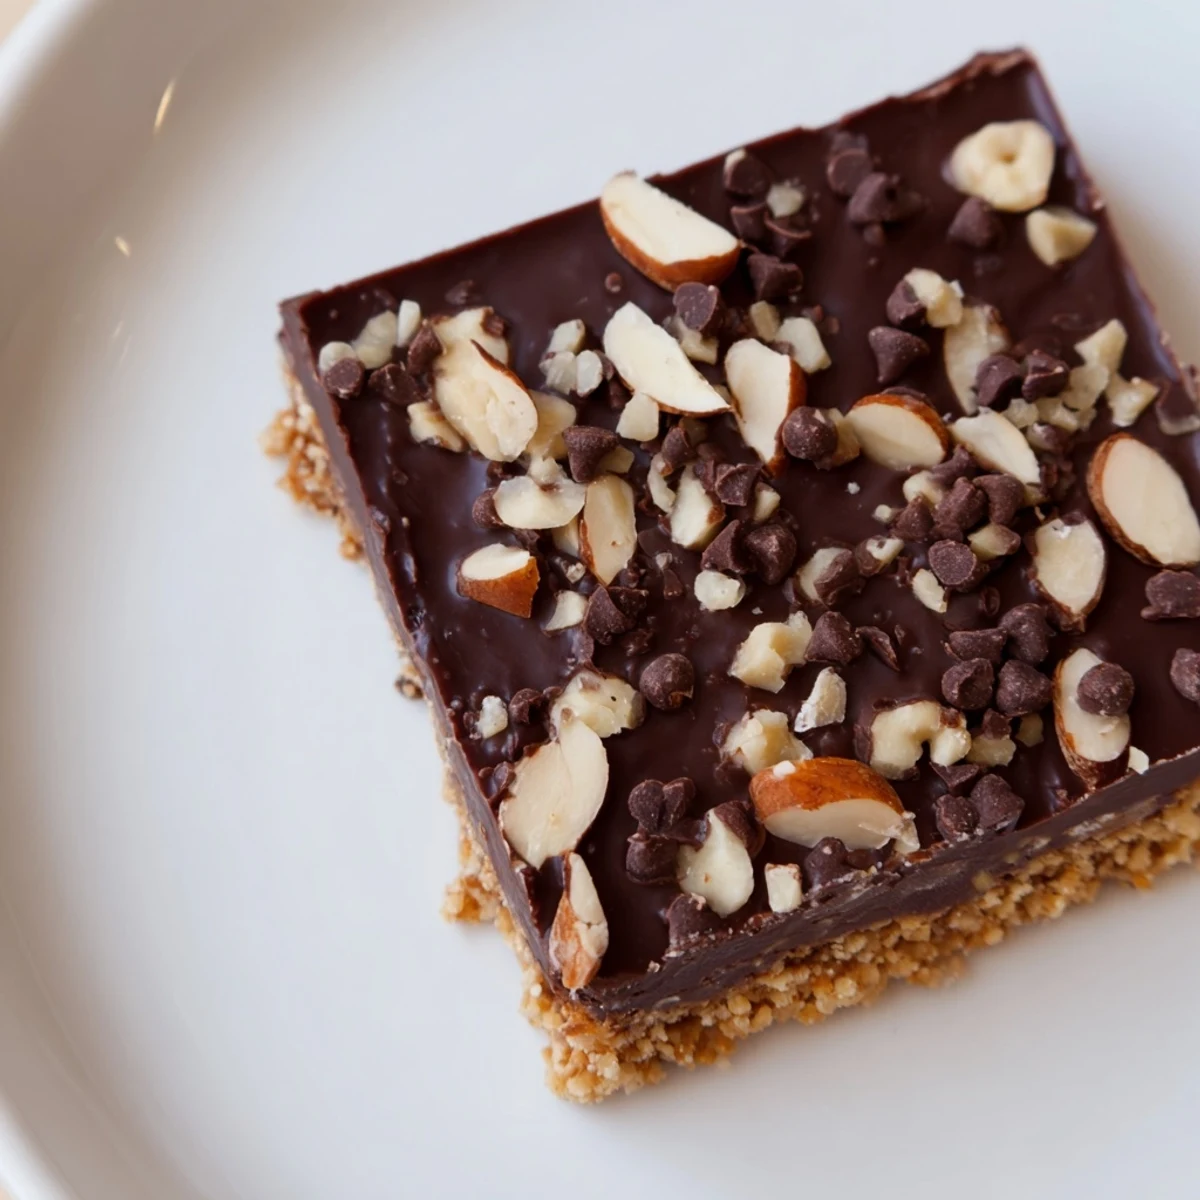
- Pour the melted chocolate over the chilled base and spread it smooth with a spatula. Work quickly but gently; if the chocolate starts to set, you can warm the spatula under hot water. Sprinkle your nuts, chocolate chips, and salt immediately while the chocolate is still soft enough for them to nestle in.
- Chill until set:
- Cover the pan loosely and refrigerate for at least 1 hour—overnight is even better because the flavors meld and the bars become easier to cut cleanly. The chocolate should be firm but not hard.
- Cut and serve:
- Lift the entire slab out using the parchment overhang and place it on a cutting board. Use a sharp knife (warm it under hot water and wipe it dry between cuts if the chocolate cracks) to cut it into 12 squares or bars. Serve them chilled or at room temperature, depending on whether you want that snappy texture or a melt-in-your-mouth feel.
 Save to Pinterest
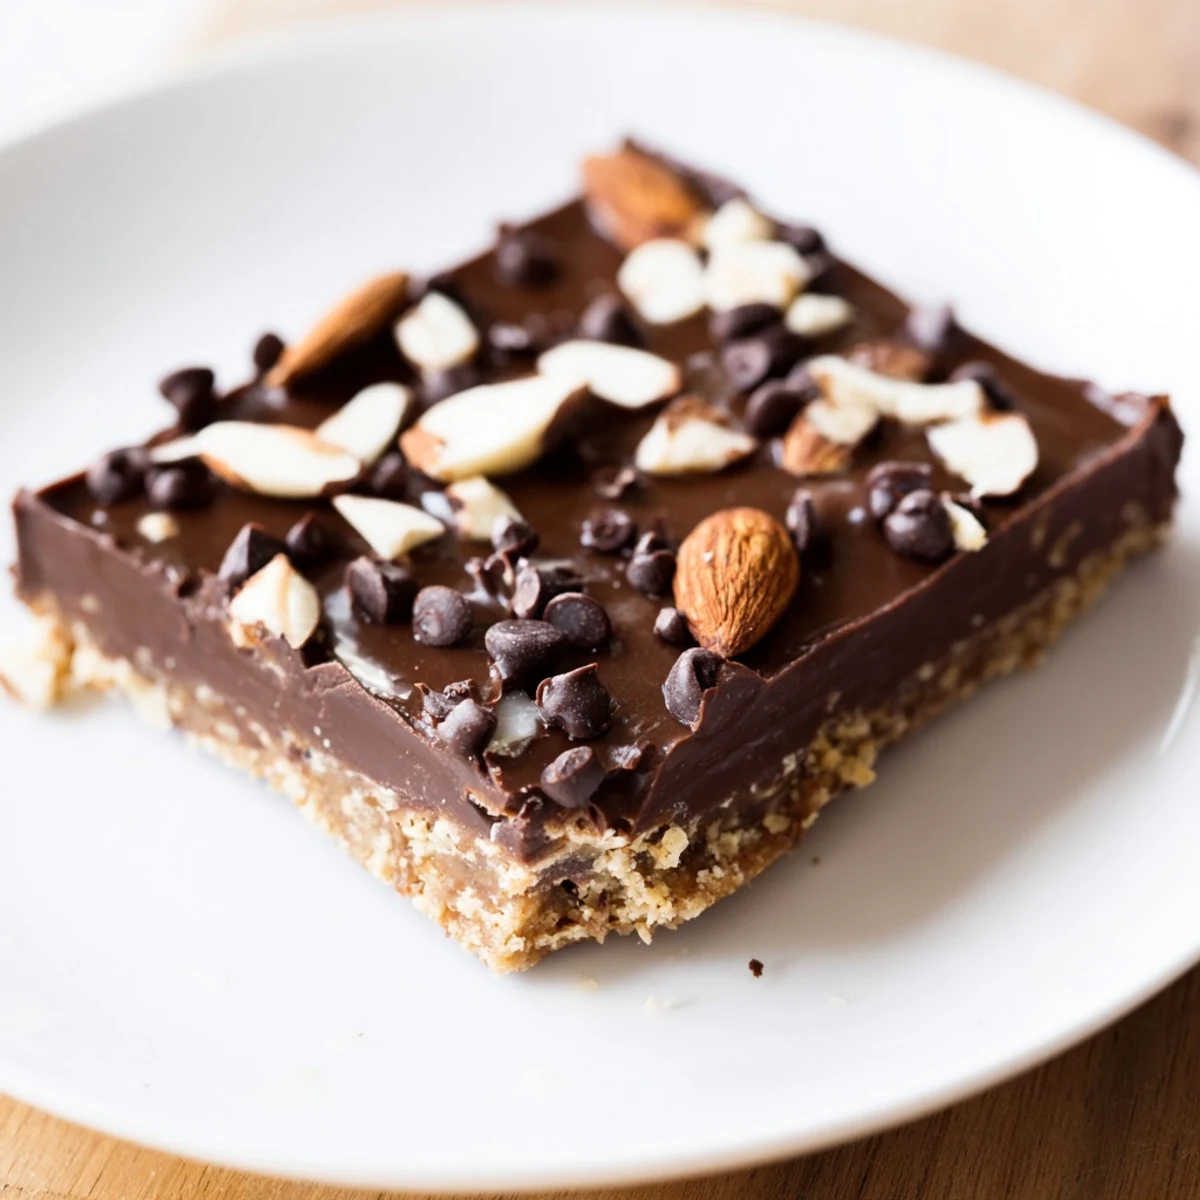
 These bars have become my answer to the question I hear most: what can I bring that isn't too fussy but still feels special? They're the dessert that makes people remember you, that gets requested again and again, that sits in someone's fridge as a small daily kindness to themselves.
Flavor Variations Worth Trying
The base recipe is forgiving and invites experimentation. Swap dark chocolate for a deeper, almost bitter finish, or use white chocolate if you're drawn to something sweeter and creamier. Some mornings I've added a thin layer of peanut butter between the biscuit base and chocolate, spreading it while the base is still slightly warm so it melds with the crumbs. Caramel sauce works the same way—just a thin drizzle—and changes the entire character of the bar.
Make-Ahead and Storage
These bars improve over time, so making them a day or two ahead is encouraged rather than rushed. Store them in an airtight container in the fridge for up to a week, or frozen for up to three months—they thaw perfectly without any change in texture. I've found that pulling them straight from the fridge and serving them cold is my preference, but room temperature reveals more of the chocolate's complexity if you have the patience to wait.
The Small Details That Matter
Good chocolate makes a visible difference here, and it's worth buying chocolate you'd actually enjoy eating on its own. The quality of the butter matters too—unsalted so you control the salt content, and ideally one you trust. Chopping the chocolate yourself rather than using chips gives you a smoother, more luxurious melt that chips struggle to achieve. When you're spreading the chocolate layer, don't worry about achieving perfection; a few swoops and curves look more homemade and honest.
- The parchment paper overhang is not optional—it's what separates beautiful whole bars from crumbly pieces.
- Warm your knife under hot water between cuts for cleaner edges without the chocolate cracking.
- A pinch of fleur de sel on top seems small but transforms the flavor by making the sweetness sharper and the chocolate deeper.
 Save to Pinterest
 These bars have taught me that sometimes the best recipes are the ones born from not having a plan, from working with what's on hand and letting the limitations become the creativity. They're proof that a few simple ingredients—butter, chocolate, cream, and time—can become something unforgettable.
Recipe FAQs
- → What type of biscuits work best for the base?
-
Digestive biscuits or graham crackers crushed finely create a sturdy, buttery base that complements the chocolate layers perfectly.
- → Can I use different chocolates for the layers?
-
Yes, semisweet, milk, or dark chocolate may be used depending on your preferred richness and sweetness.
- → How long should the bar chill before serving?
-
Allow at least 1 hour of refrigeration to ensure the chocolate layer is firm and easy to cut.
- → Are nuts necessary in the topping?
-
Nuts add texture and flavor but are optional; you can substitute with seeds or omit altogether for a nut-free version.
- → Can this bar be made ahead of time?
-
Yes, it keeps well refrigerated for several days, making it convenient for advance preparation.
