 Save to Pinterest
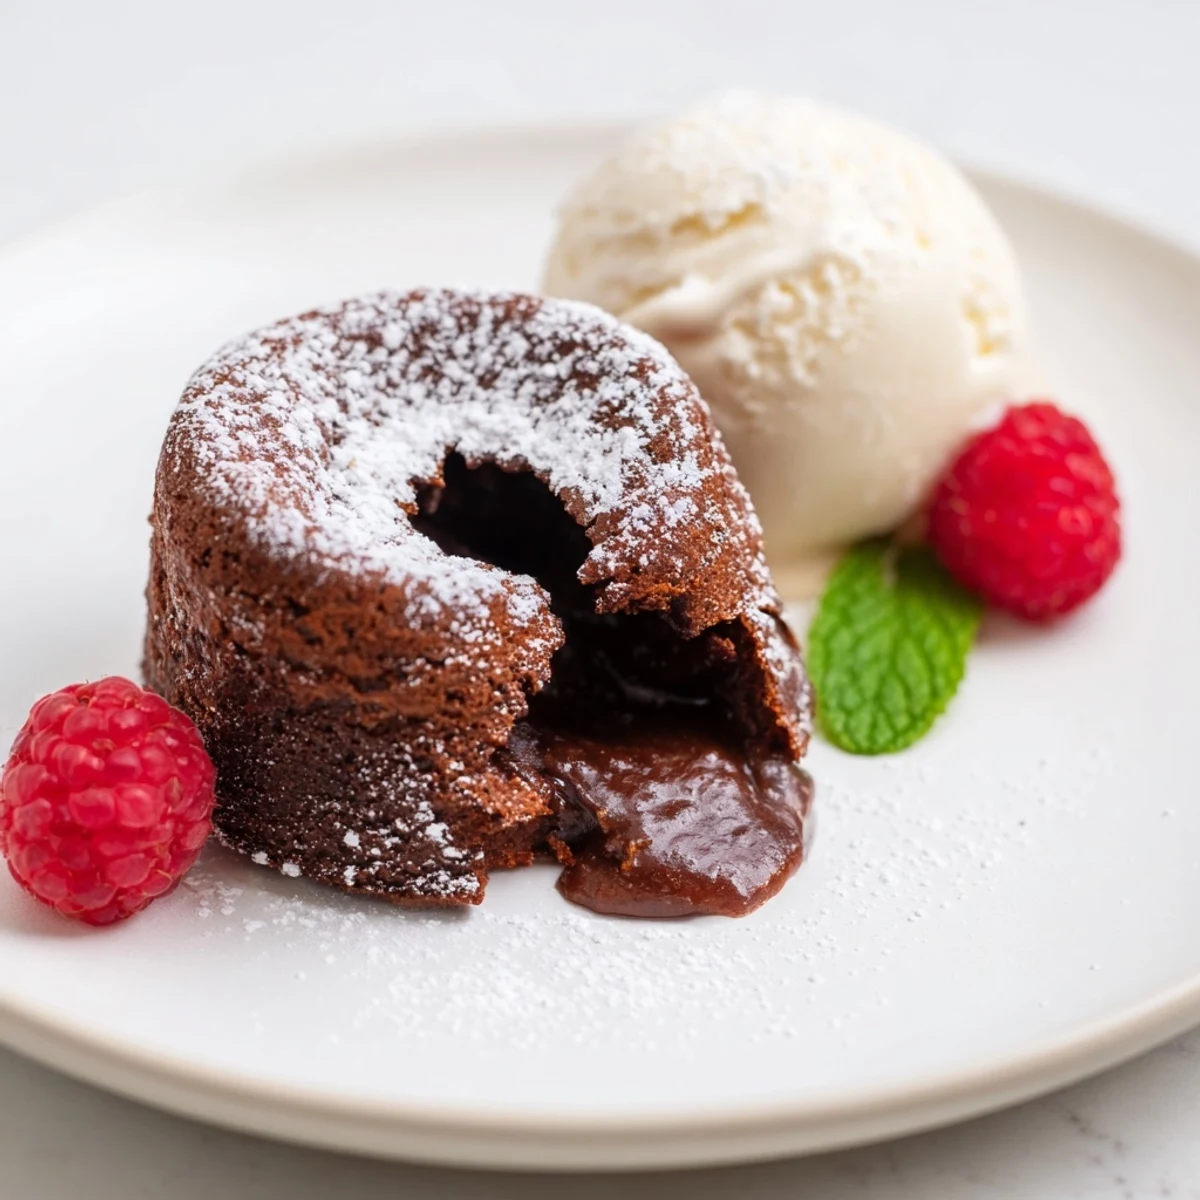
 Experience rich, individual chocolate cakes featuring a molten center, baked to perfection and complemented by smooth vanilla bean ice cream. This indulgent dessert balances bittersweet chocolate with a tender crumb, enhanced by vanilla and optional garnishes like fresh berries or mint. Ideal for an elegant finish, these cakes are simple to prepare with common ingredients, delivering a warm and creamy contrast that delights the palate.
There's a particular magic in the moment when you cut into a chocolate lava cake and watch the warm center spill out in a glossy ribbon. I discovered this magic by accident one evening, overconfident after a dinner party where I'd promised something spectacular but had no actual plan. What started as a desperate scramble through a cookbook became a technique I'd master and remake countless times, always with that same breathless anticipation waiting for the oven timer.
I'll never forget the first time I served these to my sister, who'd always complained that desserts at fancy restaurants tasted too fussy. She took one bite and went completely quiet, which from her meant everything. The combination of that warm, nearly-liquid chocolate center against cold vanilla ice cream seemed to settle something in her that night.
Ingredients
- Bittersweet or semisweet chocolate, chopped (115 g): High quality chocolate makes all the difference here; aim for 60–70% cocoa for depth without bitterness.
- Unsalted butter (115 g): The butter melts with the chocolate to create that silky, luxurious texture.
- Eggs and egg yolks (2 whole, 2 yolks): These create the structure and richness; don't skip the extra yolks.
- Powdered sugar (80 g): Whisked with eggs until pale, this aerates the batter and adds sweetness.
- All-purpose flour (30 g): Just enough to hold the cakes together without making them dense.
- Fine sea salt (1/4 tsp): A whisper of salt brightens the chocolate flavor in ways you might not notice but will definitely miss if it's gone.
- Pure vanilla extract (1/2 tsp): This adds complexity and rounds out the chocolate notes.
- Vanilla bean ice cream (4 scoops): The cold counterpoint to warm chocolate; real vanilla bean specks matter here.
Instructions
- Set up your ramekins:
- Preheat your oven to 220°C (425°F) and generously butter four 170 ml ramekins, making sure the butter coats every curve. Dust each one with cocoa powder, tapping out the excess so you have a light, even coating.
- Melt chocolate and butter together:
- Combine the chocolate and butter in a heatproof bowl set over simmering water, stirring until completely smooth. If you prefer the microwave, use 30-second bursts and stir between each one to avoid any grainy texture, then let it cool slightly.
- Whisk eggs with sugar:
- In a separate bowl, whisk the whole eggs, egg yolks, and powdered sugar until the mixture looks pale and thick, about 2 minutes of continuous whisking. You'll see it transform from glossy yellow to something lighter and fluffier.
- Fold everything together:
- Gently stir the cooled chocolate mixture and vanilla extract into the eggs, then sift the flour and salt over the top and fold together with a spatula until just combined. The key here is restraint; you want to preserve all that aerated volume, so stop folding as soon as you don't see streaks of flour.
- Bake until the edges set:
- Divide the batter evenly among your prepared ramekins and place them on a baking sheet, then slide them into the oven for 11–12 minutes. The edges should look set and slightly puffed while the centers still jiggle just a little when you gently shake the ramekin.
- Turn out onto plates:
- Let the cakes rest for exactly 1 minute after coming out of the oven, then run a thin knife around the edges to loosen them and invert each one onto a waiting dessert plate. The warmth of the cake helps it release cleanly from the ramekin.
- Serve immediately:
- Top each warm cake with a scoop of vanilla bean ice cream and garnish with fresh berries or mint leaves if you'd like. A light dusting of powdered sugar adds an elegant finishing touch.
 Save to Pinterest
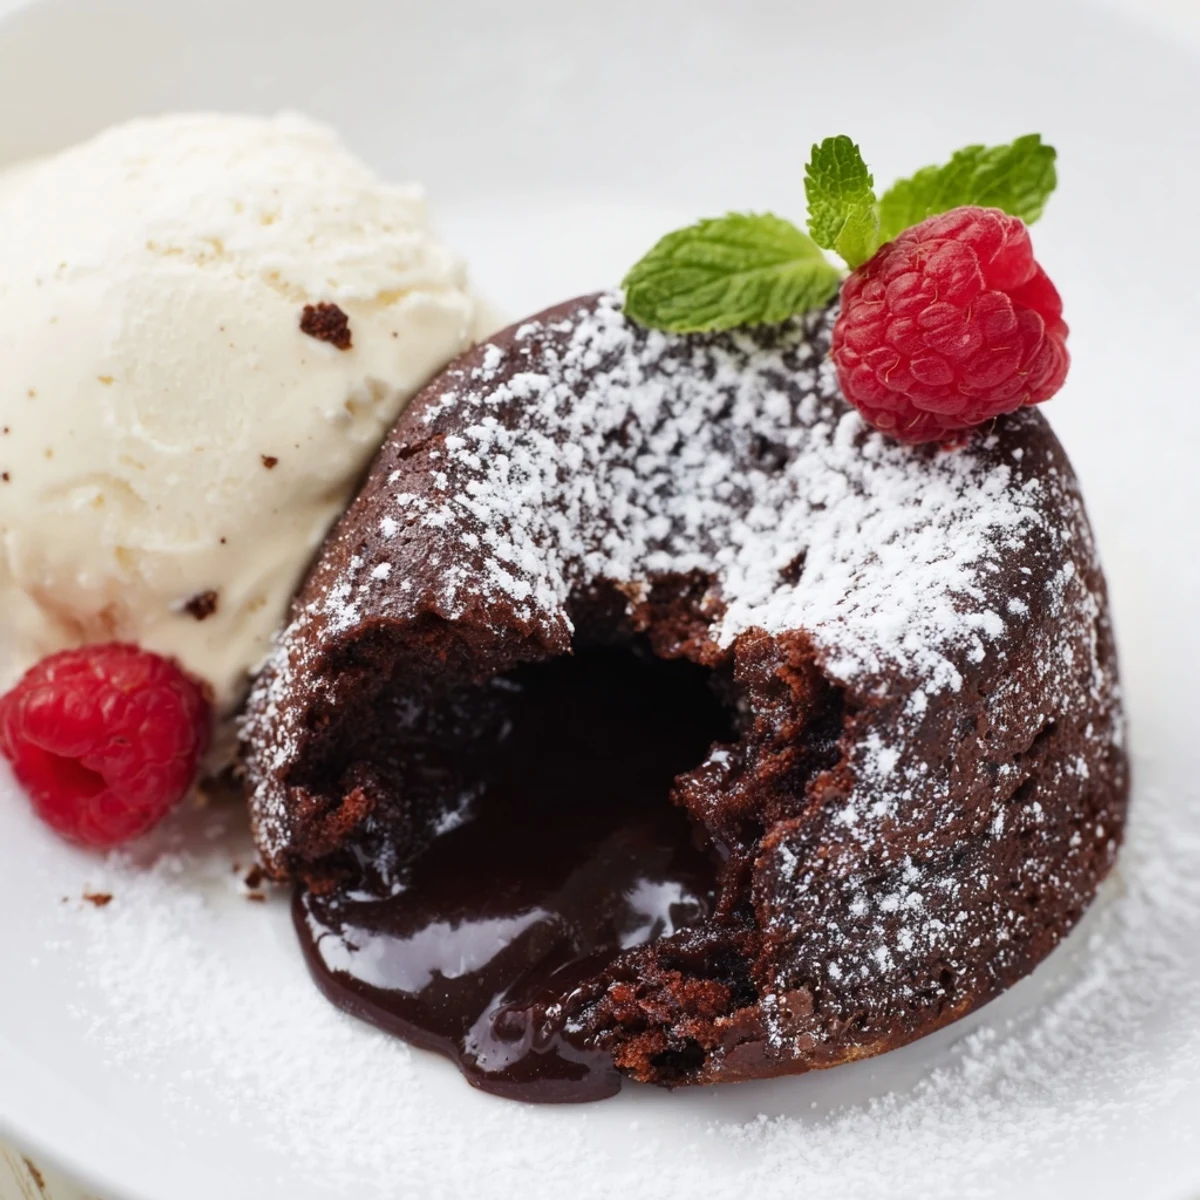
 What surprised me most about mastering this dessert was realizing how much of its appeal comes down to theater. The moment someone cuts into that chocolate center and watches it flow onto their plate is the whole point, and that's why the baking time matters more than any other detail in the recipe.
Why Temperature Control Matters
Getting the oven temperature right is non-negotiable; if your oven runs cool, those cakes won't set at the edges while staying soft inside. I learned this by buying an oven thermometer and discovering mine ran about 15 degrees cooler than the dial suggested. Now I always let my oven preheat fully, and if I'm using a newer oven or one I haven't worked with before, I'll check the actual temperature with a thermometer first.
The Quality of Your Chocolate
This recipe lives or dies by chocolate quality, so don't reach for the baking chocolate section; instead, buy chocolate you'd actually eat on its own. When I started using chocolate from a proper chocolatier instead of a grocery store baking aisle, the whole dessert transformed into something more refined and complex. The cocoa percentage matters too; somewhere between 60–70% gives you richness without astringency.
Timing and Serving Suggestions
These cakes are best served the moment they come out of the oven while the center is still warm and fluid. I've learned to have my plates ready, my ice cream scooped and waiting, and my garnishes prepped before I even pull the cakes from the oven so nothing gets cold or sits too long. This dessert is about that singular moment of warmth meeting cold, chocolate meeting vanilla, so timing is everything.
- Pair with ruby port, espresso, or even cold milk depending on your mood and your guests.
- You can prepare the raw batter up to a few hours ahead and bake it when you're ready to serve.
- Have everything plated and ready to go before the cakes come out of the oven.
 Save to Pinterest
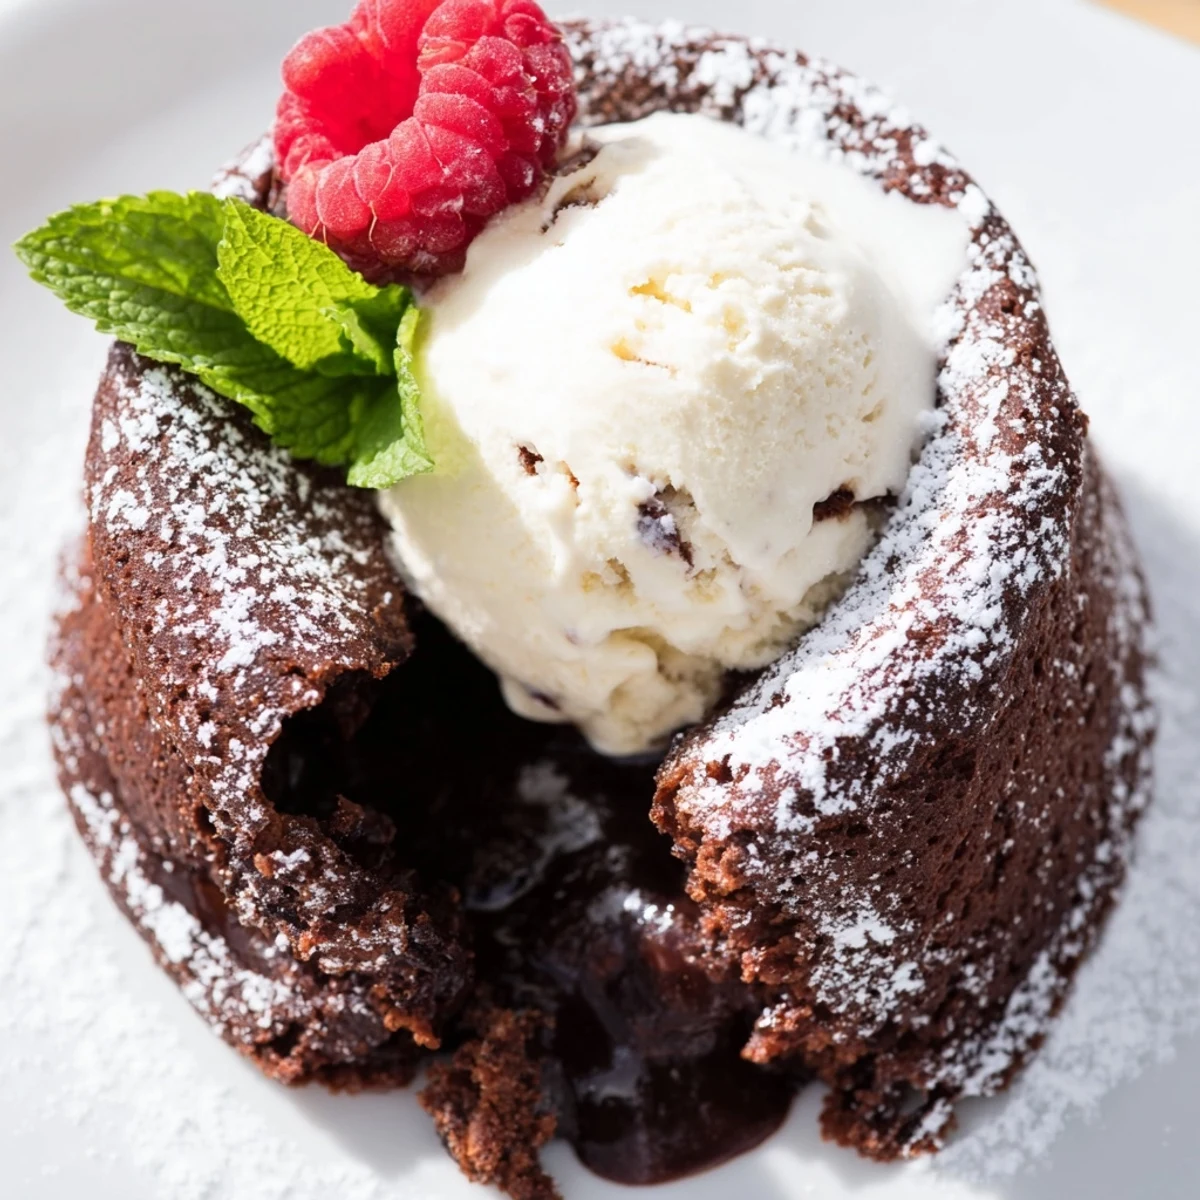
 This dessert reminds me why cooking is worth doing in the first place; it's the rare opportunity to create a moment of pure sensory pleasure for people you care about. There's something deeply satisfying about knowing that ten minutes in the oven can transform simple ingredients into something that feels utterly luxurious.
Recipe FAQs
- → What type of chocolate works best?
-
Bittersweet or semisweet chocolate (60–70% cocoa) is ideal for rich flavor and smooth texture.
- → How do I ensure the molten center remains soft?
-
Bake cakes for 11–12 minutes until edges are set but centers stay slightly jiggly for the perfect molten effect.
- → Can the batter be prepared in advance?
-
Yes, refrigerate the raw batter and add 1–2 extra minutes to baking time when using chilled batter.
- → What are good garnishes to serve with these cakes?
-
Fresh berries, mint leaves, cocoa powder, or powdered sugar enhance both flavor and presentation.
- → What utensils are necessary for preparation?
-
Mixing bowls, whisk, heatproof bowl or microwave for melting chocolate, ramekins, baking sheet, spatula, and a sifter.
- → What are recommended beverage pairings?
-
Ruby port, espresso, or cold milk complement the richness and balance sweetness.
