 Save to Pinterest
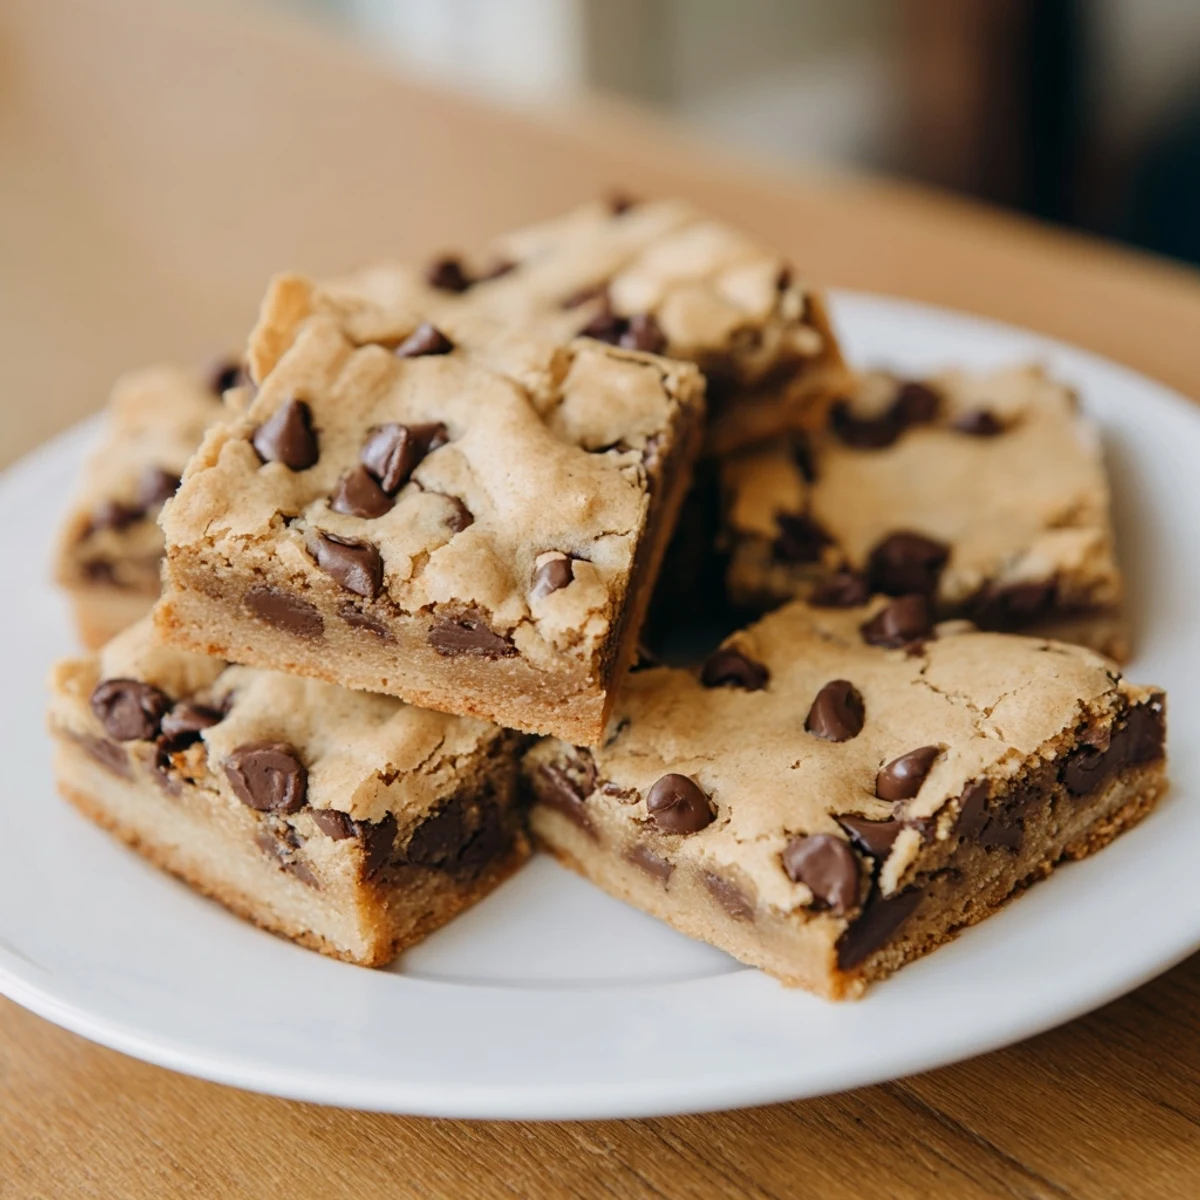
 These rich, chewy chocolate chip cookie bars combine the classic flavors everyone loves with the convenience of a pan dessert. The melted butter creates an incredibly tender texture, while plenty of semisweet chocolate chips provide gooey pockets throughout each square.
Perfect for bake sales, potlucks, or casual family dinners, these bars come together quickly and bake to golden perfection in just 25 minutes. The edges develop a slight crispness while the center remains moist and tender.
You can easily customize these bars by adding sea salt on top, swapping chocolate varieties, or folding in nuts for extra crunch. They stay fresh for days when stored properly.
The smell of melting butter and brown sugar filling the kitchen used to make my roommate abandon all pretense of studying. Wed both hover by the oven door, watching these bars turn golden together, until I finally had to start making double batches just to keep peace in the apartment.
I made these for a friends birthday potluck once, and honestly, I thought I was being lazy by skipping the cookie scoop. But when everyone kept asking for the recipe and someone actually asked if I could make them for their wedding shower, I realized these unassuming bars had become my signature dessert.
Ingredients
- All-purpose flour: The foundation that gives these bars structure—spoon and level your flour to avoid compacting it
- Baking soda: Helps the dough spread properly in the pan for that perfect bar texture
- Salt: Do not skip this, it balances all the sugar and makes the chocolate flavor pop
- Unsalted butter: Melted creates a denser, chewier texture than creamed butter—cool it slightly so it does not cook the eggs
- Light brown sugar: The secret to softness, thanks to its molasses content
- Granulated sugar: Creates crisp edges and helps the tops crackle beautifully
- Eggs: Room temperature eggs incorporate better into the melted butter mixture
- Pure vanilla extract: Use the good stuff here—it carries the whole flavor profile
- Semisweet chocolate chips: Classic choice that strikes the perfect balance between sweet and intense
Instructions
- Preheat your oven:
- Set to 350°F (175°C) and line a 9x13-inch pan with parchment, letting the paper hang over the long sides like little handles for easy lifting later.
- Whisk the dry ingredients:
- Combine flour, baking soda, and salt in a medium bowl—this step prevents any salty bites or clumps of baking soda.
- Make the sugar base:
- Whisk the melted butter with both sugars until the mixture looks smooth and glossy, about 1 minute of enthusiastic stirring.
- Add the wet ingredients:
- Beat in the eggs and vanilla until the mixture lightens slightly and looks homogeneous.
- Combine everything:
- Gently fold in the dry ingredients with a spatula, stopping as soon as the flour streaks disappear—overmixing makes tough bars.
- Add the chocolate:
- Fold in the chocolate chips until evenly distributed, then press the dough into your prepared pan using an offset spatula or the back of a spoon.
- Bake to perfection:
- Bake for 22 to 25 minutes until the edges are golden brown and a toothpick comes out with moist crumbs, not wet batter.
- The hardest part—waiting:
- Cool completely in the pan before lifting out by the parchment handles and cutting into 16 squares.
 Save to Pinterest
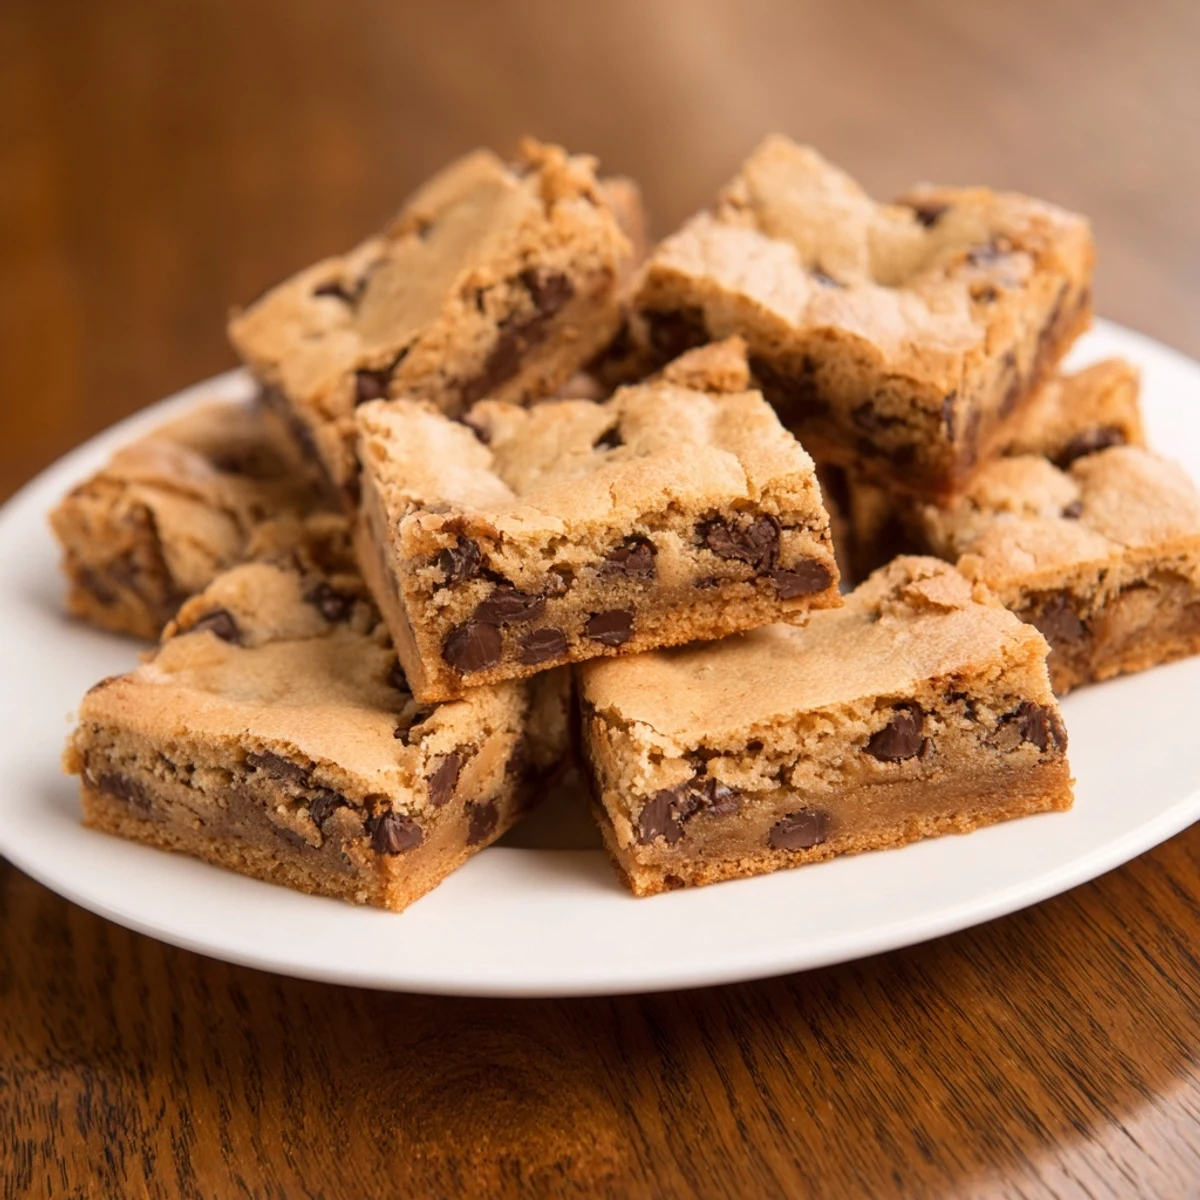
 My mom still texts me every time she makes these, asking if she remembered all the steps correctly. Last week she sent a photo of her version with extra chocolate chips and the caption your father is threatening to eat the whole pan himself.
Getting That Perfect Texture
Room temperature ingredients make a huge difference here. When your eggs are cold, they can cause the melted butter to seize up into tiny lumps, creating a marbled look in your dough. Set them out about 30 minutes before you start baking, or place cold eggs in a bowl of warm water for 10 minutes.
Pan Selection Secrets
Light-colored aluminum pans give the most even baking and predictable results. Dark nonstick pans absorb more heat and can make your edges overly crisp before the center is done. If you only have dark pans, reduce the oven temperature by 25°F and check for doneness a few minutes early.
Storage and Make-Ahead Tips
These bars actually taste better on day two, when the flavors have had time to meld together. Store them in an airtight container with a piece of bread—this old bakery trick keeps them soft for days. You can also freeze the baked bars for up to three months, wrapped individually in plastic and then placed in a freezer bag.
- Warm frozen bars in the microwave for 15 to 20 seconds to restore that fresh-baked texture
- The dough can be frozen in the pan for up to one month—just bake from frozen, adding a few extra minutes
- Press a few extra chocolate chips into the top right before baking for that professional bakery look
 Save to Pinterest
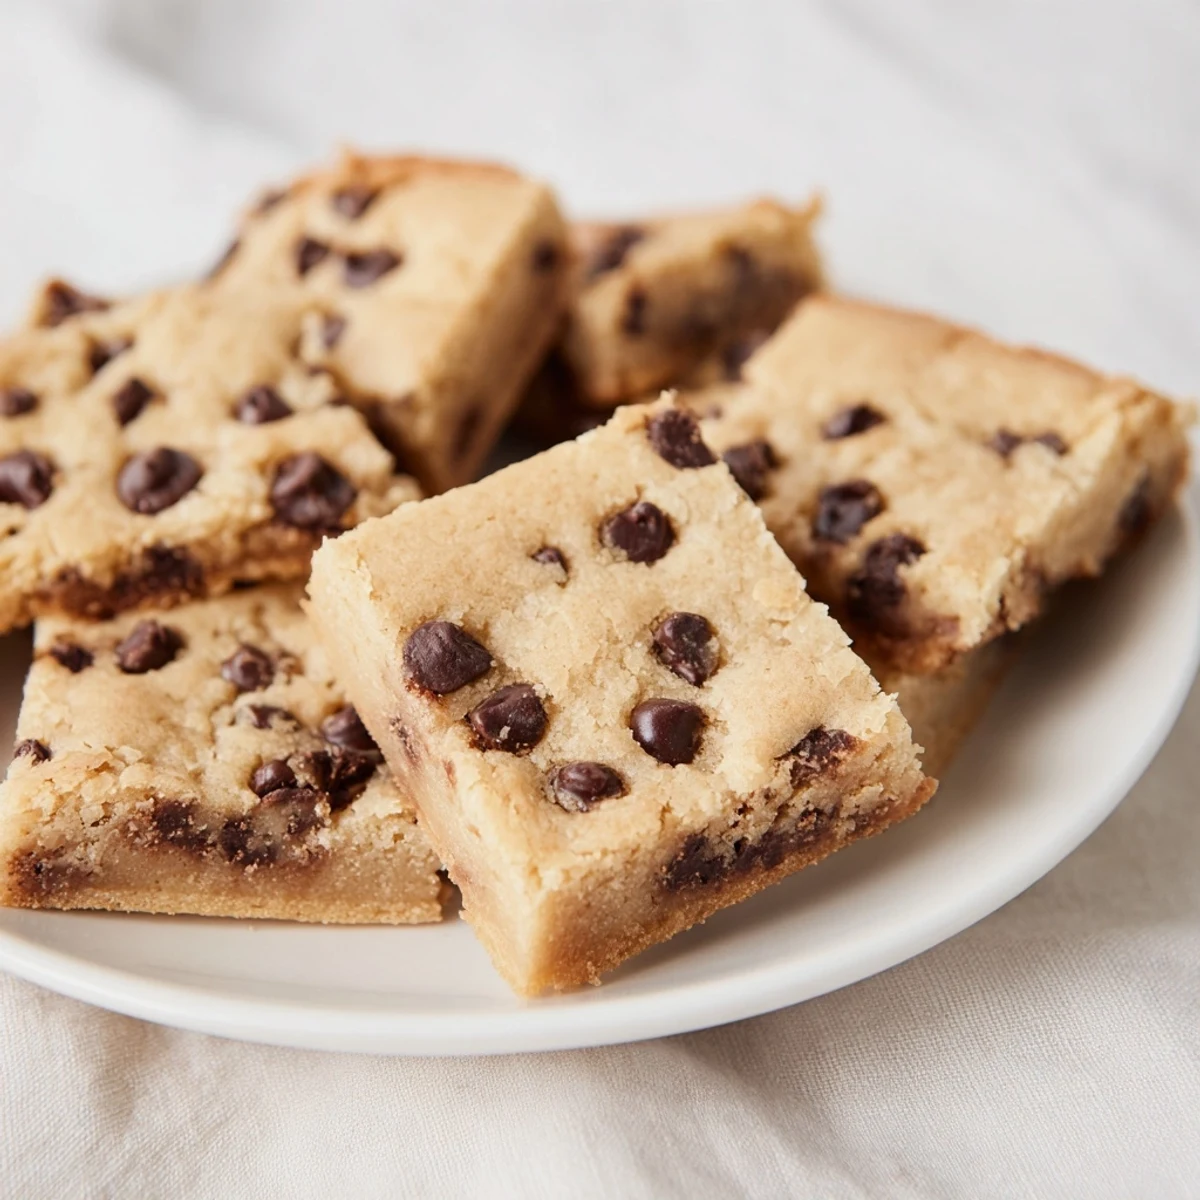
 There is something genuinely satisfying about cutting into a perfectly baked pan of these bars and seeing that gooey chocolate center. Hope they become your go-to for last-minute gatherings too.
Recipe FAQs
- → How do I know when the bars are done baking?
-
The bars are ready when the edges turn golden brown and a toothpick inserted in the center comes out with a few moist crumbs. Avoid overbaking to maintain that chewy texture everyone loves.
- → Can I use salted butter instead of unsalted?
-
Yes, you can use salted butter. Simply reduce the added salt in the dry ingredients to 1/4 teaspoon to balance the flavors.
- → Why do I need to melt the butter?
-
Melted butter creates a denser, chewier texture compared to creamed butter. It also helps the sugar dissolve evenly and results in those rich, gooey centers.
- → Can I freeze these cookie bars?
-
Absolutely. Wrap the cooled uncut bars tightly in plastic wrap and foil, then freeze for up to 3 months. Thaw overnight at room temperature before cutting and serving.
- → What size pan should I use?
-
A standard 9x13-inch baking pan works perfectly. This size creates bars with the ideal thickness—thick enough to be chewy but not so thick that they remain underbaked in the center.
- → How should I store leftover bars?
-
Keep them in an airtight container at room temperature for up to 5 days. Place parchment paper between layers to prevent sticking. For longer storage, freeze the bars.
