 Save to Pinterest
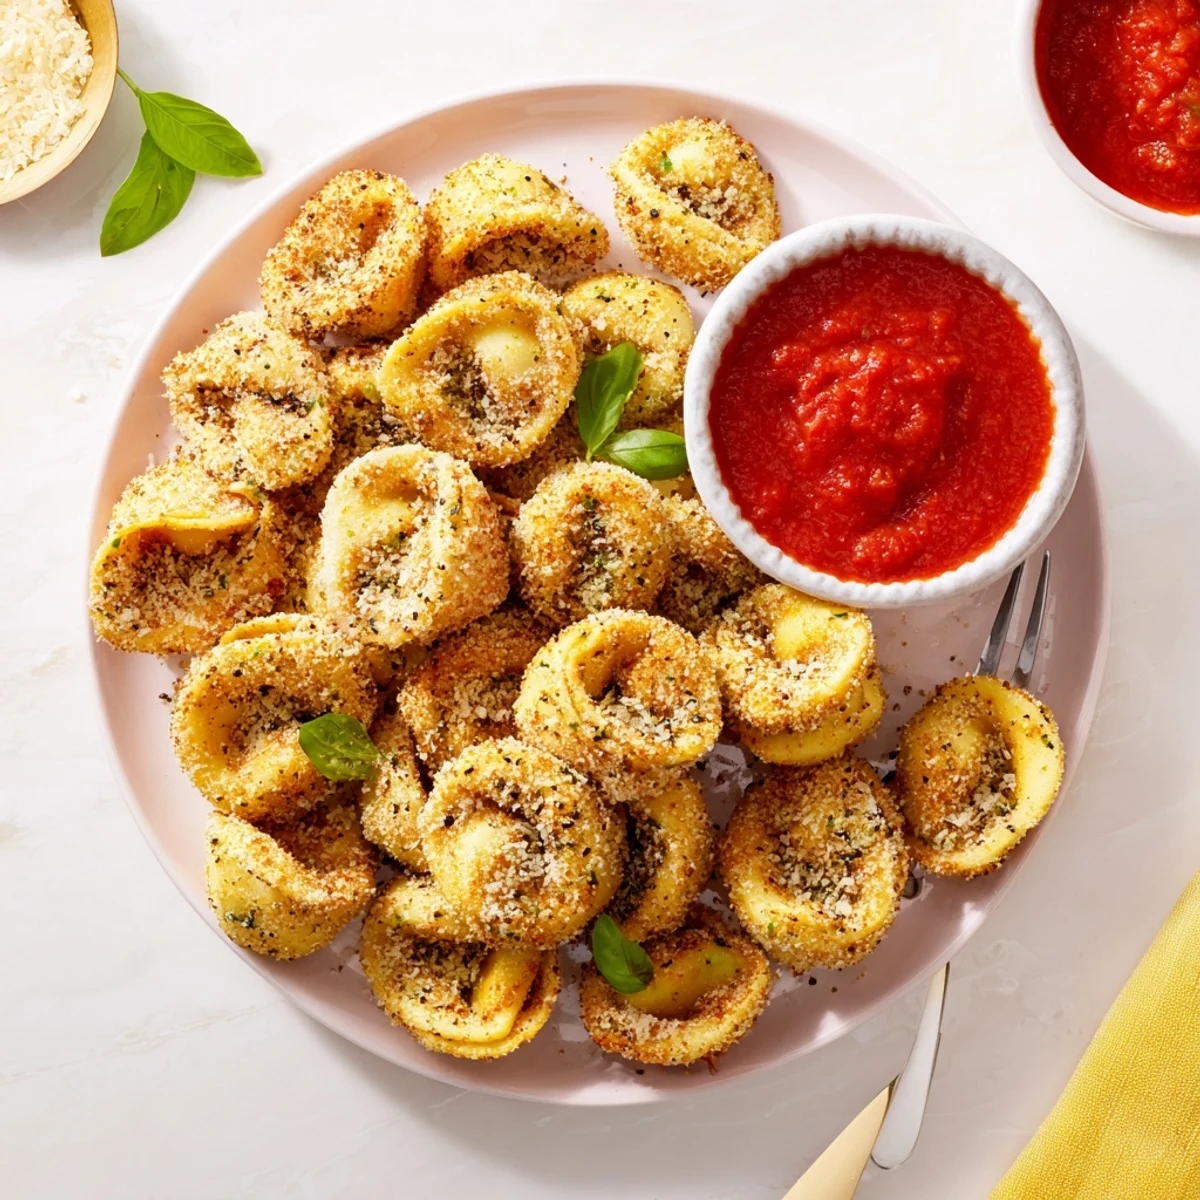
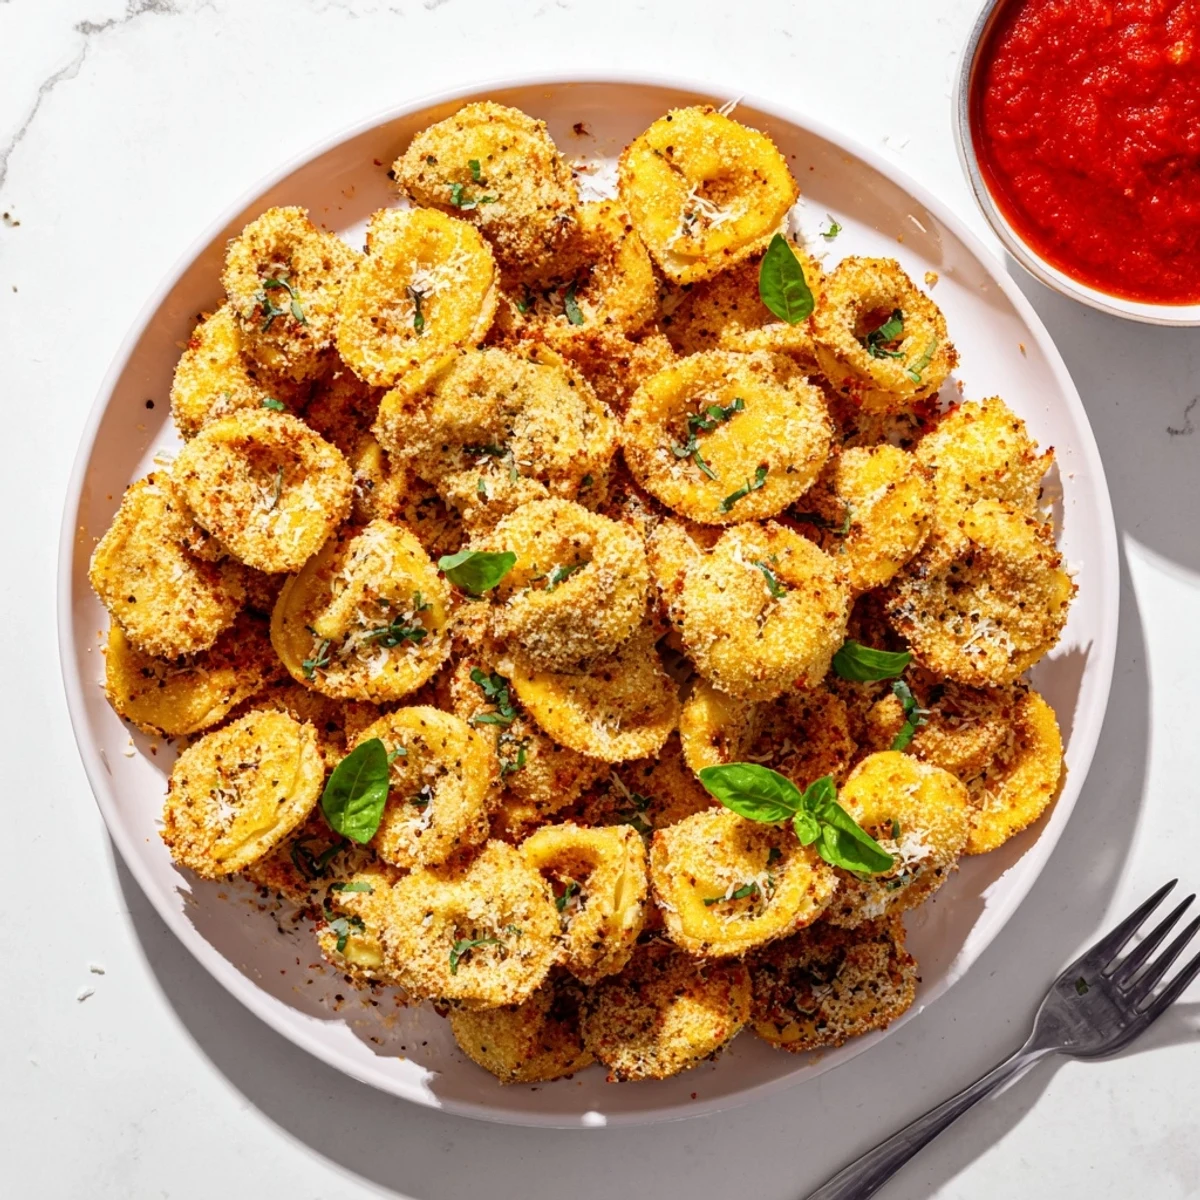
 Transform refrigerated or frozen tortellini into irresistibly crispy bites using your air fryer. Each pasta piece gets coated in a three-step breading process—flour, seasoned egg wash, then a crunchy mixture of Italian breadcrumbs, Parmesan, garlic powder, and herbs. The air fryer delivers that perfect golden exterior while keeping the inside tender and cheesy.
Ready in 20 minutes total, these bite-sized morsels work beautifully as party appetizers, game-day snacks, or alongside fresh salads. Serve with warm marinara for dipping, and consider adding red pepper flakes if you enjoy heat. The result delivers restaurant-quality crunch without deep-frying.
My air fryer sat neglected for months until that random Tuesday night craving hit. I had leftover tortellini in the fridge and zero patience for boiling water, so I threw caution to the wind. The first batch came out so incredibly crispy that my husband wandered into the kitchen looking genuinely confused about what smelled so amazing.
I brought these to a friend's game night recently, and honestly, they were the main event. People kept asking what restaurant I ordered them from, which is always the best compliment. There is something so satisfying about popping a crispy cheesy bite into your mouth while debating board game strategies.
Ingredients
- Refrigerated or frozen tortellini: Fresh pasta holds up better to the air fryer heat and keeps that creamy center intact
- All purpose flour: Creates the essential first layer that helps the egg wash stick properly
- Eggs and milk: Whisked together, this mixture acts as the glue for your crispy coating
- Italian style breadcrumbs: The textured surface is what gives you that satisfying crunch in every bite
- Grated Parmesan cheese: Adds a salty, nutty depth that plain breadcrumbs cannot achieve alone
- Garlic powder and dried Italian herbs: This seasoning combo makes every layer flavorful, not just the surface
- Salt and black pepper: Simple seasonings that amplify all the other flavors
- Warm marinara sauce: The cool contrast against hot crispy tortellini is absolutely essential
- Fresh herbs: A final sprinkle adds brightness and makes everything look restaurant worthy
Instructions
- Preheat your air fryer:
- Getting it to 200°C (400°F) for about 3 minutes ensures the tortellini start crisping immediately upon contact
- Prep the tortellini:
- If using frozen, cook and drain them first, then let cool slightly so the breading does not slide right off
- Set up your breading station:
- Arrange three bowls with flour, the egg milk mixture, and the breadcrumb Parmesan blend mixed with seasonings
- Coat each piece:
- Dredge tortellini in flour, dip them in egg wash, then press them firmly into the breadcrumb mixture
- Arrange and spray:
- Place the breaded tortellini in a single layer and give them a quick light oil spray for maximum golden color
- Air fry to perfection:
- Cook for 8 to 10 minutes, shaking the basket halfway through so every side gets evenly crispy and golden
- Serve immediately:
- Plate them hot with that warm marinara sauce and a generous sprinkle of fresh herbs
 Save to Pinterest
 These have become my go to when friends drop by unexpectedly. Something about walking in and smelling that crispy, cheesy aroma instantly puts people at ease. The last time I made them, we ended up standing around the air fryer, eating them straight from the basket while talking about everything and nothing.
Make Ahead Magic
You can bread the tortellini up to a day ahead and store them on a parchment lined baking sheet in the refrigerator. The coating actually adheres better after chilling for a bit. Just give them an extra minute or two in the air fryer if cooking from cold.
Flavor Variations
Sometimes I add crushed red pepper flakes to the breadcrumb mix when I want a little heat. A sprinkle of everything bagel seasoning creates this amazing savory crunch that people cannot quite identify but definitely love. Experiment with different tortellini fillings to keep things interesting.
Serving Ideas
These work beautifully as an appetizer, but I have also served them alongside a big green salad for a light dinner. Set up a dipping station with marinara, garlic aioli, and maybe some pesto for variety. Let guests customize their own perfect bite.
- Keep finished tortellini warm in a 200°F oven if making multiple batches
- Double the breading mixture if you plan to feed a crowd
- Make sure your marinara sauce is warm before serving for the best experience
 Save to Pinterest
 There is something so satisfying about turning a simple package of tortellini into something that feels special and indulgent. These crispy bites have saved many weeknight dinners and impressed more dinner guests than I can count.
Recipe FAQs
- → Can I use frozen tortellini directly?
-
Yes, but cook frozen tortellini according to package directions first. Drain and let cool slightly before breading. Pre-cooking ensures the pasta inside heats through while the exterior crisps up in the air fryer.
- → How do I keep them from getting soggy?
-
Arrange tortellini in a single layer without overcrowding. Shake the basket halfway through cooking for even crisping. Serve immediately after cooking for maximum crunch.
- → What dipping sauces work well?
-
Warm marinara is classic, but try pesto, garlic aioli, or a creamy Alfredo dip. For something tangy, offer a balsamic glaze or spicy arrabbiata sauce alongside.
- → Can I make these gluten-free?
-
Absolutely. Substitute gluten-free all-purpose flour for the dredging step and use certified gluten-free breadcrumbs. Double-check that your tortellini is also gluten-free.
- → How do I store and reheat leftovers?
-
Store in an airtight container in the refrigerator for up to 3 days. Reheat in the air fryer at 180°C (350°F) for 3-4 minutes to restore crispiness. Microwaving will make them soft.
- → Can I bake these instead?
-
Yes, bake at 200°C (400°F) on a parchment-lined baking sheet for 15-20 minutes, flipping halfway. The texture will be slightly less crunchy than air-frying but still delicious.
